
Hostwinds Tutorials
Search results for:
Table of Contents
Adding A Domain to Control Panel (Plesk)
Tags: Plesk
Within Plesk, you will have the option to add multiple domains to your account for Hosting, as well as various other features included with Plesk. However, unlike some other control panels, with Plesk you are restricted on the number of domains you can add, depending on the Plesk license you have. This guide will find out how you can add domains to your Plesk while logged into your Plesk control panel.
Prerequisites:
- Hostwinds Cloud VPS or Dedicated Server
- Active Plesk license
- Administrator or root access to your account
Where To Add Domains In Plesk
Step 1: Log into your Plesk control panel.
Step 2: After you have logged in, if you have No domains added already, there will be a larger button to Add Domain in the center that you can click to add a new Domain to the server.
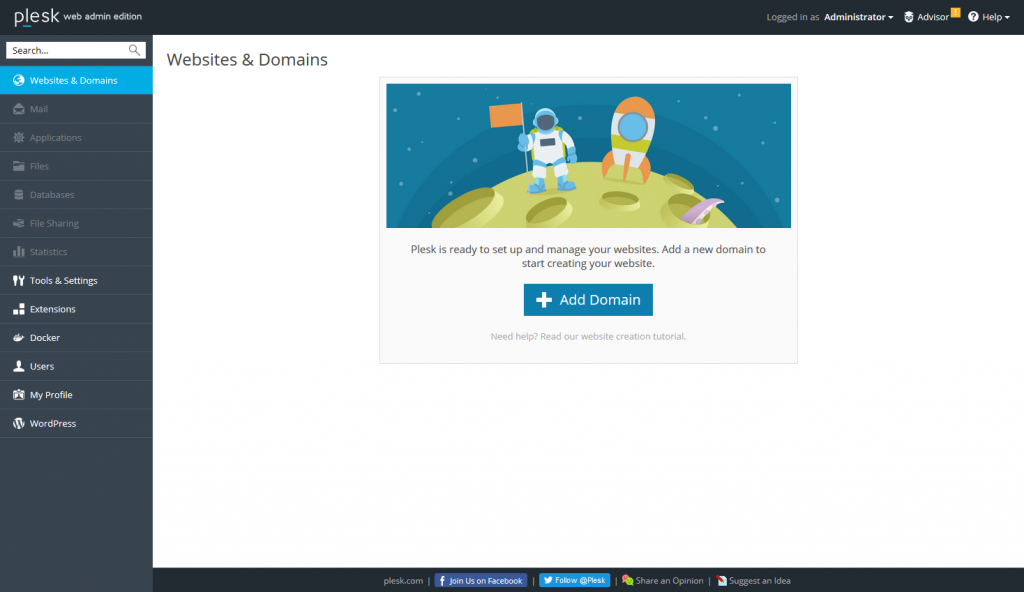
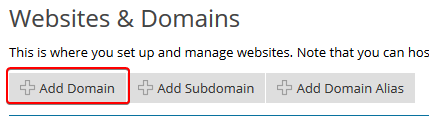
Step 3: If you already have a domain or domains added, there would be an option at the top of the Websites & Domains page labeled Add Domain that you can click.
Adding A Domain
Step 1: After proceeding with the above, you will see a list of options available for you to input for the new domain you are adding.
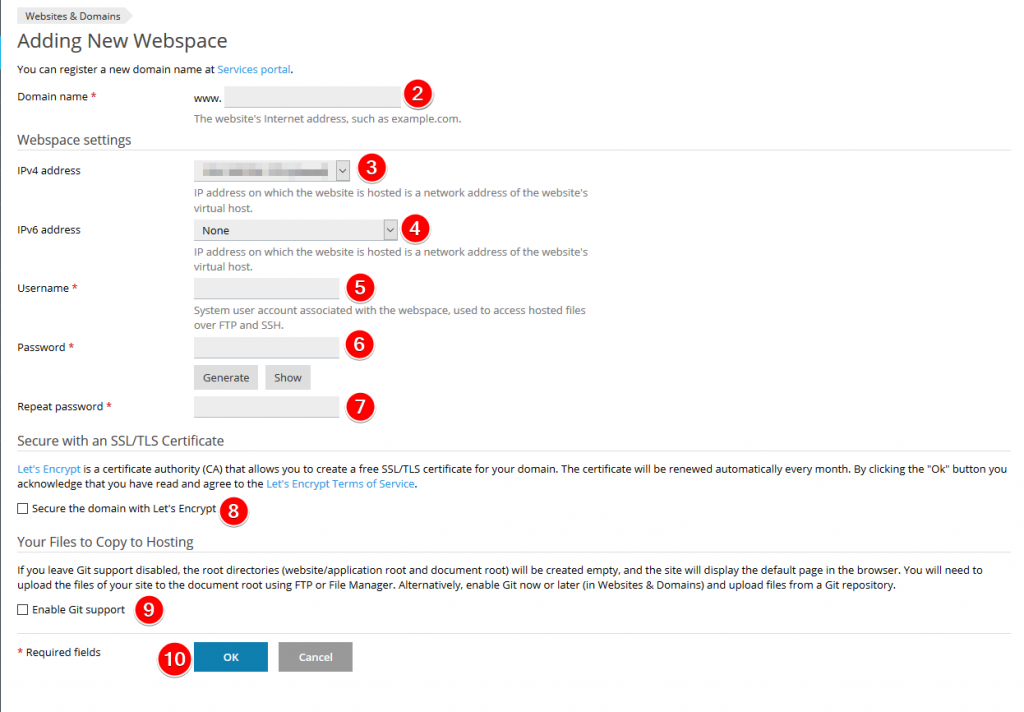
Step 2: Enter the Domain name that you want to add to the Plesk account.
Step 3: If there is a specific IP address you want the Domain to utilize, you can set that here. Otherwise, it will default to a Shared IP address (used for multiple domains on the server)
Step 4: Here, you will be able to select an IPv6 Address for the domain. This is not supported everywhere and is not always used with websites; however, it can increase accessibility.
Step 5: You can set the username that can access the domain files over SSH and FTP.
Step 6: Type the password you would like to use for the new domain/user or click the Generate button to generate a new password randomly.
Step 7: Retype the password that you entered. If using the Generate button, this field will automatically fill. You can use the Show button to view the password that was generated.
Step 8: If you would like the domain to get Free SSL certificates through Let's Encrypt automatically, you can check this box.
Step 9: Enabling Git will allow you to copy your site's files from a Git repository rather than upload through Plesk or FTP.
Step 10: Once finished filling out the information, click the OK button to proceed with creating the domain.
Written by Hostwinds Team / July 29, 2019