
Hostwinds Tutorials
Search results for:
Binding additional IP addresses in any Linux environment can seem to be complicated. However, if you follow this guide, you'll find that binding IP addresses in Fedora Linux is quite easy. Please note that although this guide is written specifically for Fedora, these steps apply to other RHEL distros, such as CentOS.
First, you'll need to connect to your server via SSH or another method such as VNC. For more information on how to connect to your server via SSH, please review Connecting To Your Server Via SSH. You'll then need to determine the adapter name that is in use. This can be done by running the following command:
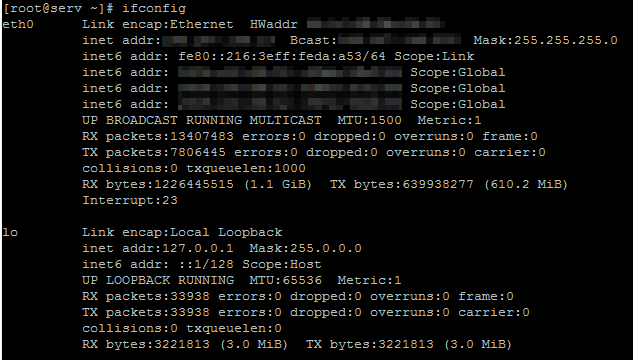
ifconfig
You should see an output similar to the following screenshot. Please note that the adapter name in this example is "eth0".
Once you have determined the adapter name, you can now create the range file(s) for any additional IP addresses you'd like to add.
To do this, you'll need to create the following range file replacing ADAPTERNAME with the previously discovered adapter name. You can create this file by using the touch command or by using a text editor, such as nano. For this example, we will be using the touch command.
touch /etc/sysconfig/network-scripts/ifcfg-ADAPTERNAME-range0
Please note that if this is not your first range file, you'll need to increment the range number. For example, if this were your second range file, then the file would be called if-ADAPTERNAME-range1.
You then need to edit the range file and add the following lines. You can edit this file using your favorite Linux text editors, such as Nano or Vi. If you're not familiar with using a text editor in Linux, please refer to the following guide: How to Edit Files from a Linux Shell
IPADDR_START=
IPADDR_END=
CLONENUM_START=
You'll also need to add the pertinent IP address information. For example:
IPADDR_START=192.168.0.2
IPADDR_END=192.168.0.254
CLONENUM_START=0
Here is a brief explanation of the information that needs to be filled in for each line.
- IPADDR_START
- The first usable IP address in the range
- IPADDR_END
- The last usable IP address in the range
- CLONENUM_START
- The starting number for the aliased interface name
If you want to bind multiple ranges you can easily do that by incrementing the range number, for example:
/etc/sysconfig/network-scripts/ifcfg-ADAPTERNAME-range0
/etc/sysconfig/network-scripts/ifcfg-ADAPTERNAME-range1
/etc/sysconfig/network-scripts/ifcfg-ADAPTERNAME-range2
/etc/sysconfig/network-scripts/ifcfg-ADAPTERNAME-range3
You also need to increment the CLONENUM_START=0 variable in reach range file. It should be the number to start on for that IP, based upon the total number of IP's on the server, so if you were binding 4x /24's the CLONENUM_START would be as follows:
/etc/sysconfig/network-scripts/ifcfg-ADAPTERNAME-range0
CLONENUM_START=0
/etc/sysconfig/network-scripts/ifcfg-ADAPTERNAME-range1
CLONENUM_START=256
/etc/sysconfig/network-scripts/ifcfg-ADAPTERNAME-range2
CLONENUM_START=512
/etc/sysconfig/network-scripts/ifcfg-ADAPTERNAME-range3
CLONENUM_START=768
Written by Peter H / January 1, 2017