
Hosting Tutorials
Search results for:
Table of Contents
How to Create New User in CentOS7
Tags: CentOS Web Panel
When using CentOS Web Panel as your server management system, many domain-related functions require a non-root user to associate with your domain(s). You can also use user accounts to delegate server management tasks. This article will explain how to create a CentOS User with Web Panel.
Creating Users in Web Panel
Step 1: If you are not already logged in, log in to your CWP7 dashboard. By default, this is done by navigating to the IP Address of your server and affixing the port number of "2030" at the end. It looks something like this:
192.168.1.183:2030
Once logged in, you should see your CWP7 Dashboard.
Step 2: Click on the

the dropdown on the left, then click

. This will bring you to the Create a New Account page.
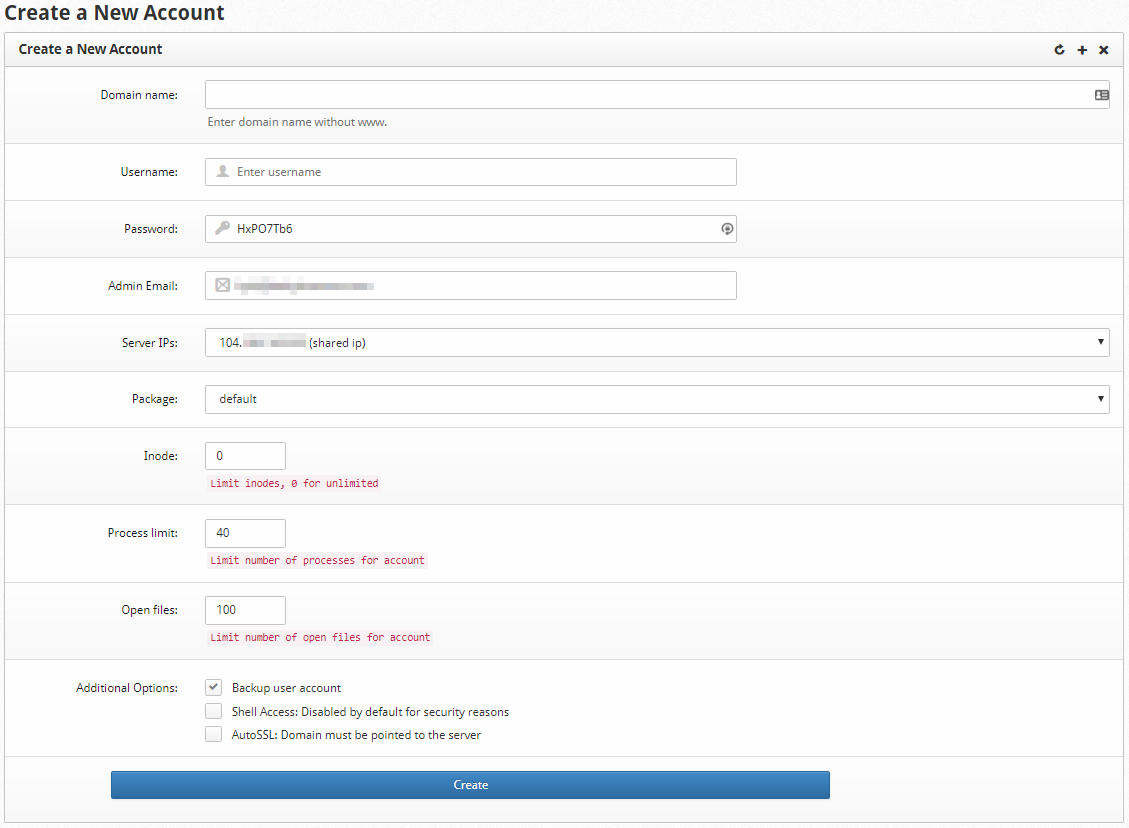
Let's break down each option and go over what they mean and how they affect the user being created.
Domain Name: This is where you put the primary domain name to be associated with the user account. To actually work with the account as a resolvable domain, you must have it registered to you or at least have control over the nameserver settings at the registrar for that domain.

Username:
This is where you indicate the username to be associated with the primary domain and server account that is being created here. It is good practice to use a username that matches the domain before the TLD. For instance, if your domain is example.com, you would simply use the example as the username. However, you may choose whatever username you wish.

Password:
You will choose the password for the account here. The server user that is created will be assigned the same password. The user panel is a different part of CentOS Web Panel, similar in nature to cPanel versus WHM. Please be sure to set a strong password here as the login for this user will be public-facing. It is good practice to have a minimum of 12 characters, a mix of letters, numbers, and symbols, and avoid common phrases or words.

Admin Email:
You will set the user's admin email here. It will be the default address that notifications for the account are sent. You can set this to an email that does not exist if you want to use the domain entered above to create the email entered here.

Server IPs:
You can assign an IP Address to the user's account and domain here. You will likely use the same IP Address for most new accounts. If you would like additional IP Addresses, you can add them from the Cloud Control Portal.

Package:
You can assign the user a specific server hosting package with this dropdown. You are always able to manage the packages available to cater to specific needs. The default package is fine for most cases, but you may find that you will need additional changes.

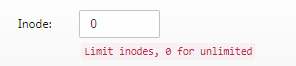
Inodes:
You can assign inode limits here if you want to have a different limit than the default package. If you leave this as zero, there will be no limit. Inodes are a method of calculating used space on a storage device. One file or one folder takes up a single inode. If you have a limit of 1000 inodes, this will limit the storage space to a total count of 1000 files and folders. For reference, Hostwinds sets a default Inode limit of 250,000 for our shared hosting.
Process Limit:
You can assign the maximum number of Linux or PHP processes that the user can run here. Generally, The default number listed here should be sufficient for most average website installations running on a single domain. You can modify this number to be larger if your user runs into resource allocation issues.

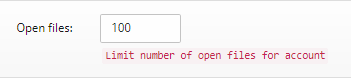
Open Files:
You can limit the total number of open files the user account can have open at any given time. Typically, this limit should be fine at its default but can be increased if the user runs into resource allocation issues.
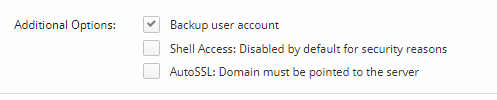
Additional Options:
The options here provide extra features or restrictions to the user account. A backup user account allows the server backup script to back up this account. Shell Access allows the user account to run scripts as a Linux user on the server. It is advised to keep this disabled unless there is an excellent reason to allow it. AutoSSL is a feature that lets CentOS Web Panel automatically apply SSL Certificates to the domains that are associated with this user account. You can set up the source of those SSL Certificates within the Security section of the CentOS Web Panel.
Create button:
Click this button to confirm all details entered in the above boxes and create the user account.

You have now created a user account. You can log in to the "User Web Panel" by changing the port on the server URL or IP address to 2082 and entering the credentials created here.
Related Tutorials:
Written by Hostwinds Team / April 10, 2018