
Hostwinds Tutorials
Search results for:
Table of Contents
Enable AutoSSL in CentOS Web Panel
Tags: CentOS Web Panel, SSL
SSL Encryption Certificates are a prevalent method of securing your site. CentOS Web Panel (CWP) helps automate applying SSL certificates for domains on your server. This article will detail how to Enable AutoSSL in the CentOS Web panel.
Important Note:
This method issues Let's Encrypt SSL certificates. If you know you need a higher level of validation than the certificates provided by Let's Encrypt, you must obtain an SSL certificate appropriate to your needs.
Enabling AutoSSL For a Domain
Before we can actually use the AutoSSL Function for any of our domains, we must first configure it. Keep in mind that you will need to enable AutoSSL for each new domain that is added.
Step 1: Log in to CentOS Web Panel
You can log in to CentOS Web Panel by navigating to the IP Address of your server using port 2030. It looks something like this: 192.168.1.183:2030
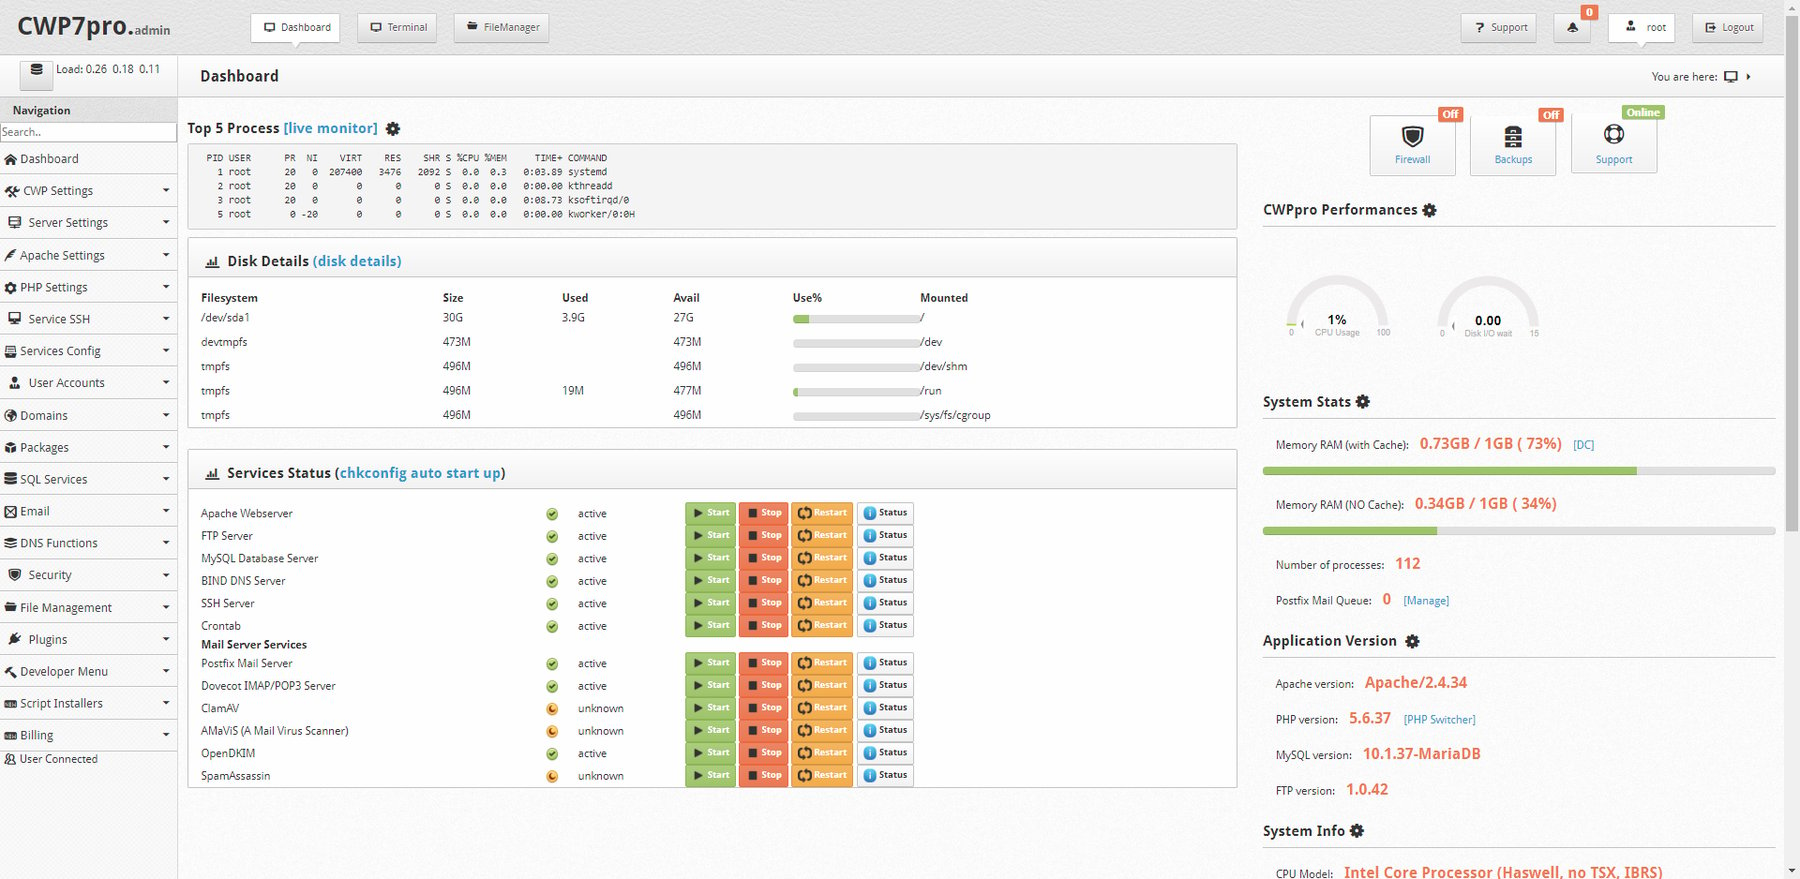
Once logged in, you should see your CWP Dashboard.
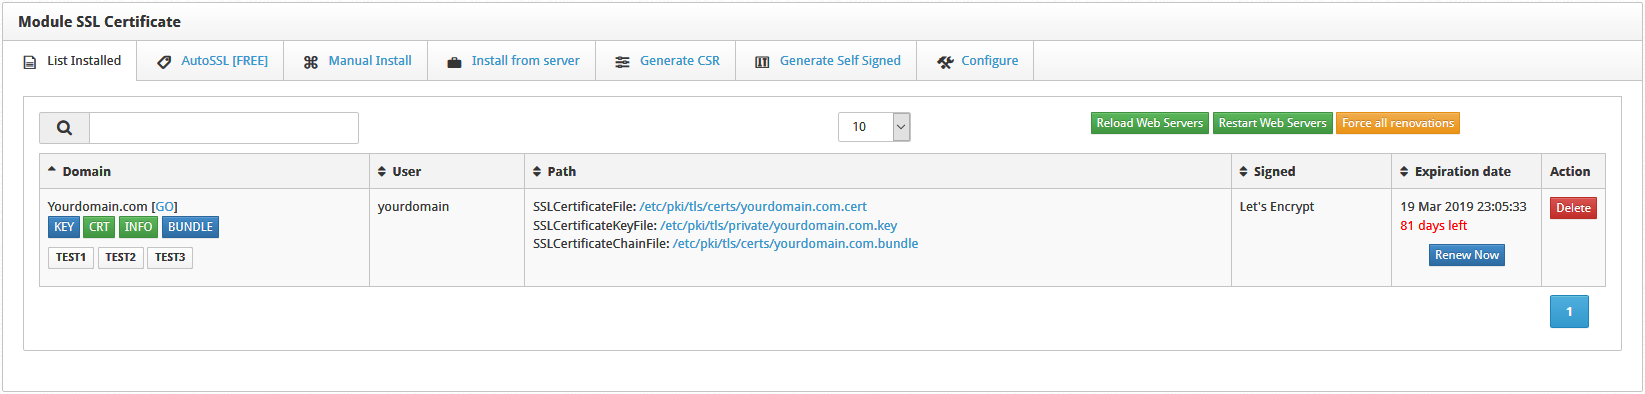
Step 2: Access SSL Certificates Module
Click on the drop-down menu titled WebServer Settings, then click on SSL Certificates. This will take you to the SSL Certificate module.


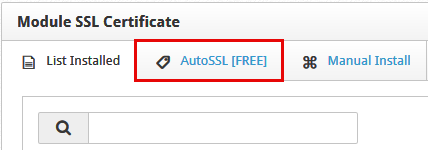
Step 3: Access AutoSSL (FREE)
At the top of the module you'll see a tab titled AutoSSL (FREE) . Click the tab.
Step 4: Enable Domain
Select the User that controls the domain you are enabling AutoSSL for. Then, select the domain to be enabled. There will be a delay while CentOS Web Panel runs background processes to determine if the domain is qualified to be enabled. Keep in mind that the selection of domains will be colored based on their status.
- Green: the domain has an active certificate installed.
- White: the status is currently unknown or is currently selected and has not been issued a certificate but remains eligible.
- Red: the domain is unable to receive a certificate.
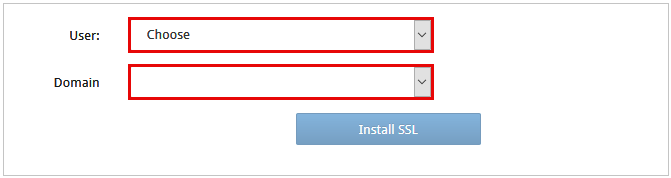
Step 5: Install SSL
Click Install SSL to install the SSL Certificate to the domain. Additionally, this action will enable AutoSSL automatic renewal.

You will receive a Successful notification in the top-right corner of the page when it is completed.

Step 6: Enable Auto-Renewal
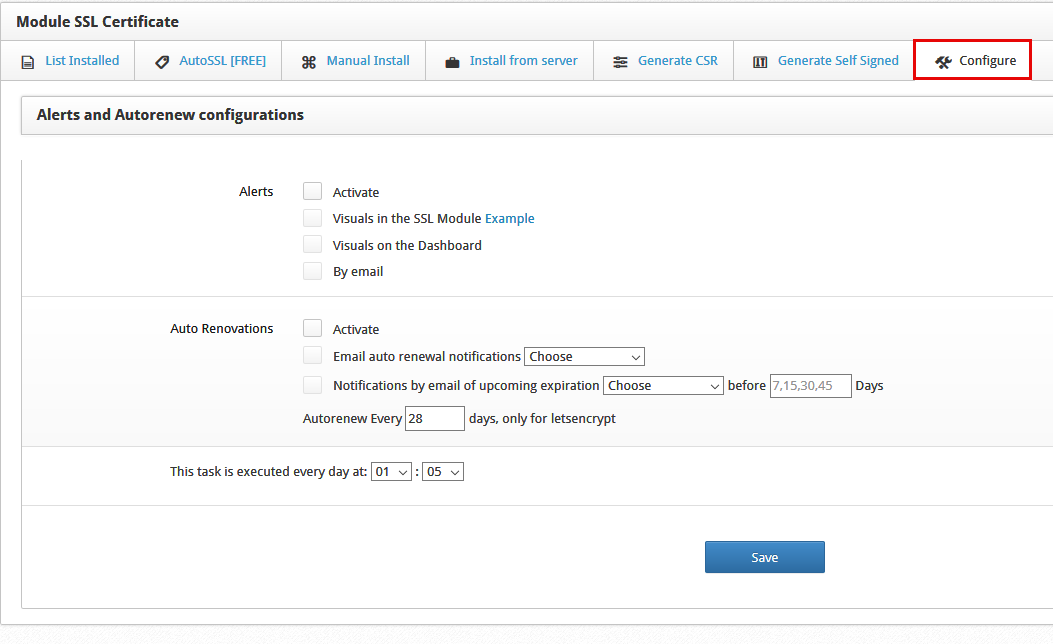
Once you've successfully installed the SSL, Click the Configure tab on the SSL Module page. This will take you to the Alerts and Autorenew configurations tab.
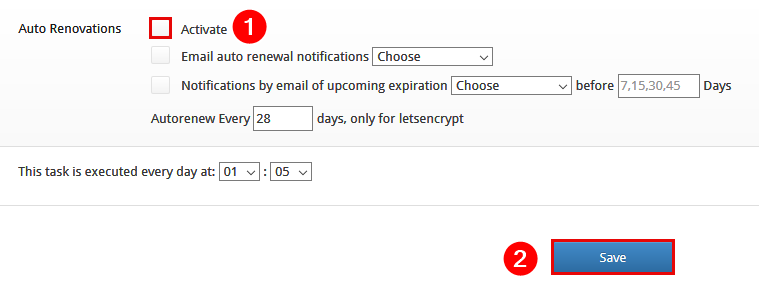
Step 7: Activate Auto-Renewal
Check the Activate box and leave other settings the same. Click Save to commit changes. Finally, your domains will be issued new certificates automatically.
Congratulations! You have enabled AutoSSL and Auto-Renewal!
Written by Hostwinds Team / December 29, 2018