
Hostwinds Tutorials
Search results for:
Table of Contents
Manage Hostname in CentOS Web Panel
Tags: CentOS Web Panel
When using CentOS Web Panel (CWP)as your web-based server management tool, you may need to modify or manage your hostname. There are many different reasons you may need to change the hostname. We will discuss how to manage hostname in CentOS Web Panel.
Managing Your Hostname
Step 1: If you are not already logged in, log in to your CWP dashboard. By default, this is done by navigating to the IP Address and accessing port 2030. It looks something like this:
192.168.1.183:2030
Once logged in, you should see your CWP7 Dashboard.


Step 2: Click on the left, then click on the link. This will lead you to the Change Hostname page. The default hostname of Hostwinds VPS servers will follow a default pattern. It will follow a similar pattern as this: "`hwsrv-000000.hostwindsdns.com."`
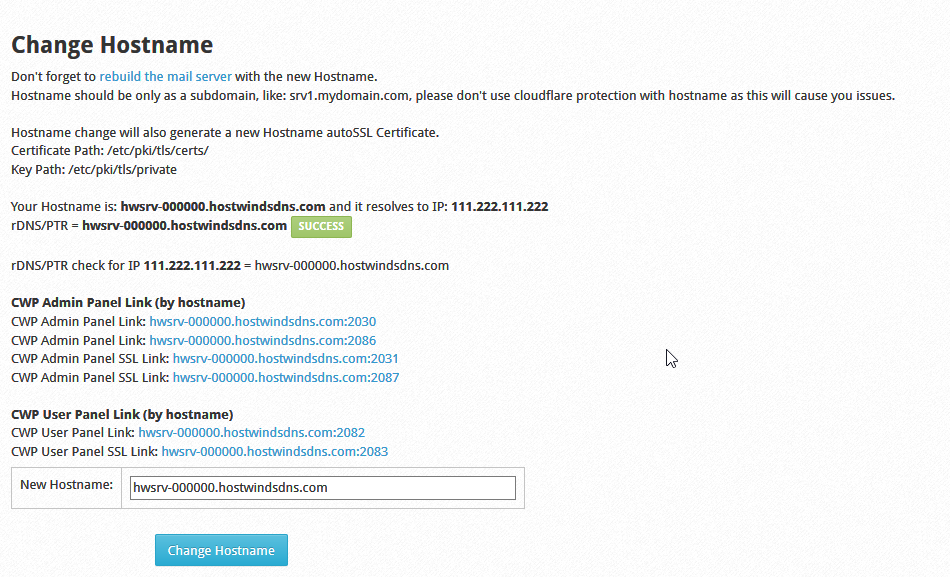
Step 3: Enter the fully-qualified domain name you want to change the hostname to in the New Hostname: box. After it is entered, click Change Hostname to confirm and commit the changes. Don't forget to rebuild the mail server, as the subtitle section reminds you to do.
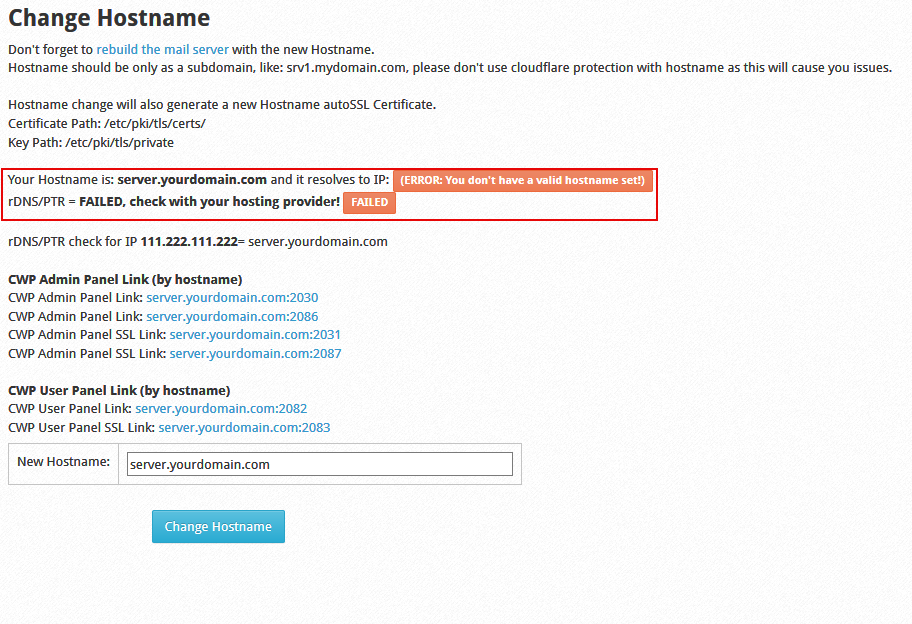
It is normal for errors to be displayed and rDNS records to complain about not being set correctly. You can set rDNS records for your Hostwinds VPS from the Manage IP's section of the cloud control portal. Adding an A Name record for the new hostname will resolve any invalid hostname errors.
Your hostname is now changed, and if you had to change any DNS settings, remember that these changes can take up to 24 hours to propagate fully globally.
Written by Hostwinds Team / December 26, 2018