
Hostwinds Tutorials
Search results for:
Table of Contents
User Adding Domains in CentOS Web Panel
Tags: DNS, CentOS Web Panel
When users set up in CentOS Web Panel (CWP), they occasionally need to add domains to their plan. This guide will go over adding domains from the User Panel in CentOS Web Panel.
Prerequisites for Adding Domains
- CentOS Web Panel installed and setup
- The user account created with a domain associated
- The nameservers set up for your server
- Change your domain's nameservers to use the ones set up with your server
- A package that allows addon domains to be added
Logging the User In
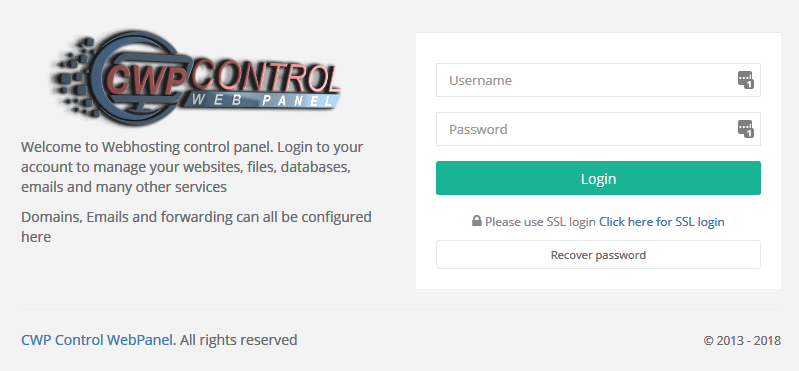
Step 1: Log in to the User Panel section of CentOS Web Panel. Access the User Panel by typing in your server IP Address and adding 2082 as a port. It may look like this:
"`1.2.3.4:2082"`
A security error may display if SSL certificates are installed on the server. Follow the instructions in your browser to continue past the error. This error is normal as you are navigating to an IP Address while the certificate is expecting a domain name. Finally, you'll see the following login prompt.
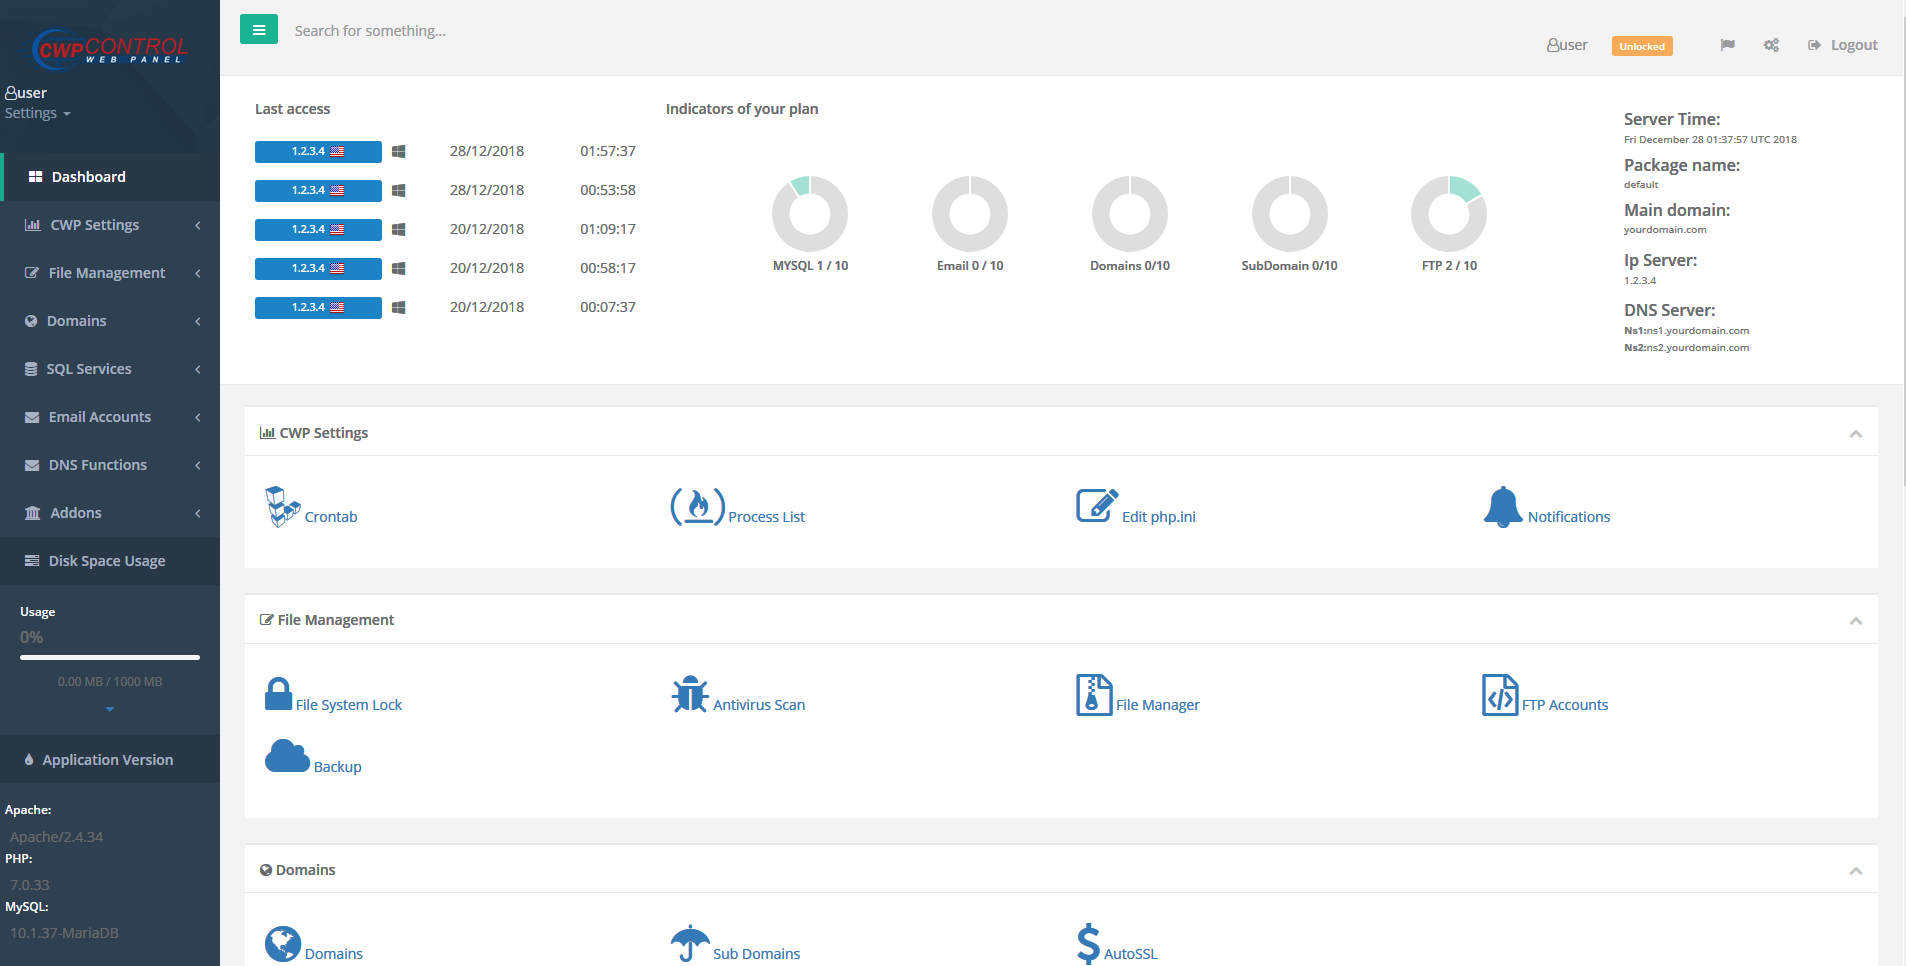
Step 2: Log in with the username and password of the user you're going to use. If you forgot this, use the admin area to manage that user and change the password. This will show you the User Panel dashboard.
User Adding the Domain


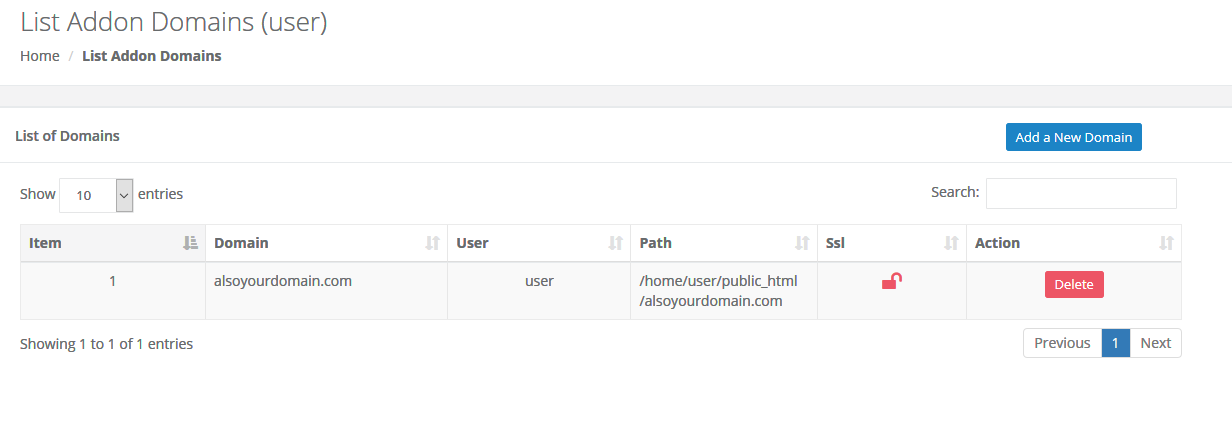
Step 3: Click on the drop-down menu. Then, click on the link. This will take you to the List Addon Domains page.
Note: this section will not list your primary domain, as this page will only show you Addon Domains.
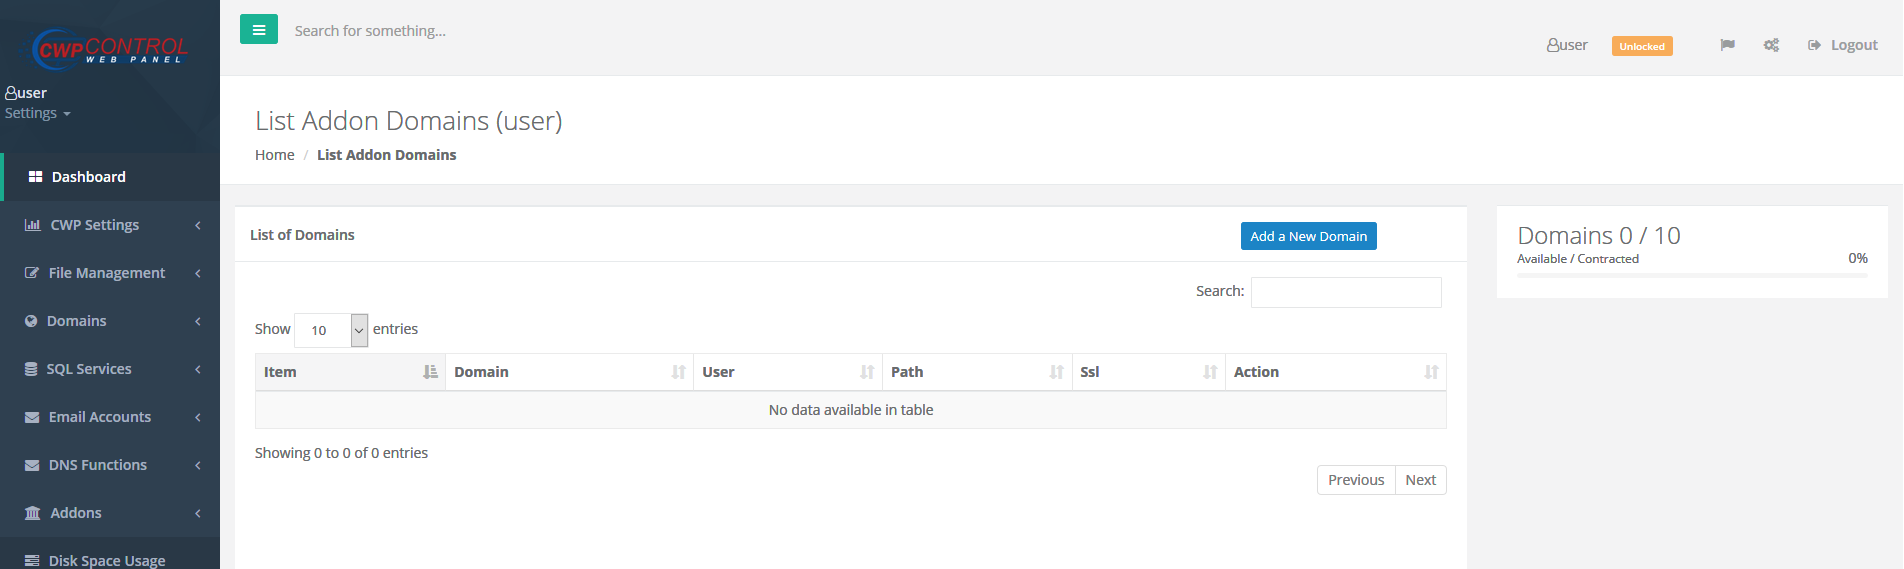

Step 4: Click the button—the Add New Domain overlay displays over your current page.
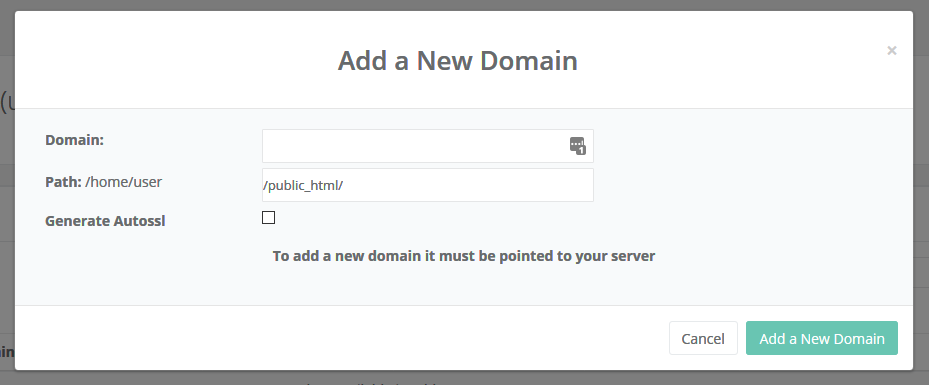
Step 5: Enter the domain you wish to add in the Domain box. Do not add www or any other subdomain. You can add these later from the DNS management page.

Step 6: Next, modify the path if you wish to use a non-default option. Otherwise, leave the default path. Check the generate Autossl box if you want AutoSSL to be enabled for this domain. You are always able to enable AutoSSL later.


Step 7: Click the text boxes to complete the process. You'll receive a Success notification in the top-right section of the page if the domain is added successfully.

After Adding the Domain
Congratulations! You have now added an addon domain to your User Panel in CentOS Web Panel. You will now see the domain listed on the List Addon Domains page.
Written by Hostwinds Team / December 29, 2018