
Hostwinds Tutorials
Search results for:
Table of Contents
How To Use File Manager In cPanel
Tags: cPanel
cPanel's File Manager provides you with an easy way to edit, upload, copy, remove and manage your web hosting files from your browser. This article will give a fundamental rundown of the methods that you can use to traverse through the file manager. Before continuing with this guide, you will want to access cPanel. If you are not sure how to do this, see How To Access cPanel.
Begin by clicking the "File Manager" icon within the "Files" section of your cPanel.

The layout of the file manager is intuitive and looks familiar to most. On the left side, you've got a directory tree that enables you to easily access any folders rapidly. On the right-hand side is a directory that lists all files and folders which happen to be inside the directory you're presently in. You may either click the folder in the directory tree or double-click the folder inside the directory listing on the right to maneuver around.
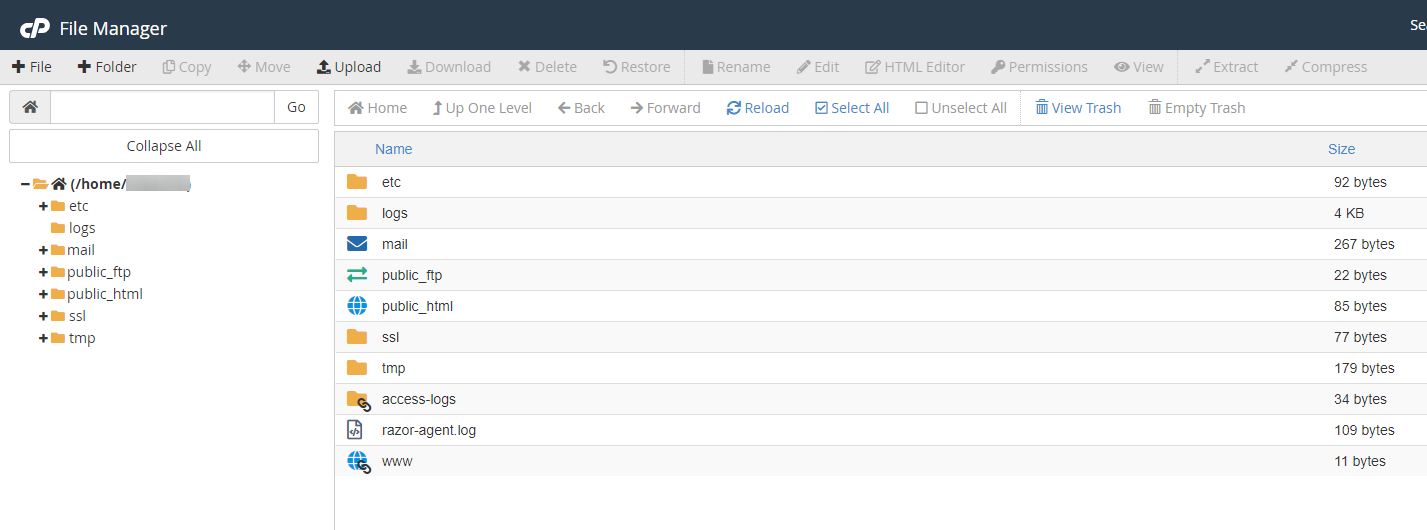
On the top of the directory tree, you see an area where you're able to input the entire path to any directory you want to go to. You then have a group of controls that act like your internet browser that affects your directory listing on the right. You're able to go back, forward, up a directory, refresh your directory you're in, or visit the home directory.

Across the top of the file, manager are some symbols: (image for reference below)
1: New File – This will create a new, blank file.
2: New Folder – This can create a new directory.
3: Copy – This can copy any selected files/folders.
4: Move – This will move any selected files/folders.
5: Upload – This is where you can upload files from your computer to your web hosting server.
6: Download – This downloads the selected files to your computer.
7: Delete – Removes any selected files/folders permanently
Hostwinds suggest downloading the file or folder to your computer to create a backup before removing files or folders from your server in case you need to restore these to your account and have a backup saved to your computer
8: Restore – Restores selected files
9: Rename – This allows you to alter the name with a file or folder.
10: Edit – This can be a simple text editor which you can use to edit any file.
11: HTML Editor – A fundamental WYSIWYG editor. Enables straightforward HTML authoring.
12: Permissions – Enables you to manage the permissions associated with a file/folder.
13: View – Enables you to see a file as you'd view it on the internet. (Great for photos)
14: Extract – This can decompress a .zip, .tar, .tar.gz, etc.. file to the directory of the selection.
15: Compress – Will compress selected files/folders into one zip, gzip or bzip file.

Managing Files And Folders In cPanel File Manager
You can manage files and/or folders within your file manager by simply right-clicking on them. When right-clicked on, available options will be displayed.
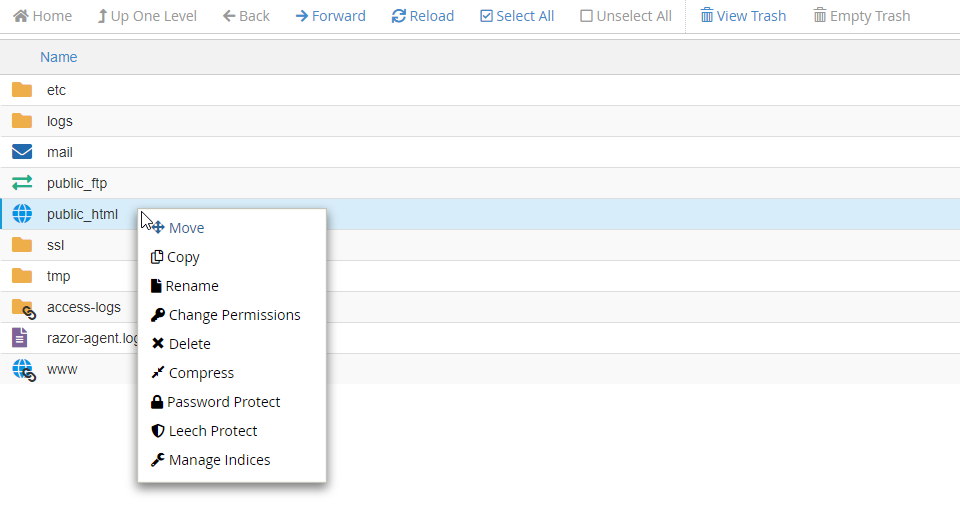
- Move – Select where you want the file or folder to be moved to by typing in the location.
- Copy – Copy the current file or folder
- Rename – Rename the file or folder
- Change Permission – Set permissions for the specific file or folder (User, Group, World)
- Delete – Delete the current file or folder
- Compress – Compress the current file or folder
- Password Protect – Set a security password for the file or folder
- Leech Protect – This allows you to detect unusual levels of activity in password-restricted directories
- Manage Indices – Manage the indexing of the file or folder (will redirect to cPanel Index Manager. The Index Manager allows you to customize how a directory will be viewed on the web.)
- Download – Download the file or folder locally
- Edit – Edit the current code or text within the file
- View – View what is currently in the file
Options may vary depending on what type of file or folder you have selected and may not always appear like the above image.
File Manager Tips
The public_html directory is your public folder responsible for what is displayed when visiting your website. Before anything added within this file will display an "index of /" page, which is completely normal.
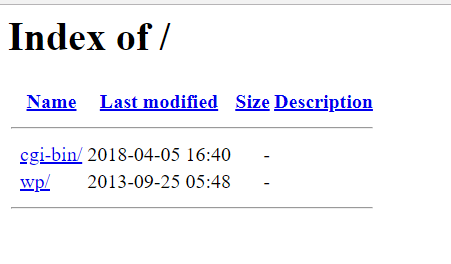
As an example, we have created an index.html file within public_html. (i.e., public_html/index.html)
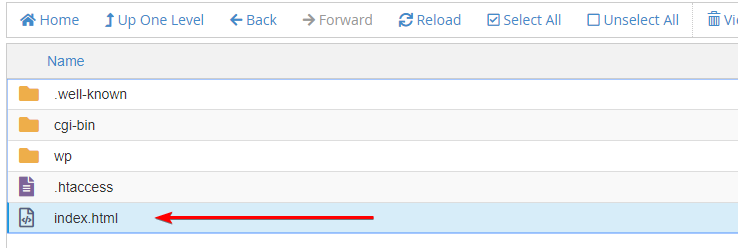
and edited the HTML within with a
tag with Hello World
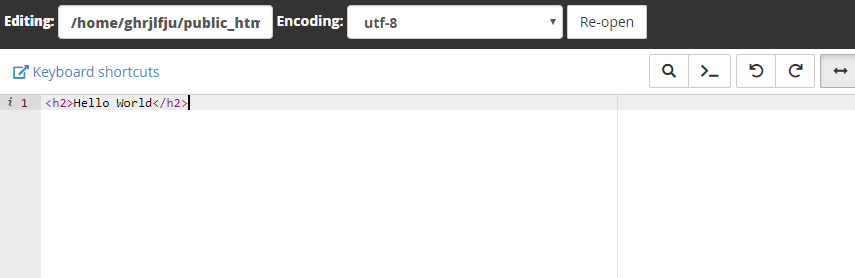
Now that we have created an index.html within public_html, "index of /" has disappeared, and your domain shows "Hello World."

Adding installations via Softaculous, like Installing WordPress using Softaculous, will automatically create the necessary files within your public_html directory in the directory that you specify during installation.
Written by Michael Brower / June 22, 2017