
Hostwinds Tutorials
Search results for:
Table of Contents
How To Edit Host Files in Windows, Linux, and MacOS
You may find that you're asked to or need to edit your host's file in some instances. At this point, you may be wondering what a host file is. A host file is a plain text file that links hostnames to IP addresses. This article will cover how to locate and edit your host's file on Windows (7, 10), Linux, and Mac OSX.
Windows 7
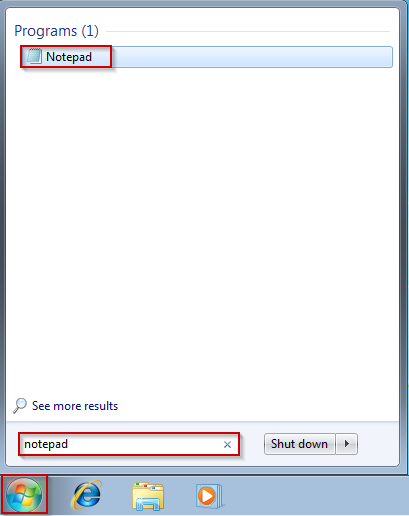
To modify your host file in Windows 7, you'll need to open the host file up in Notepad with administrative permissions. This can be done by clicking the Start icon and searching for notepad.
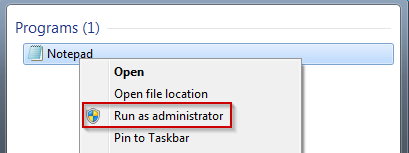
Once the results populate, right-click notepad and select Run as Administrator.
Once notepad is open, click on File, select Open, then enter the following file path and click Open:
C:\Windows\System32\drivers\etc\hosts
With the file open, you can make the necessary edits. When making these edits, you'll need to follow the IP address format and the domain name. For example, we will edit tutorials.hostwinds.com so that it loads from 192.168.1.1 like so:
192.168.1.1 tutorials.hostwinds.com
Once you have completed making your edits, be sure to save the file.
Windows 10
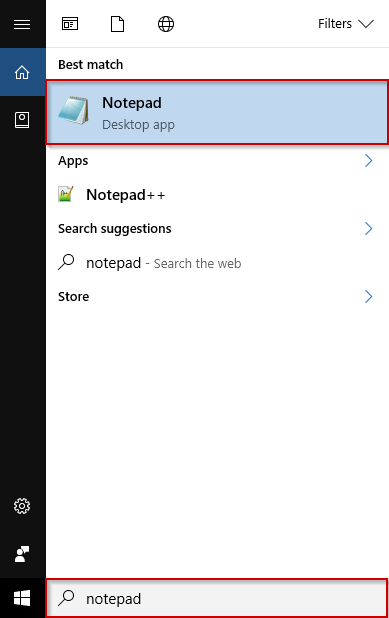
To modify your host file in Windows 10, you'll need to open the host file up in Notepad with administrative permissions, similar to editing this file in Windows 7. This can be done by clicking the Search bar and searching for notepad.
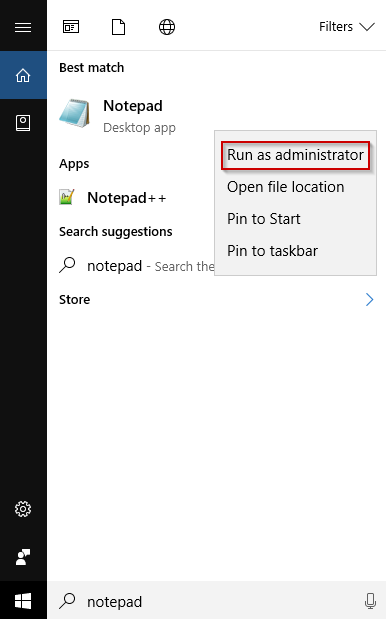
Right-click notepad from the results and select Run as Administrator.
With notepad now open, click on the File option, select Open using the following path and finally, Click the Open button.
C:\Windows\System32\drivers\etc\hosts
Just like in Windows 7, with the file open, you can make the necessary edits. When making these edits, you'll need to ensure that you follow the IP address format then the domain name. For example, we will edit tutorials.hostwinds.com so that it loads from 192.168.1.1 like so:
192.168.1.1 tutorials.hostwinds.com
Once you have completed making your edits, save the file by clicking File and then selecting Save.
Linux/Mac OSX
In most Linux distros, you can edit the host's file directly from SSH or the terminal using your favorite text editor. Likewise, in OSX, you can do the same thing. This article will use CentOS 7 and the Nano text editor for Linux and vim for OSX. To begin editing the host's file, issue the following command in Linux.
nano /etc/hosts
As a non-root user in Linux, you'd use:
sudo nano /etc/hosts
In OSX, you'd use the following:
sudo vim /etc/hosts
The hosts file should now be open, and you can begin making your necessary edits. When making these edits, you'll need to ensure that you follow the IP address format then the domain name. For example, we will edit tutorials.hostwinds.com so that it loads from 192.168.1.1 like so:
192.168.1.1 tutorials.hostwinds.com
Save the file in Nano by pressing CTRL+O, Enter, and CTRL+X.
In Vim, you'd press the Esc key followed by the colon (:) key and then type wq! in the terminal.
Are There Other Options?
Typically host files are created and edited to review your current web management tool populates before changing your DNS to your new host. Although host files can help with this, there are other available, possibly more accessible, options to achieve the same goal.
Use Your Current cPanel In The URL.
You can use the following, provided you have a cPanel account, by utilizing your dedicated IP and cPanel username as the following in the URL, replacing "xxx.xxx.xxx.104" with your IP and "cpanelusername: with your username provided:
xxx.xxx.xxx.104/~cpanelusername
Typing the following into your URL will show you whatever is within your CPanel >> File Manager >> public_html (root) folder. Furthermore, if you need to examine deeper folders or files, you would extend the "cpanelusername" with the directory you wish to review, like the following:
xxx.xxx.xxx.104/~cpanelusername/nextfolder/thisfile
Use Skipdns.link or similar Third Party Applications
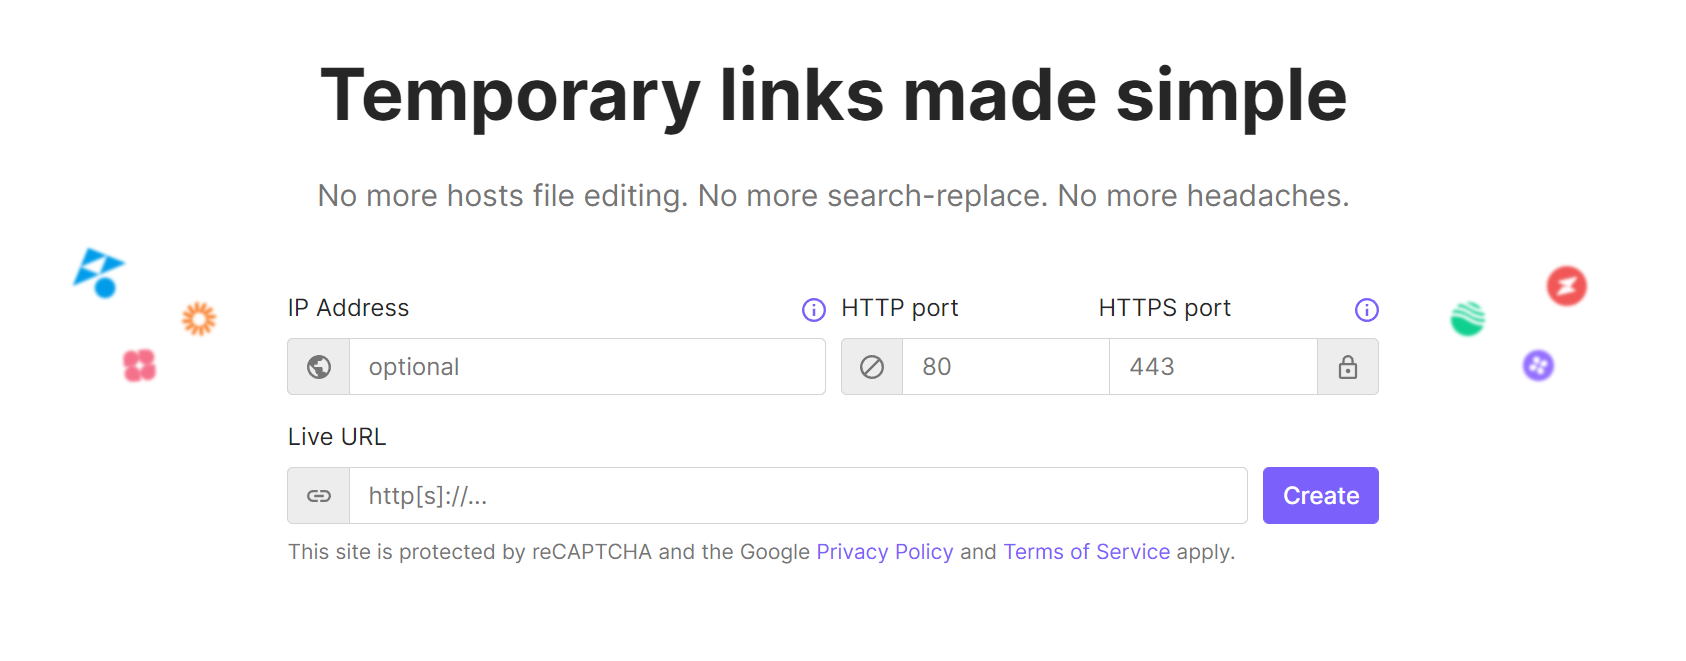
When examining your CPanel like above, one issue is certain plugins may or may not apply or function appropriately until fully utilized and hosted as intended. Using https://www.skipdns.link/ is a great tool to thoroughly examine what your web management tool will render when fully pointed to. Put in your provided dedicated IP and website name within your web management tool, and it will show you what would display if already fully hosted.
Written by Dustin Waggoner / June 22, 2017