
Hosting Tutorials
Search results for:
By default, Hostwinds Windows Cloud VPSes do not have audio enabled. This guide will demonstrate how simple it is to enable this feature to allow you to hear audio playing on your server.
If you require logging into a Windows Server, please see our guide for connecting using Remote Desktop Protocol (RDP).
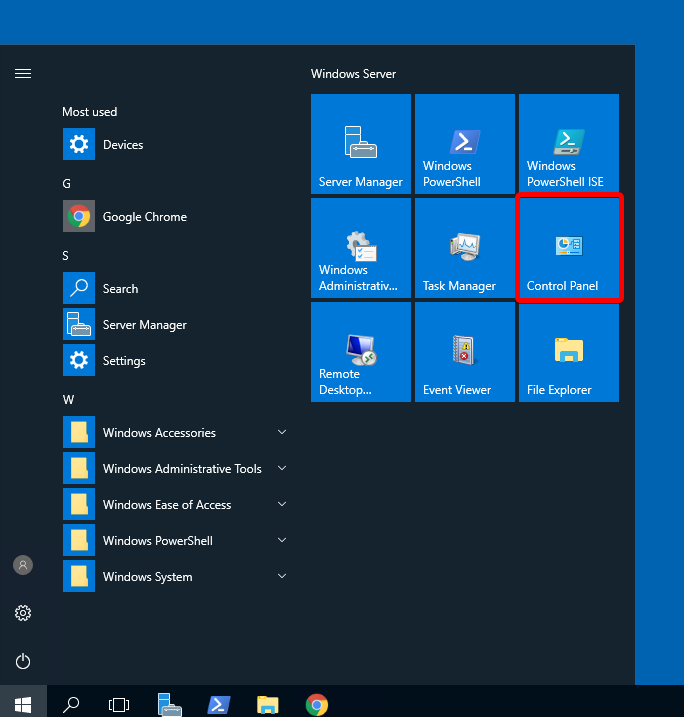
Step One: Start Menu, select Control Panel or start typing the words "Control Panel" to search for it on your system.
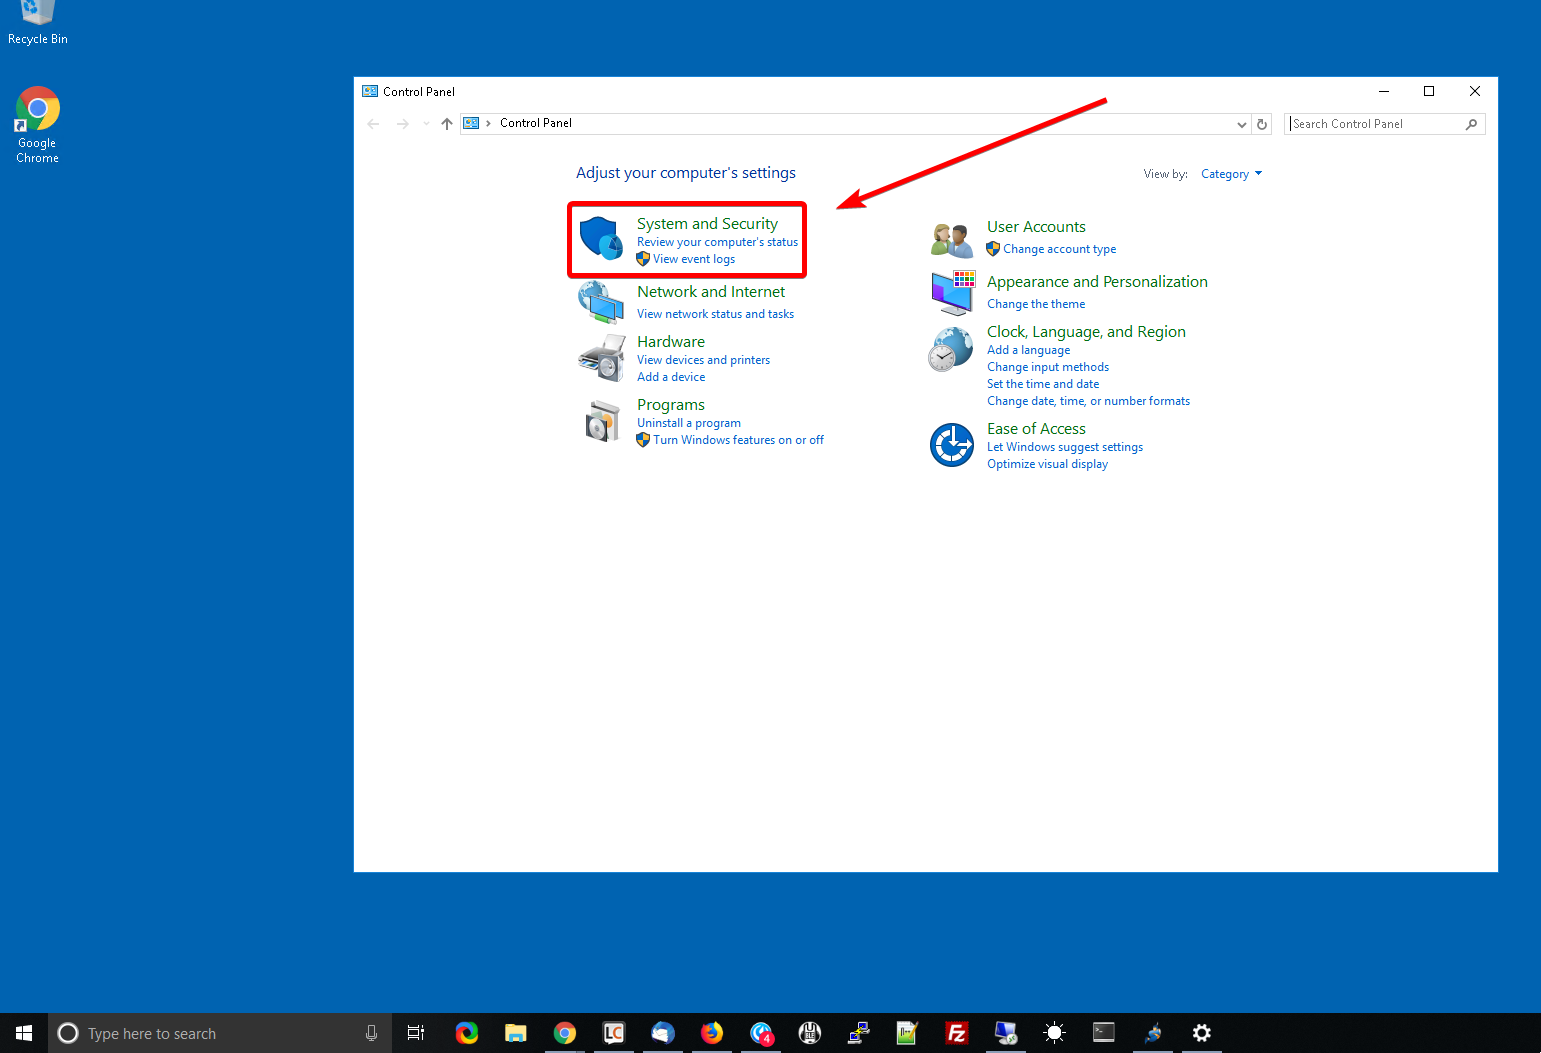
Step Two: From the Control Panel, select the System and Security section.
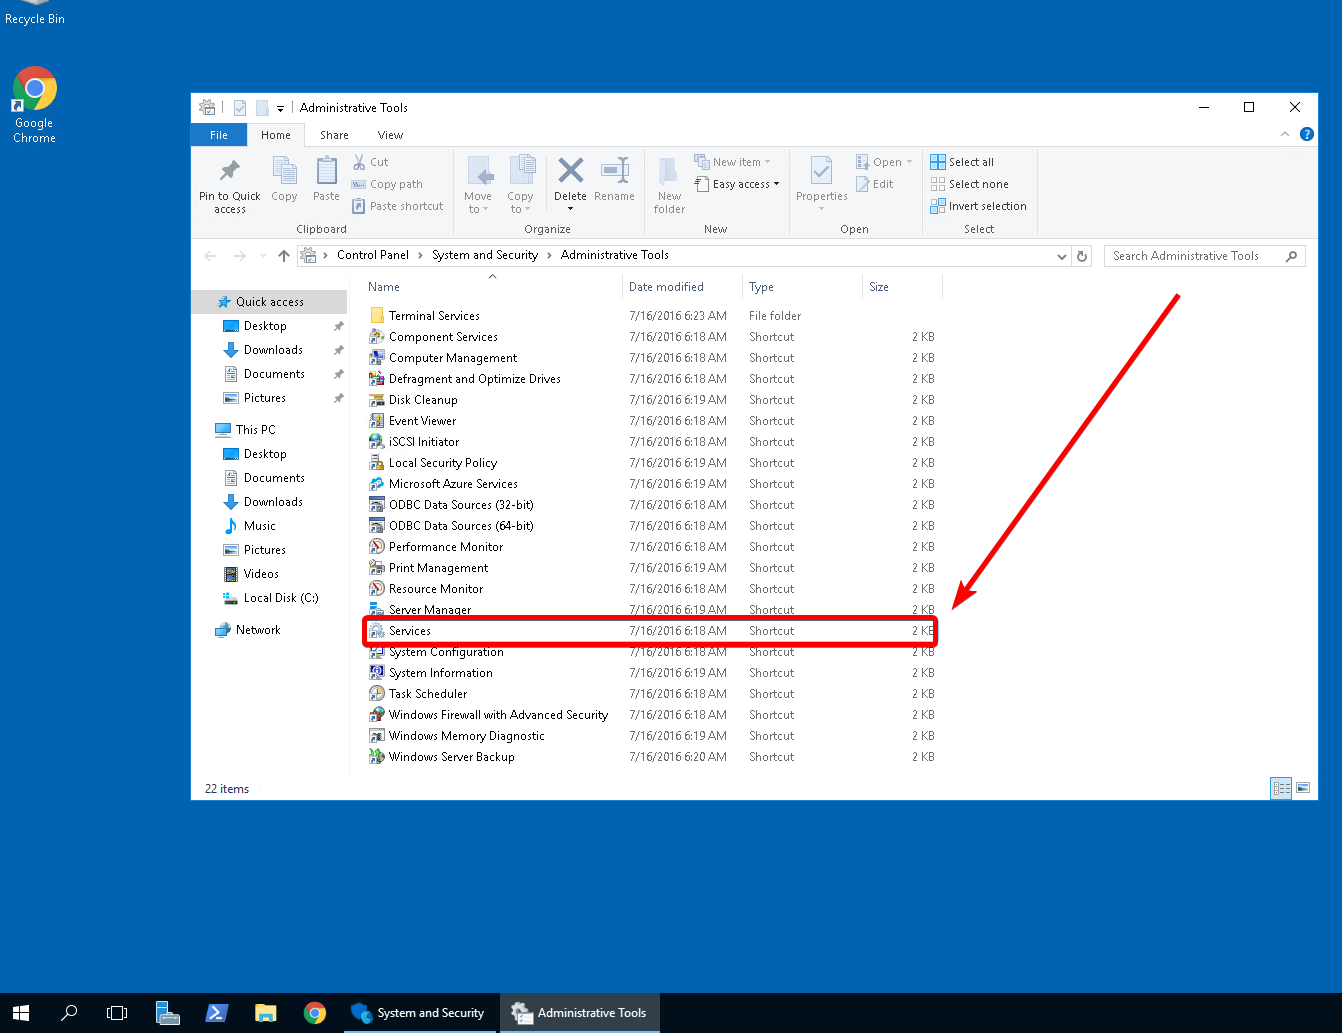
Step Three: From System and Security, select Administrative Tools

Step Four: Select Services under Administrative Tools to show a listing of services running.
Step Five: From this list of Services, look for Windows Audio and Windows Audio Endpoint Builder. You will need to enable and start both of these services, shown in the next two steps.
You must start the Windows Audio Endpoint Builder service first. Otherwise, you may receive an 'Error 1068' when trying to start the Windows Audio service.
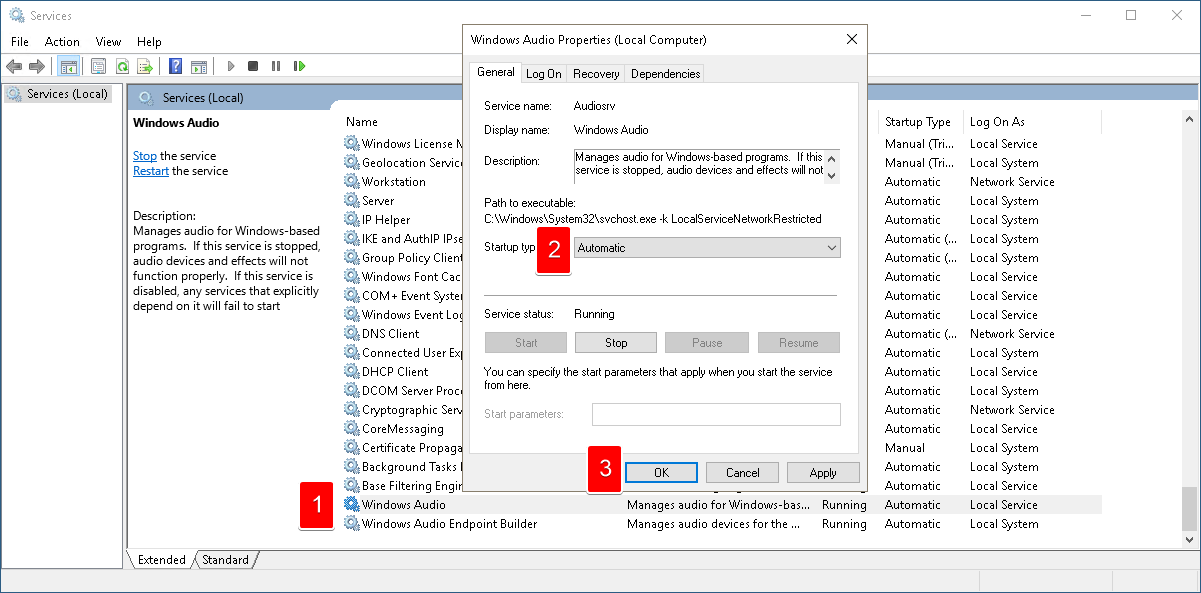
Step Six: Select the service for Windows Audio Endpoint Builder. Right-click on it, and then select Properties. From this screen, you will select Automatic from the drop-down menu, then click Apply. Then click the 'Start' button to start the service.

Step Seven: You can now close the window for Services that both Windows Audio and Windows Audio Endpoint have been set to Automatic.
With both of those services running, you should now have audio support through your remote desktop connection to the server.
Written by Hostwinds Team / April 15, 2019