
Hostwinds Tutorials
Search results for:
Table of Contents
How Do I Add An IPv6 Range Through WHM?
Tags: WHM
Before you can assign individual and specific IPv6 addresses to users, you must first define their range. A range of addresses is a cluster of a few IPv6 addresses. Through this function in WHM, you'll be able to add, edit and delete the ranges you want. Follow this guide to set up the ranges for IPv6.
Adding An IPv6 Range Through WHM
Step 1: Log in to your WHM account
Step 2: Head to Home > IP Functions. You can select IP Functions from the available home menu or locate them within the available organized columns on the left-hand side.
This can be located quickly by searching for "ipv6" in the search box.
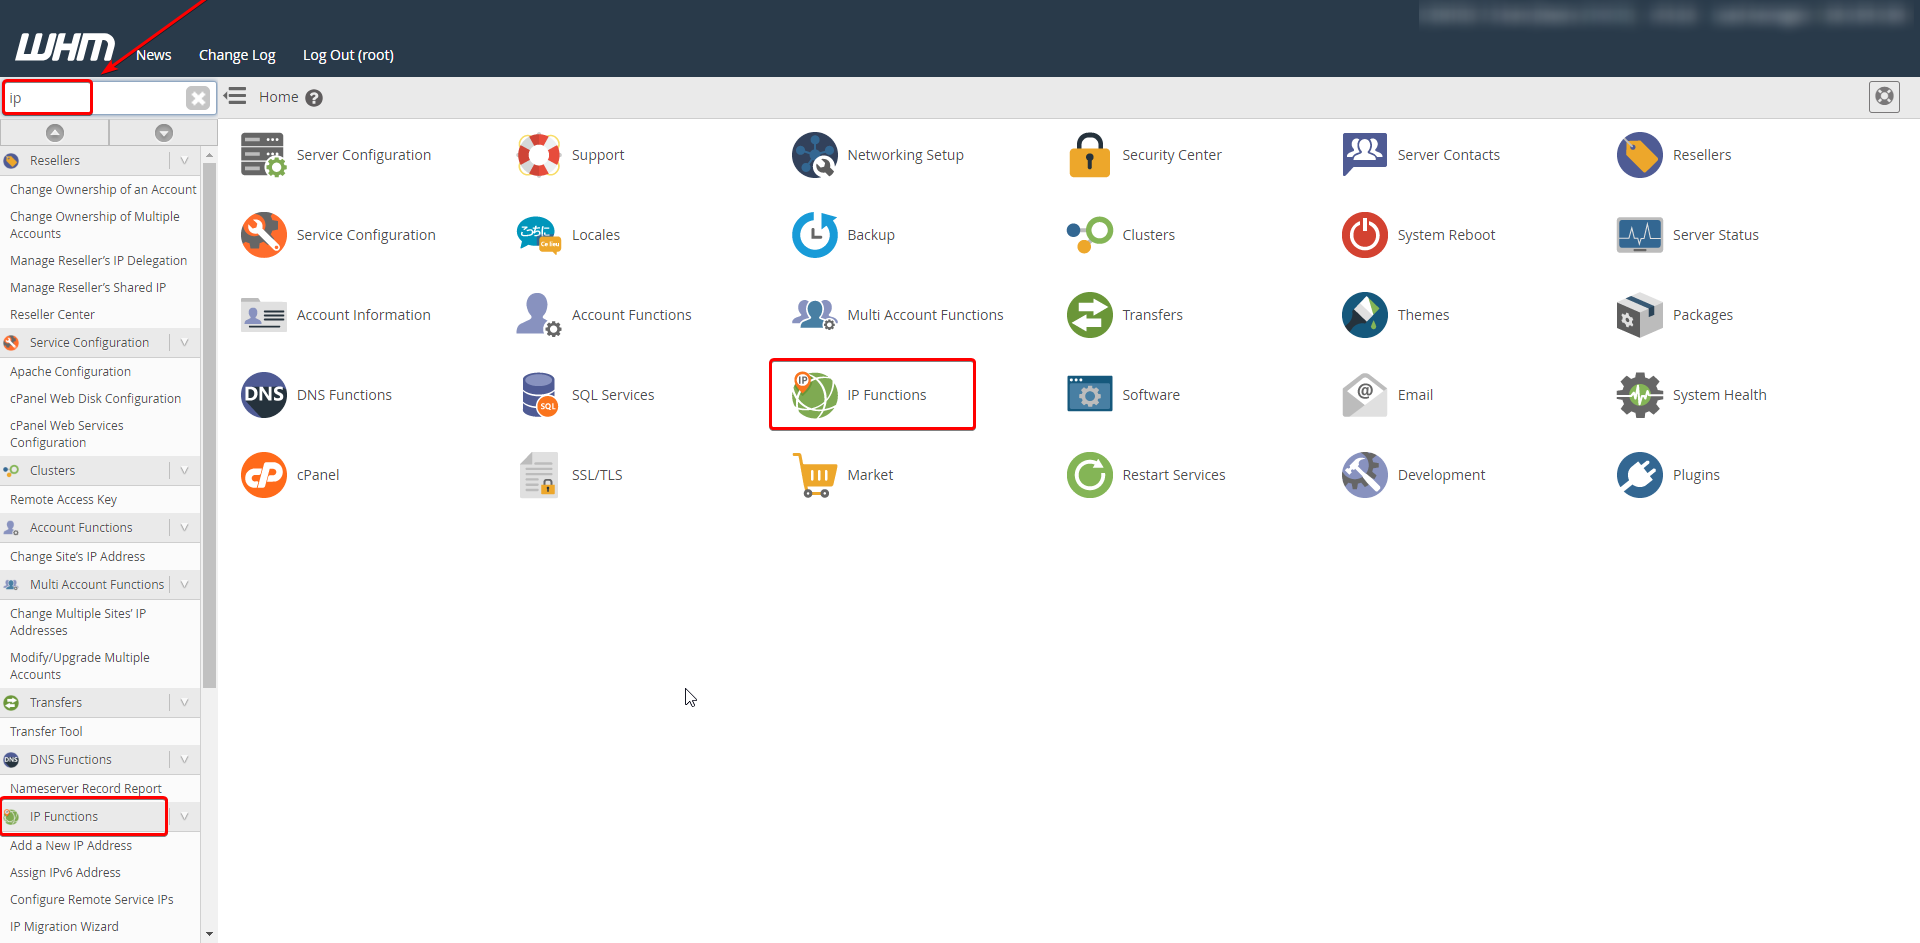
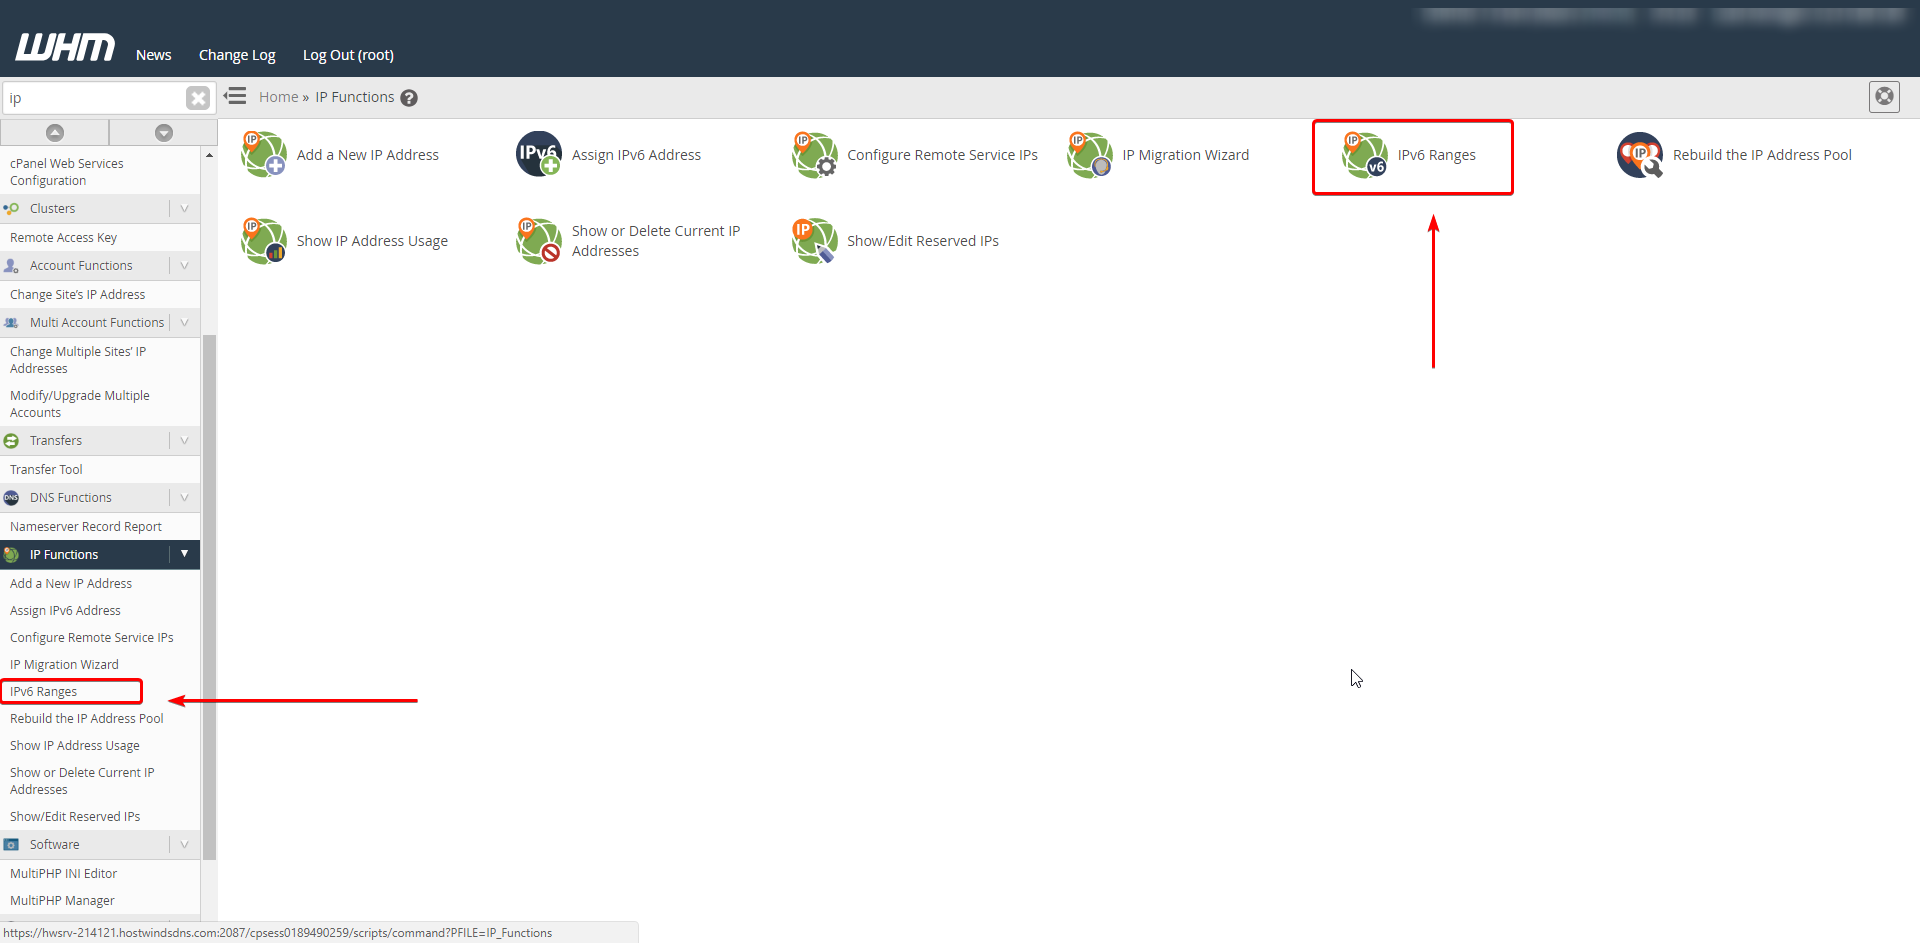
Step 3: Find and choose IPv6 Ranges
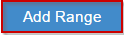
Step 4: Click the Add Range button
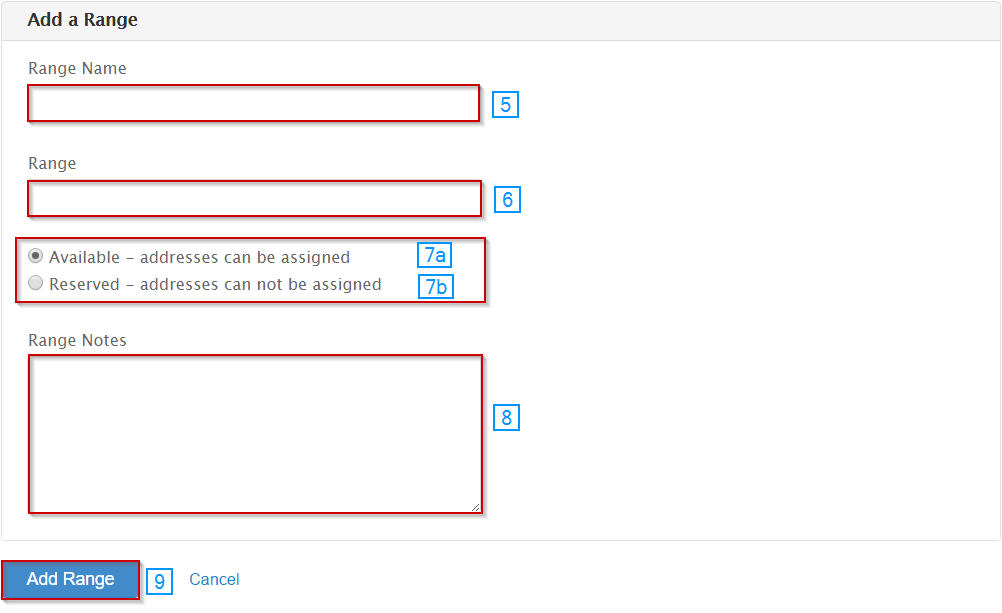
Step 5: Type the name for the range in the Range Name text box
Step 6: Type in the IPv6 range you want into the Range text box
The range is made up of shortened address, a slash (/), and an indicating number for the network part of the IPv6 address
Step 7: Choose either the Available or Reserved button
7a: Available – addresses can be assigned
7b: Reserved – addresses can not be assigned
Step 8: Include a description of the range in the Range Notes text box
Step 9: Click the Add Range button
Make sure your server is configured for IPv6 before you attempt to add them. If you need help with this, see our guide on how to add IPv6 assignments.
Written by Hostwinds Team / December 13, 2016