
Hostwinds Tutorials
Search results for:
Server security is a significant thing to think about nowadays. Some minimal changes can greatly increase the security level of your server. One of these simple changes that can be applied in Windows is changing the default port used to connect to RDP. This is not a complicated process; however, it does require making a change to the Windows Registry. If you do not feel comfortable working with the registry, our support is always available for assistance. The steps below outline how to complete this task and are the same for any current version of Windows offered by Hostwinds.
1. Click on the Windows button and type 'Regedit in the search box. You'll see the Regedit program filter in the search. Click on this to open the registry editor.

2. Once the Registry Editor is open, navigate to the registry subkey noted below:
HKEY_LOCAL_MACHINE\System\CurrentControlSet\Control\Terminal Server\WinStations\RDP-Tcp\PortNumber
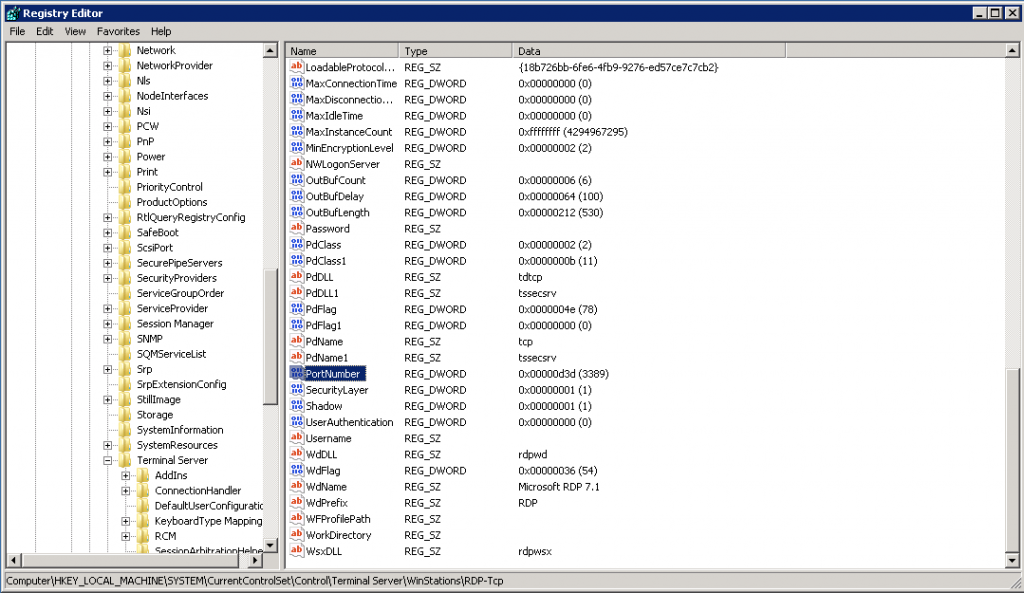
3. After selecting 'Port Number' as shown in the image above, click on the 'Edit menu at the top of the screen and select 'Modify' from the drop-down menu. This will open a smaller window shown in the image below. Select the 'Decimal' radial button in this window.
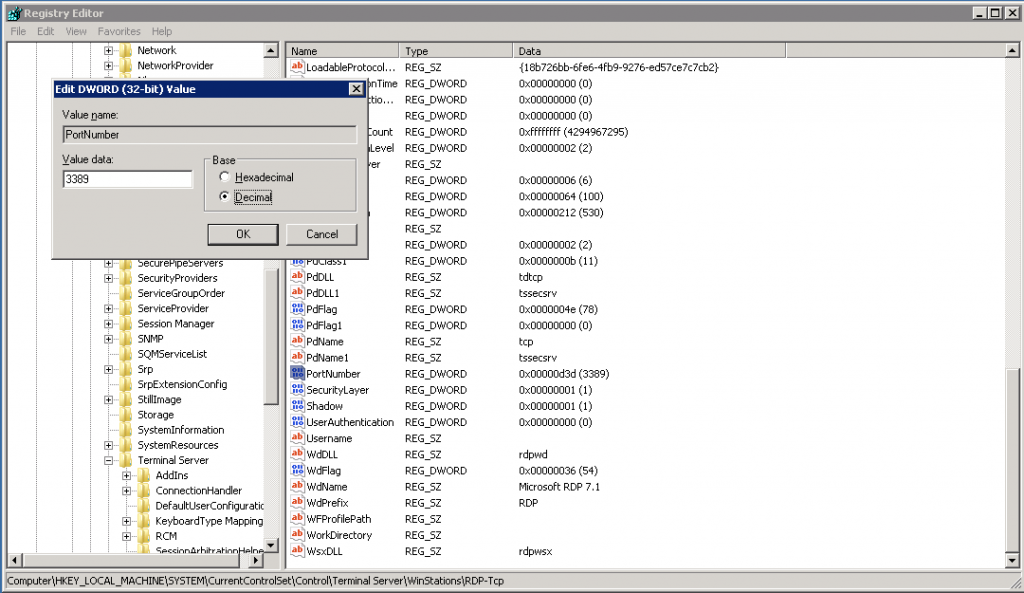
4. Type the new port number into the 'Value Data' field and then click 'OK.'
5. Close the Registry Editor
6. Restart the VPS or Dedicated server. Once it comes back, online RDP will be accessible via the new port instead of the default port of 3389.
As always, if you have any trouble with this or need any further assistance, feel free to contact our 24/7 Live Chat.
Written by Hostwinds Team / May 1, 2018