
Hostwinds Tutorials
Search results for:
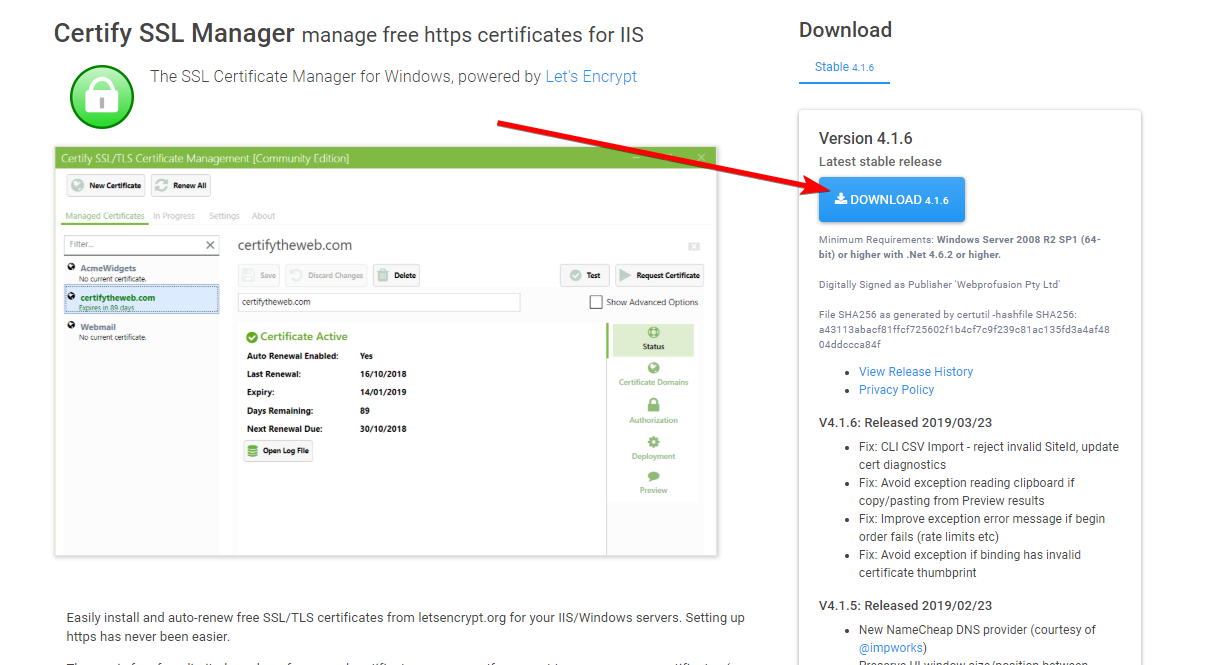
It is quite easy to install an SSL certificate for a website hosted on a Hostwinds Windows Cloud VPS or Dedicated server, as you have the added benefit of using GUI controls. To begin, you will want to download the latest release of Certify from Certify The Web. This tool uses Let's Encrypt to certify your domain.
Use remote desktop to log into your Hostwinds Windows VPS or Dedicated Server.
Navigate to https://certifytheweb.com
Click the Download button on the right side of the website, ensuring you are installing the latest version.
Open the executable and proceed through the installation, which will require you to enter a contact email address and accept the terms of service.
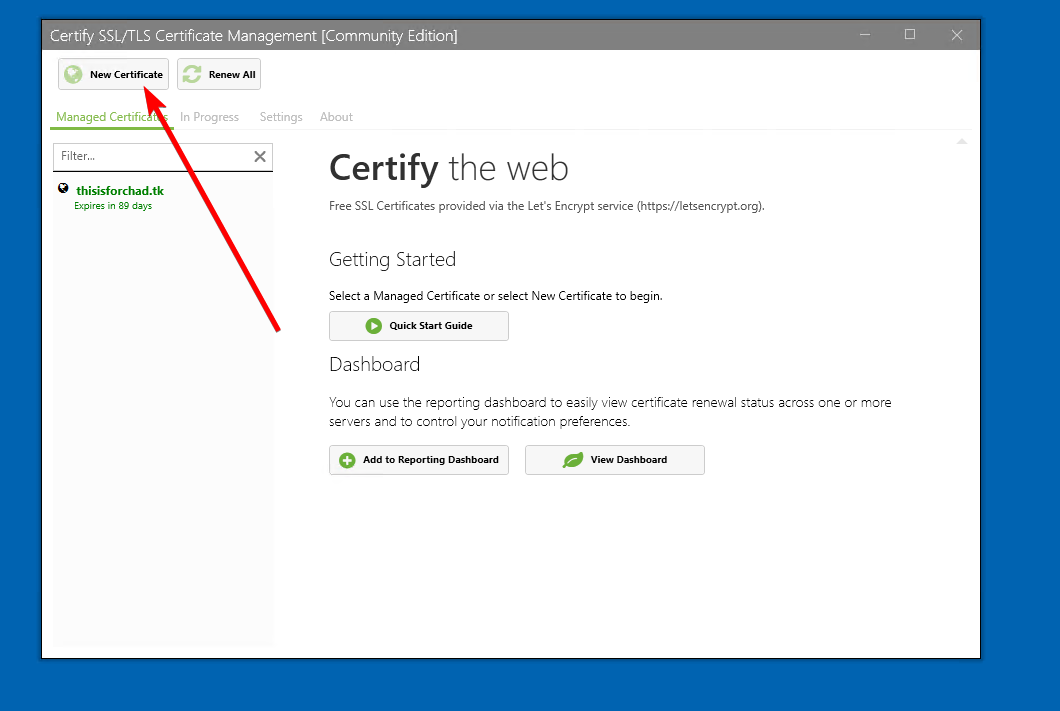
Once finished, open Certify The Web from the location you installed it to.
Click the New Certificate button in the top left of the application.
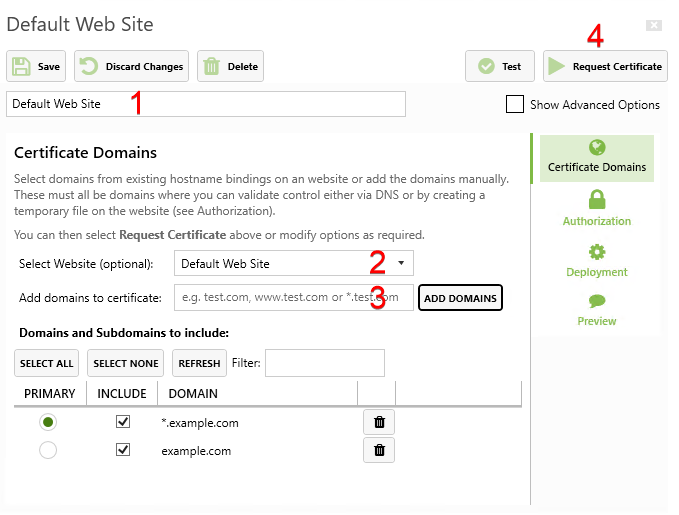
Name your certificate, select the website, and add any additional domains to the certificate, such as subdomains. Please keep in mind that this can also accept a wildcard entry (e.g., *example.com)
After this, you will want to click the Request Certificate button in the top right corner. After it is finished, you will see a success message. You can now close the application.
You will now want to go to the IIS manager and add a binding for port 443 using https. Be sure to select the newly installed SSL certificate from the dropdown menu on the binding page.
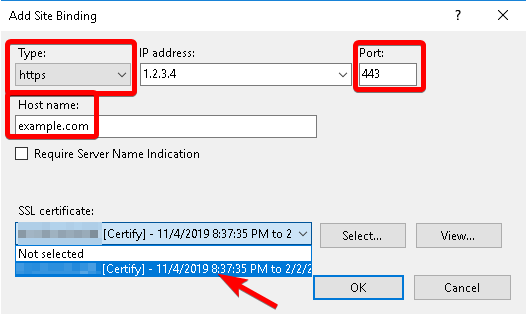
Click OK, and your website now has a valid SSL certificate!
Written by Hostwinds Team / November 8, 2019