
Hostwinds Tutorials
Search results for:
In this guide, we will be going into the step-by-step installation process for Grafana on a CentOS or Fedora Linux Distribution. All you would need for this guide is to connect to your Hostwinds server with either distribution. If you have everything, then let's get in to start installing Grafana.
When you install Grafana to your server, you will have two choices. You can either install the Open Source version or the Enterprise version. Both options would be free at the point of installing the service, but if you feel like you would like the Enterprise service that Grafana offers, you would only upgrade seamlessly with the Enterprise version. Here is a link to learn more about the Enterprise service: https://grafana.com/products/enterprise/. Since there are these two options to install, we will be going through both options in this guide. If everything is ready, then let's start to install Grafana.
We will be installing Grafana from the YUM repository. We do this so that every time you run "sudo yum update," you will be updating this service as well. The first thing you will need to do is add the file to the repo. First, run this code:
sudo nano /etc/yum.repos.d/grafana.repo
This will prompt you to enter the new install files. You will need to add the information for which version you would like.
Enterprise:
[grafana]
name=grafana
baseurl=https://packages.grafana.com/enterprise/rpm
repo_gpgcheck=1
enabled=1
gpgcheck=1
gpgkey=https://packages.grafana.com/gpg.key
sslverify=1
sslcacert=/etc/pki/tls/certs/ca-bundle.crt
OSS:
[grafana]
name=grafana
baseurl=https://packages.grafana.com/oss/rpm
repo_gpgcheck=1
enabled=1
gpgcheck=1
gpgkey=https://packages.grafana.com/gpg.key
sslverify=1
sslcacert=/etc/pki/tls/certs/ca-bundle.crt
Now that you have the Repo added, you will want to run and update to make sure that you have the most recent version.
sudo yum update
Now that you have added the Repo file and have the most recent version, you can install Grafana.
Enterprise:
sudo yum install grafana-enterprise
OSS:
sudo yum install grafana
Now you should have Grafana installed on your server. Congrats! Now you need to start Grafana to run the application. This is just a simple command that you will need to use to run Grafana.
sudo /bin/systemctl start grafana-server.service
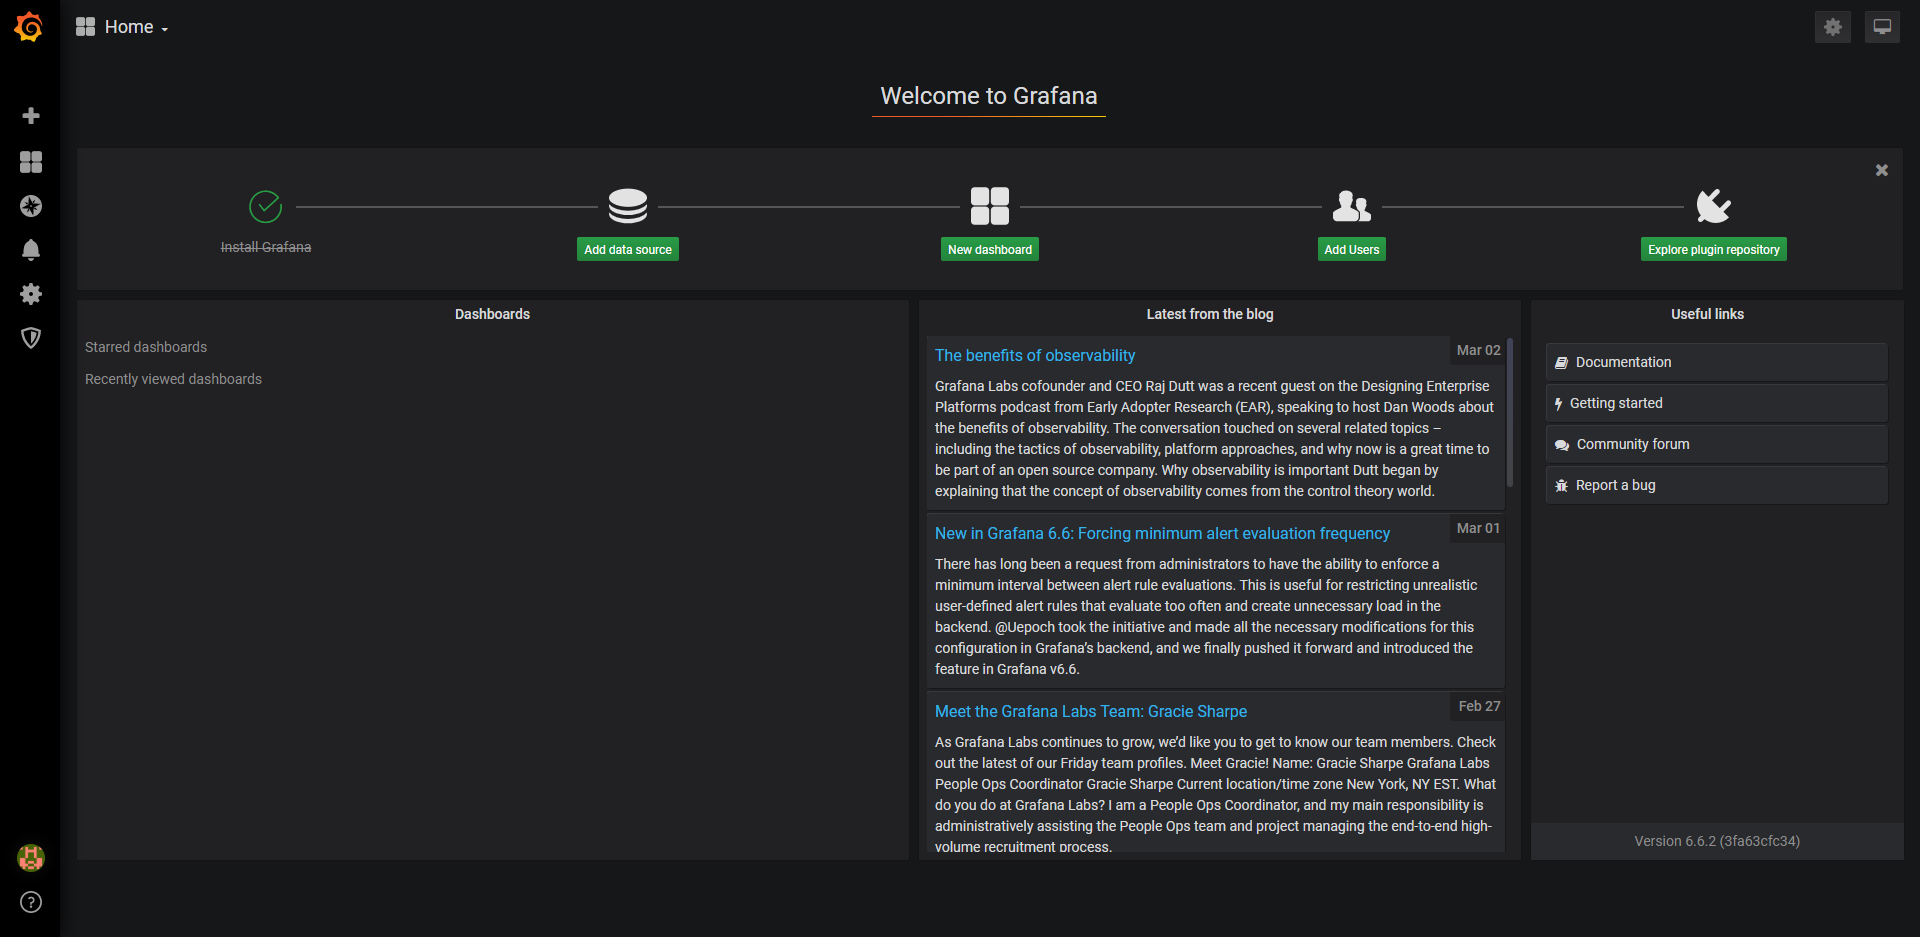
Now that Grafana is running, all you need to do is access it. For this, you will need to go to your favorite browser and enter your IP with port 3000. An example of this would be "yourIP:3000" or " 192.168.1.2:3000". Once you enter that, you should see this screen:

Once you get to this screen, you will want to enter the username as "admin" and the password as "admin" as well. When you have entered this information, it will ask you to change your password.

Lastly, once you enter that new password or skip that process to keep the same password, you will be able to enter your Grafana application.
Written by Luke Johnston / March 11, 2020