
Hostwinds Tutorials
Search results for:
Table of Contents
How to Install OWNcloud on a Cloud VPS
Tags: Cloud Servers, VPS
OWNcloud is software that shares files much like Google Drive and iDrive. Users can safely upload and download files with ease. However, OWNcloud gives ultimate control to the user that installs and uses it. Additional OWNcloud benefits include, but are not limited to:
- Security
- Reliability
- Efficiency
OWNcloud Requirements
All that is needed to begin installing OWNcloud is a server with root access, such as SSH. A Linux server with Centos 8 operating system installed on it will be able to host OWNcloud too.
Additional requirements would include installing a LAMP (meaning Linux, Apache, MySQL, and PHP) stack for the fundamentals of running OWNcloud. The below steps will help prepare your VPS server and begin the installation of OWNcloud.
OWNcloud Preparation
Before installing OWNcloud can be done, you will need to first prepare the following on your server by logging into your server via SSH.
Update the OS
Step 1: Before beginning further installation, ensure the OS is up-to-date by running the following command.
yum update
Install Apache
Step 1: Install Apache as the webserver. Enter "Y" for yes when prompted to do so.
dnf install httpd httpd-tools
Step 2: Enable Apache using this command.
systemctl enable httpd
Step 3: Set Apache to start upon booting,
systemctl start httpd
Step 4: Once you have done so, check the status of Apache (httpd).
systemctl status httpd
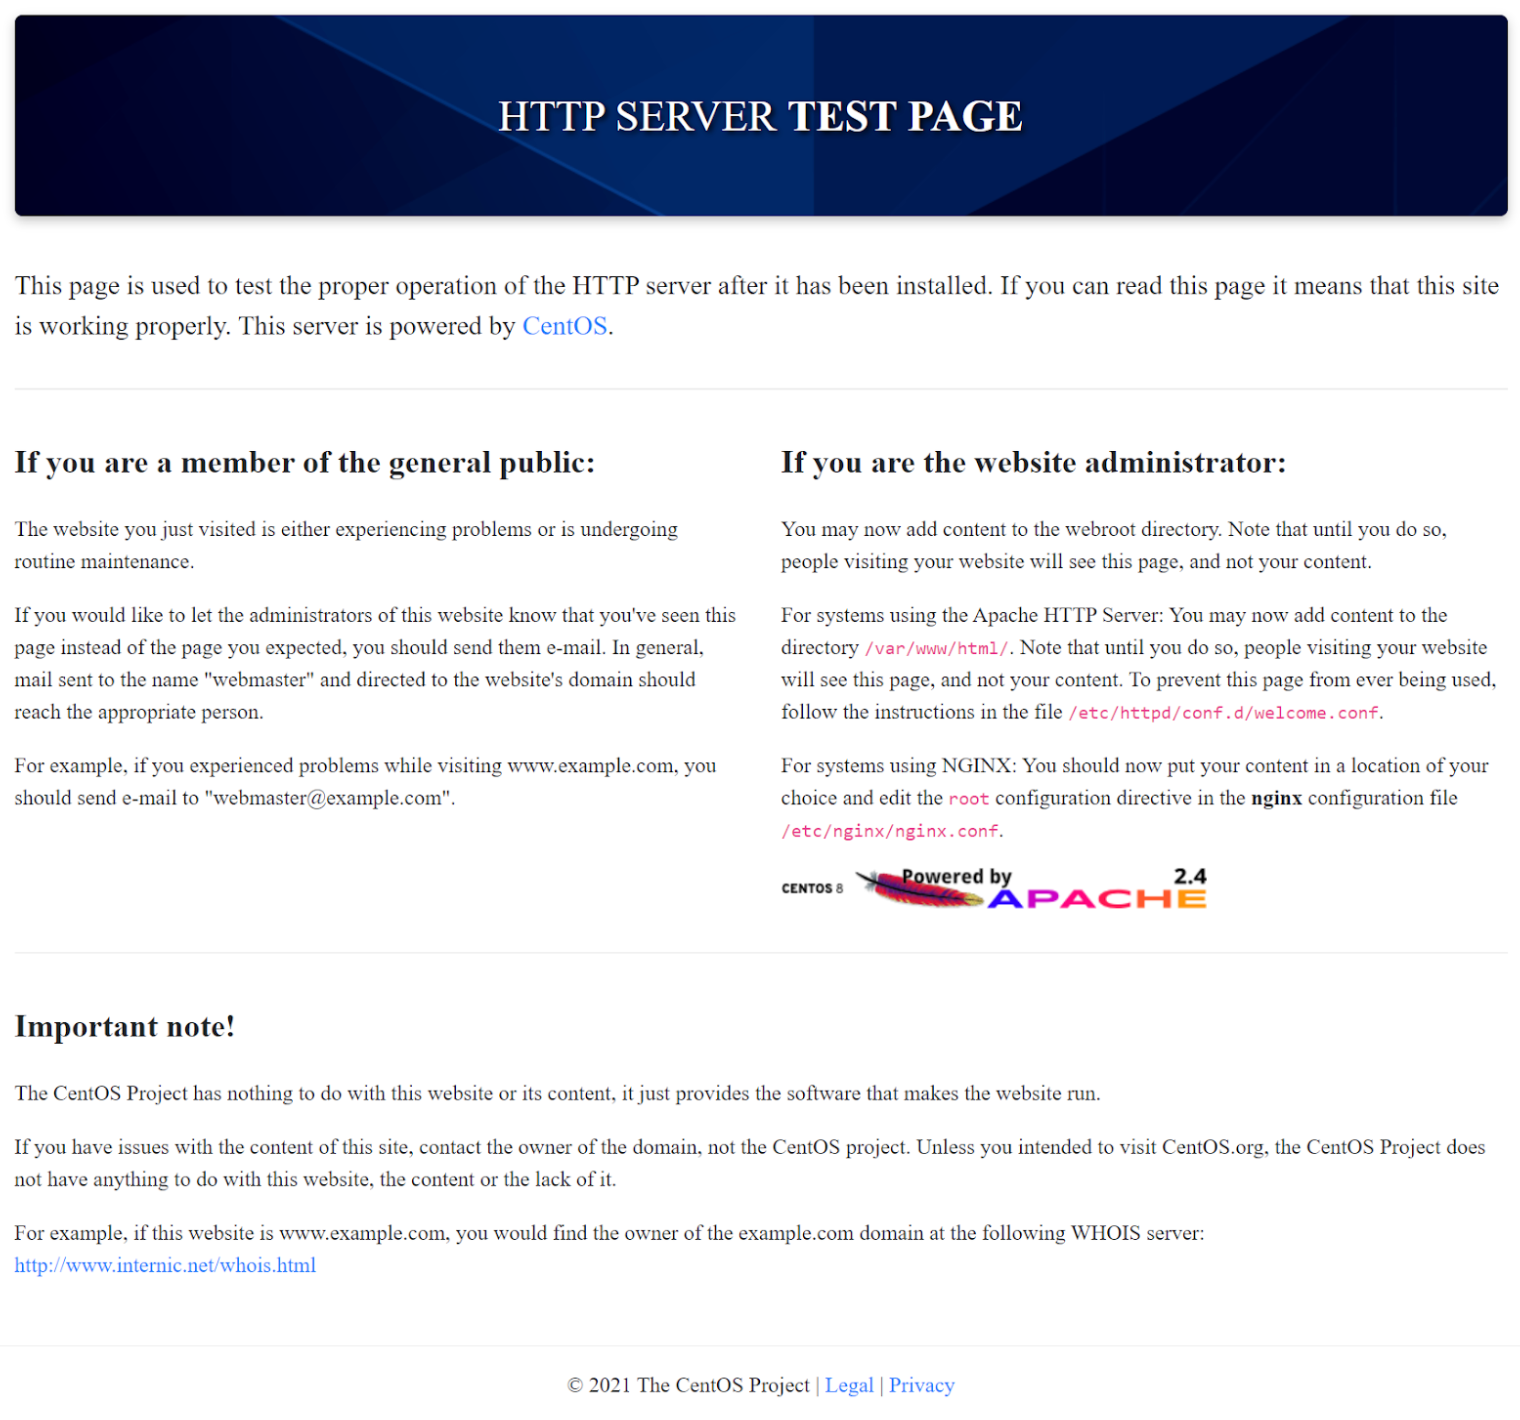
Step 5: Apache will then install and verify. When this is complete, check that it is working correctly by navigating to your server's IP in the URL. An HTTP Server Test Page will appear if everything is correct.
Install MySQL
Step 1: Prepare your database for Drupal by installing MySQL.
dnf install mysql-server mysql -y
Step 2: Enable MySQL by entering the following command.
systemctl enable --now mysqld
Step 3: Set mySQL to boot upon server start-up.
systemctl start mysqld
Step 4: You will need to verify MySQL is active.
systemctl status mysqld
Step 5: Secure your MySQL now that it is active.
When prompted for your MySQL password, choose a password strength of between 0 and 2. Next, enter a password according to the strength you require. Note that Hostwinds always recommends keeping your data as secure as possible with a high-strength password. Once you have done so, proceed with replying YES to:
- Do you wish to continue with the password provided?
- Remove anonymous users?
- Disallow root login remotely?
- Remove test database and access to it?
- Reload privilege tables now?
mysql_secure_installation
Step 6: Now that it has fully installed, log in to your installed MySQL.
mysql -u root -p
Step 7: Next, create a database for the OWNcloud installation, which will require a user with privileges. We are using "owncloud_user" and "Securepassword" as an example for the OWNcloud database username and password. You must replace these inputs with your specific user and password to continue.
Note: Running the MySQL commands, "owncloud_db" will be the OWNcloud database, "owncloud_user" will be the OWNcloud database username, and "password" will be the password for the database when needed during your OWNcloud set-up within the OWNcloud GUI.
CREATE DATABASE owncloud_db;
CREATE USER 'owncloud_user'@'localhost' IDENTIFIED BY 'S3cur3p@ssw0rd!';
GRANT ALL ON owncloud_db.* TO 'owncloud_user'@'localhost';
FLUSH PRIVILEGES;
Install PHP
Step 1: OWNcloud requires PHP, which will needs setup before installing OWNcloud. Begin this by running the following command and answer "Y" for yes when prompted.
dnf install https://dl.fedoraproject.org/pub/epel/epel-release-latest-8.noarch.rpm
Step 2: Install further PHP extensions and applications and answer "Y" for yes when prompted.
dnf install php php-opcache php-gd php-curl php-mysqlnd
dnf install php-intl php-json php-ldap php-mbstring php-xml php-zip
Step 3: Enable PHP
systemctl enable php-fpm
Step 4: Ensure PHP starts upon booting
systemctl start php-fpm
Step 5: instruct SELinux to allow Apache to execute the PHP code via PHP-FPM.
setsebool -P httpd_execmem 1
systemctl restart httpd
Download and Install OWNcloud
Step 1: We are installing version 10.3.2 in this example. Run the following commands.
cd /usr/local/src/
wget https://download.owncloud.org/community/owncloud-10.3.2.tar.bz2
Step 2: Extract your OWNcloud download and copy it to the www directory.
tar -jxf owncloud-10.3.2.tar.bz2 -C /var/www/
Step 3: Allow Apache access to access the uncompressed OWNcloud root directory by modifying the permissions
chown -R apache: /var/www/owncloud
Create OWNcloud Configuration File with Apache
To access the OWNcloud GUI, you will need to create a configuration file in Apache to tell your web server where to look and access the required folder and files.
Step 1: Run nano on the following file to enter text editor mode.
nano /etc/httpd/conf.d/owncloud.conf
Step 2: Add the following standard apache configuration text.
Alias /owncloud "/var/www/owncloud/"

<Directory /var/www/owncloud/>
  Options +FollowSymlinks
  AllowOverride All

 <IfModule mod_dav.c>
  Dav off
 </IfModule>

 SetEnv HOME /var/www/owncloud
 SetEnv HTTP_HOME /var/www/owncloud

</Directory>
Step 3: Restart your Apache Web server now.
systemctl restart httpd
Entering http://"yourserver'shostname"/owncloud/ (ex. hwsrv-xxxx.hostwindsdns.com/owncloud/) in a web browser's URL should now prompt for OWNcloud's installation wizard.
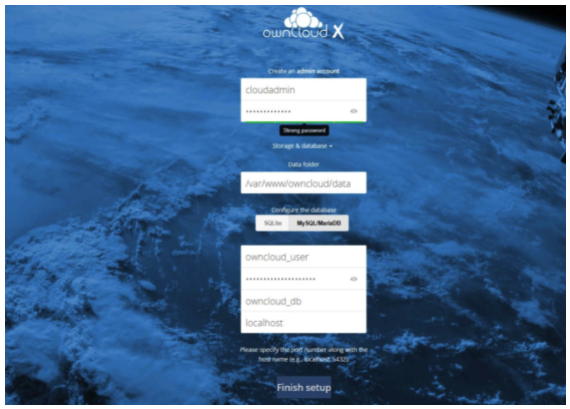
Complete Set-up Using OWNcloud's GUI (Graphical User Interface)
Step 1: Create an administrator user and password.
Step 2: Click on the Storage & Database dropdown.
Step 3: Enter the database name and password you wish to attach OWNcloud to. You've set this up during the installation of MySQL in previous actions. Enter that information here.
Note, in our example, our database name is owncloud_db, our database user is "owncloud_user" and our password is "S3cur3P@ssw0rd!"
Step 4: Once the database is entered and verified, OWNcloud will begin its official installation.
OWNcloud is now working on your server.
Written by Hostwinds Team / July 31, 2021