
Hostwinds Tutorials
Search results for:
Table of Contents
How to Install Ubuntu Desktop on a VPS
A fairly common use for a VPS is to use it as a remote desktop, essentially acting as a remote computer available for use. For the preset Operating System Images, Hostwinds provides, by default, only Windows offers remote desktop out of the box. The Linux images are all the server variants, which only offer SSH access by default. However, installing the desktop variants of several Linux distributions is still possible by installing it via the ISO.
This guide goes over how to install the desktop version of Ubuntu on a VPS using their ISO.
Installation
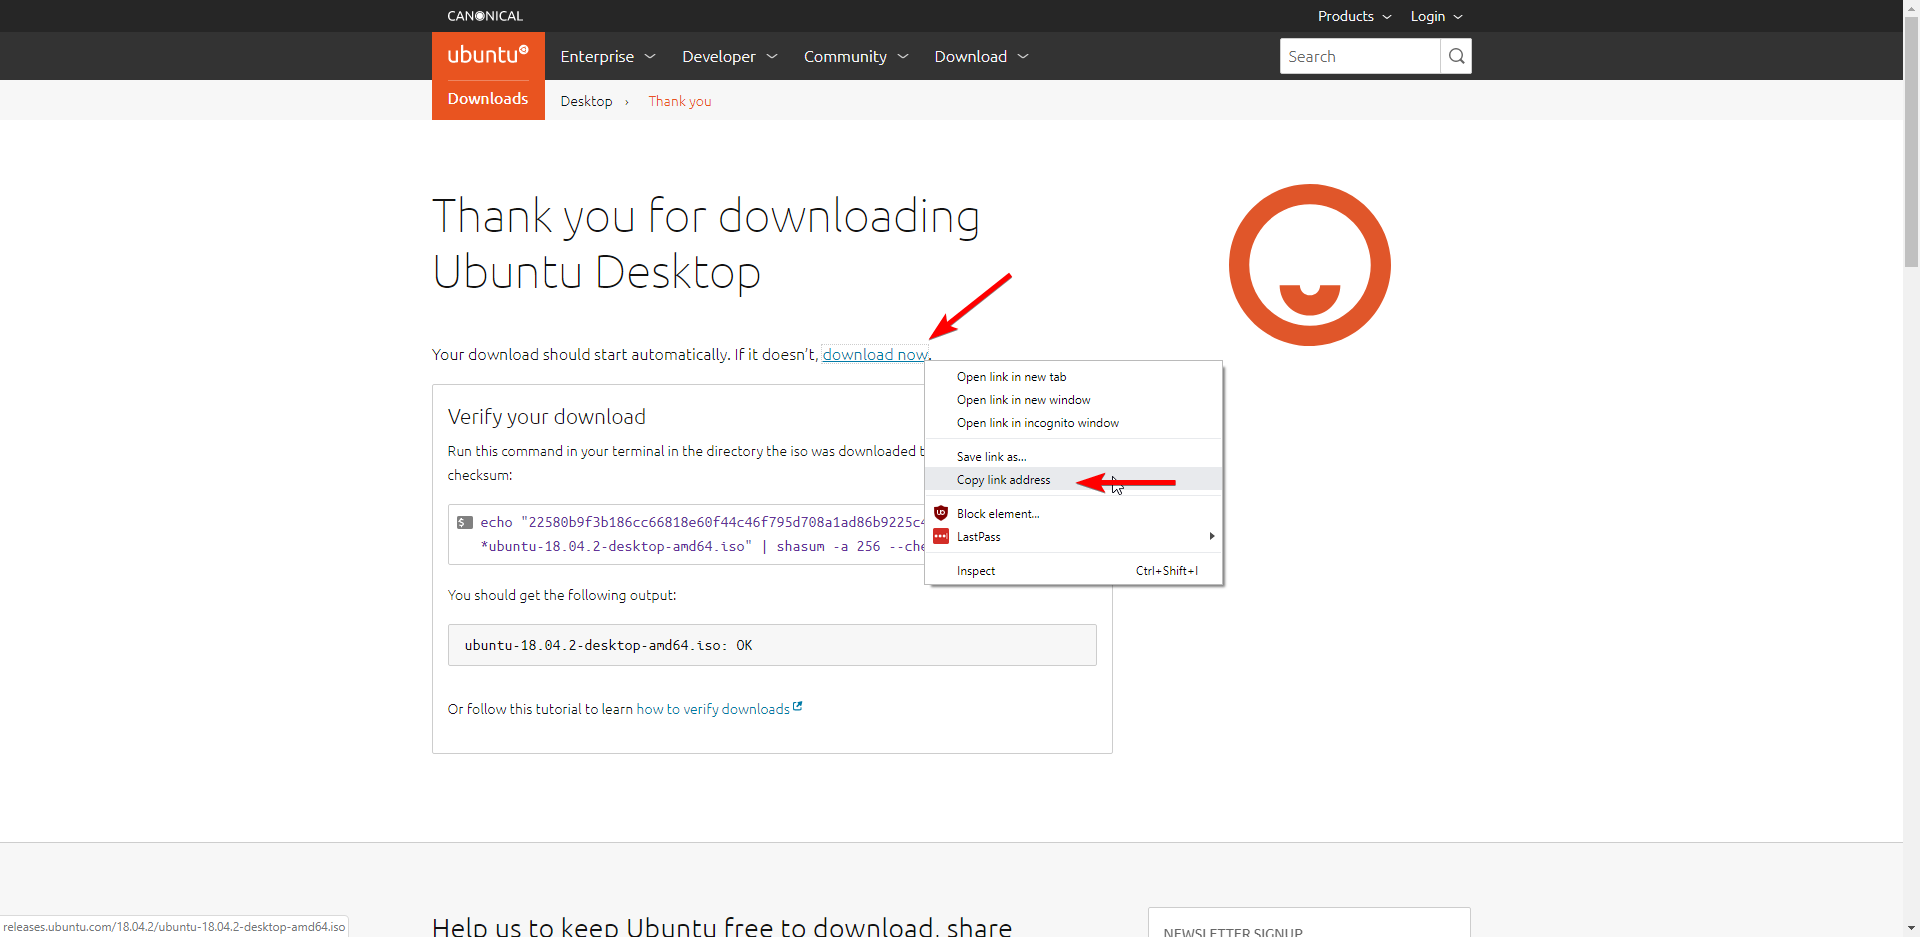
Step #1: Go to Ubuntu's download page and click the Download button for the version you want.
The download page will attempt to download the ISO to your local computer automatically.
You do not need to download the ISO to your local computer, and you can cancel this download.
Right-click the download now link, and copy the link's address. This will be the direct download link to the ISO.
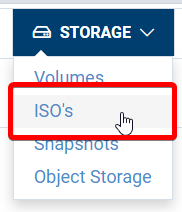
Step #2: Log in to your Cloud Portal, and navigate to the Storage -> ISO's section.
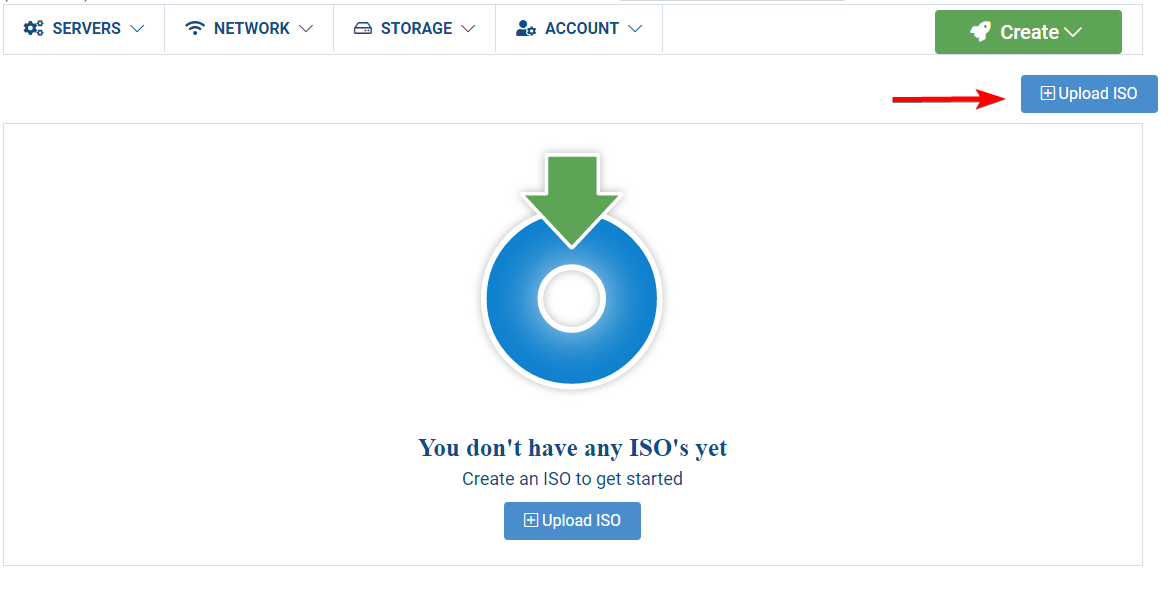
Step #3: Click the Upload ISO button.
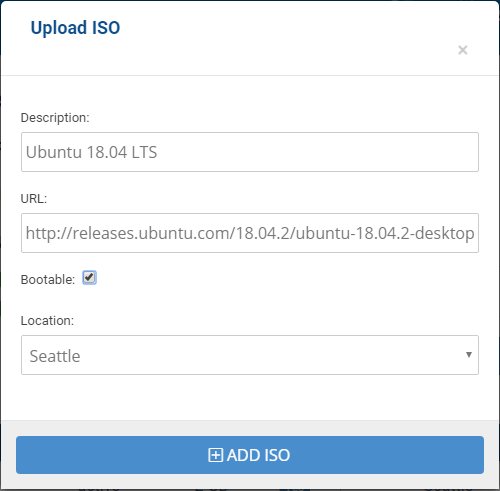
Step #4: Give the ISO a name, paste the URL to the ISO download, and make it bootable. Then click Add ISO.
Step #5: Wait until the ISO's status changes to Active.

Step #6: Go to the Servers -> My Servers section of the cloud portal and click on your server.
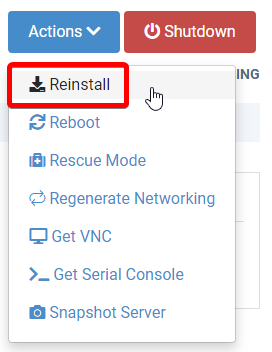
Step #7: Select Actions -> Reinstall for your server.
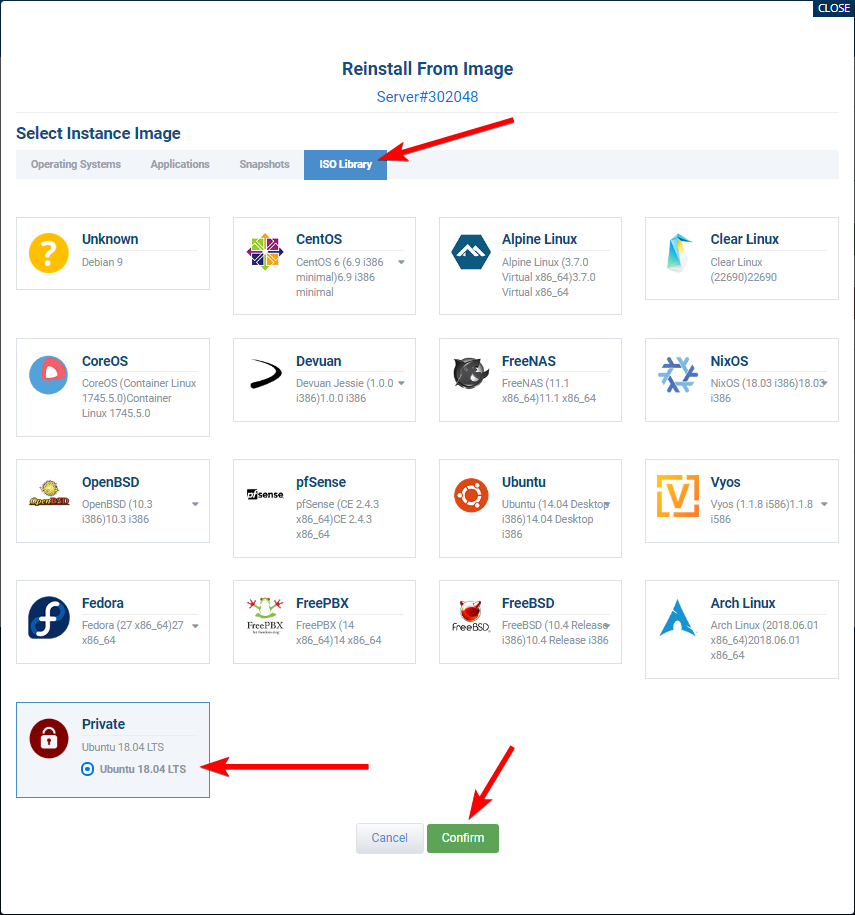
Step #8: Go to the ISO Library tab of the Reinstall menu and select your ISO from the Private section. Click Confirm.
Step #9: Wait until your VPS is in an ISO Install status.
Step #10: Click the Get VNC button.
You may need to refresh the page to display the Get VNC button after the server has gone into the ISO Install status.

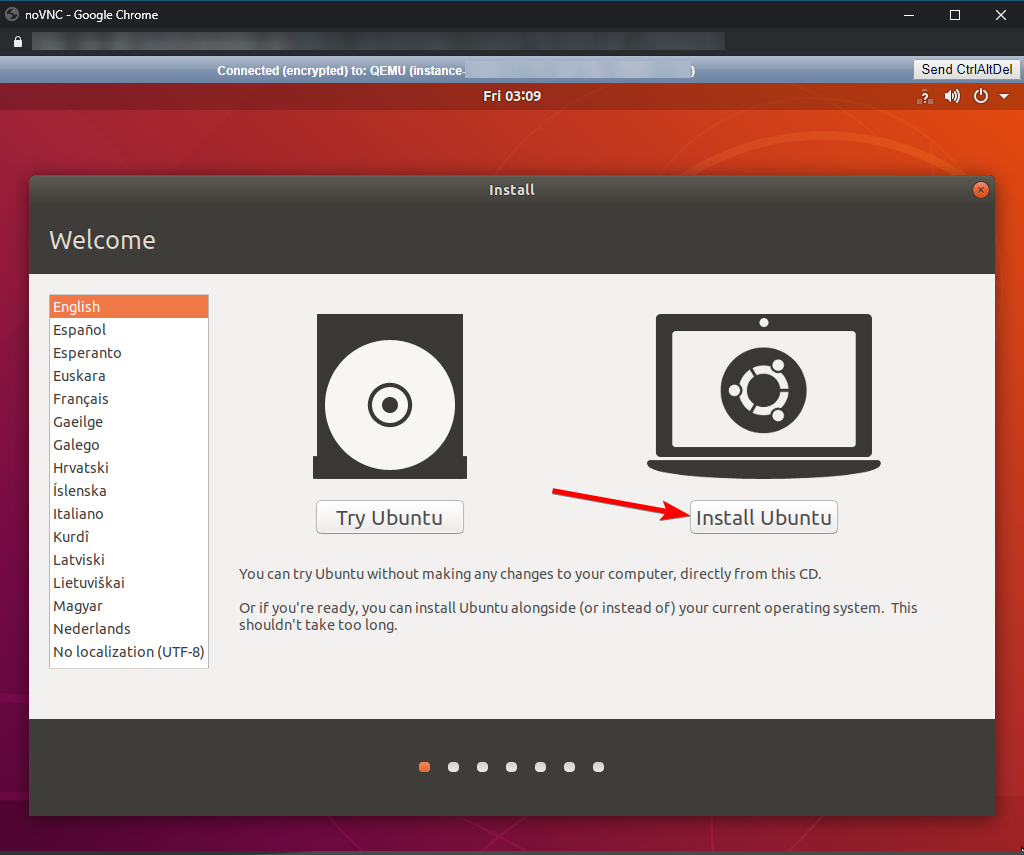
Step #11: Install Ubuntu through the VNC window. Follow the on-screen prompts from the installer.
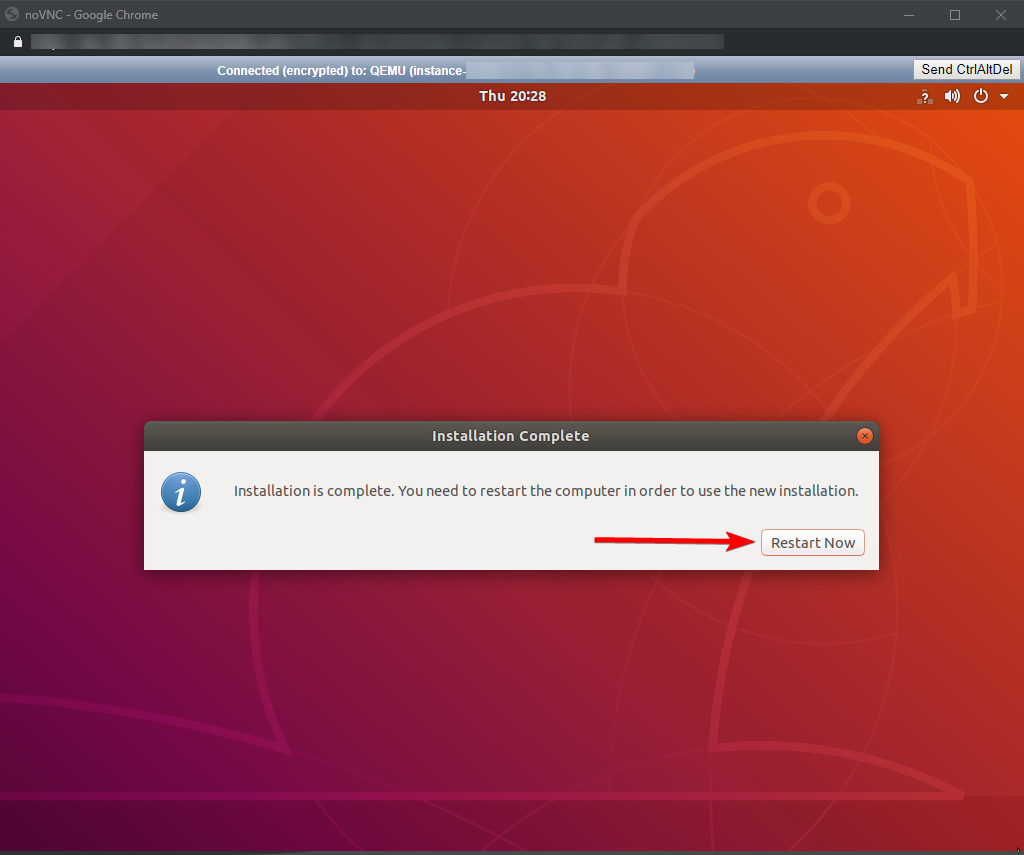
Step #12: At the end of the installation, click the Restart Now button.
Step #13: When you reach a screen that says "Please remove the installation medium, then press ENTER:" from your cloud portal, click the Finalize ISO Installation button.
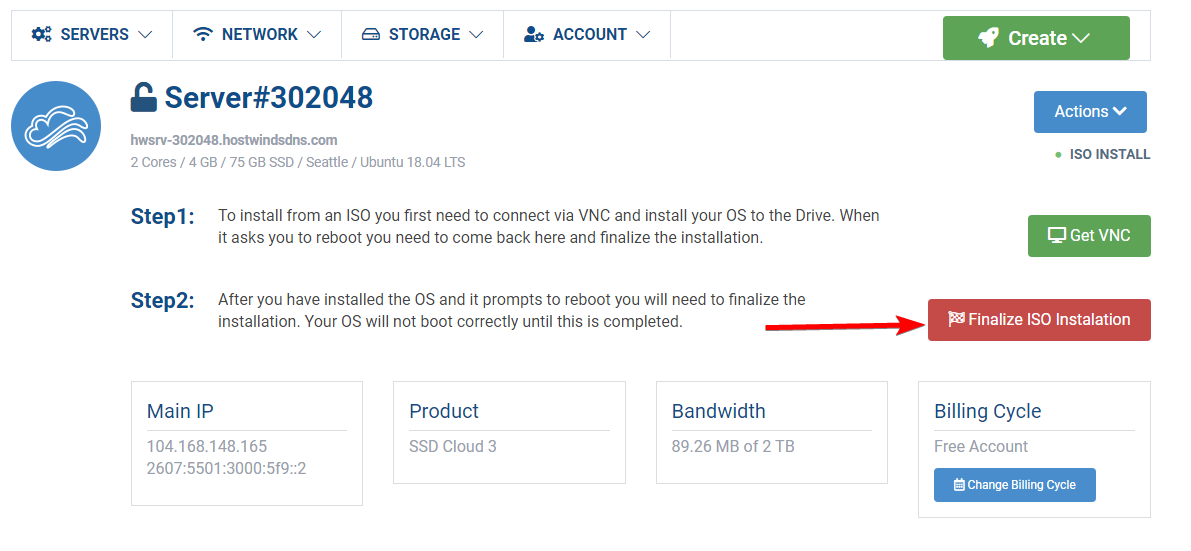
Step #14: Wait for the installation to finalize, and the VPS's status changes back to 'RUNNING'.
Fix Networking
By default, the desktop environment for most Linux distributions won't have internet connectivity immediately after installation due to the VPS's network adapter needing to be configured with a static configuration. The following steps go over how to configure your Hostwinds server to allow internet connectivity.
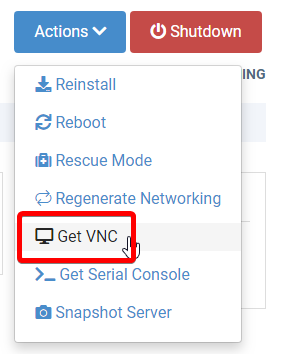
Step #1: Open the VNC console to your server by selecting Actions -> Get VNC from the cloud portal.
Step #2: Log in to your Ubuntu installation.
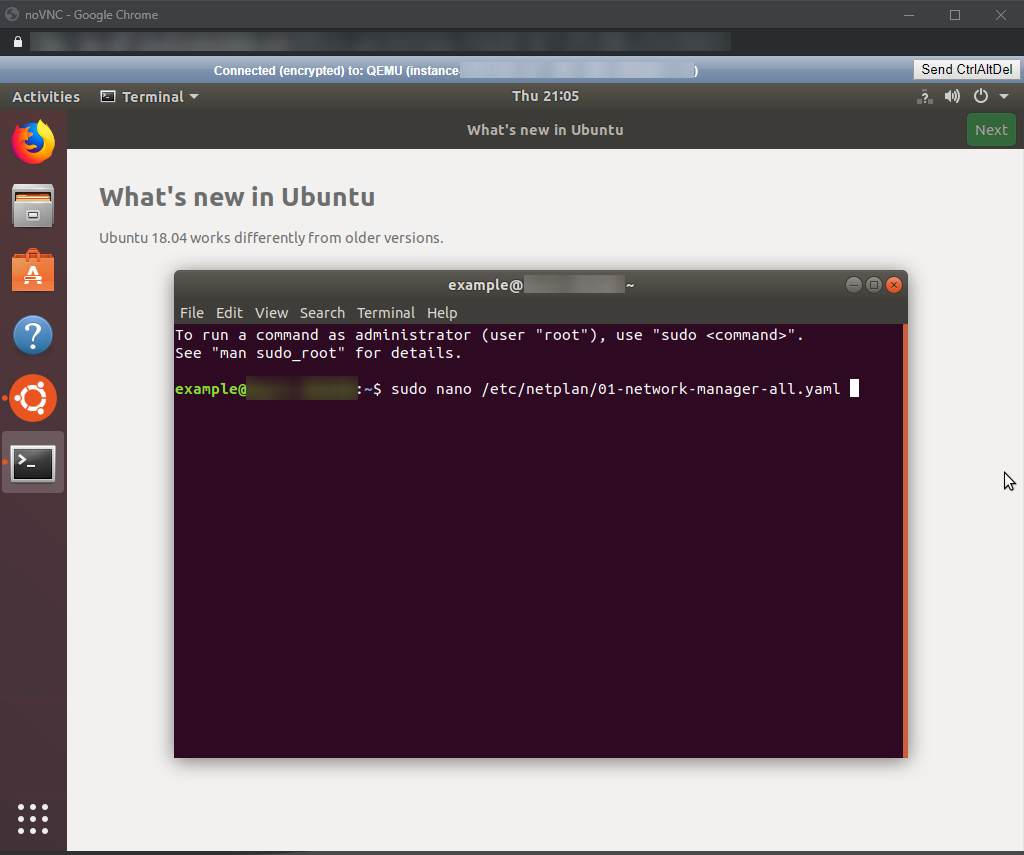
Step #3: Open the terminal. You can open it by pressing the keys Ctrl + Alt + T.
Step #4: Run this command to edit your NetworkManager configuration.
sudo nano /etc/netplan/01-network-manager-all.yaml
Step #5: Add the configuration for the ens3 network device, such that the file should look like this:
# Let NetworkManager manage all devices on this system
network:
  version: 2
  renderer: NetworkManager
  ethernets:
    ens3:
      dhcp4: no
      addresses: [{IP}/32]
      gateway4: {GATEWAY}
      nameservers:
        addresses: [8.8.8.8,8.8.4.4]
Just replace {IP} with the IP address of your VPS, and replace {GATEWAY} with its gateway.
The gateway is the same as your IP address, except the last octet of the IP is 1.
Example: If your IP 123.123.123.123, your gateway would be 123.123.123.1.
Step #6: Save the file by hitting the keys Ctrl + O, then pressing Enter to confirm the file location. Then close the editor by pressing Ctrl + X.
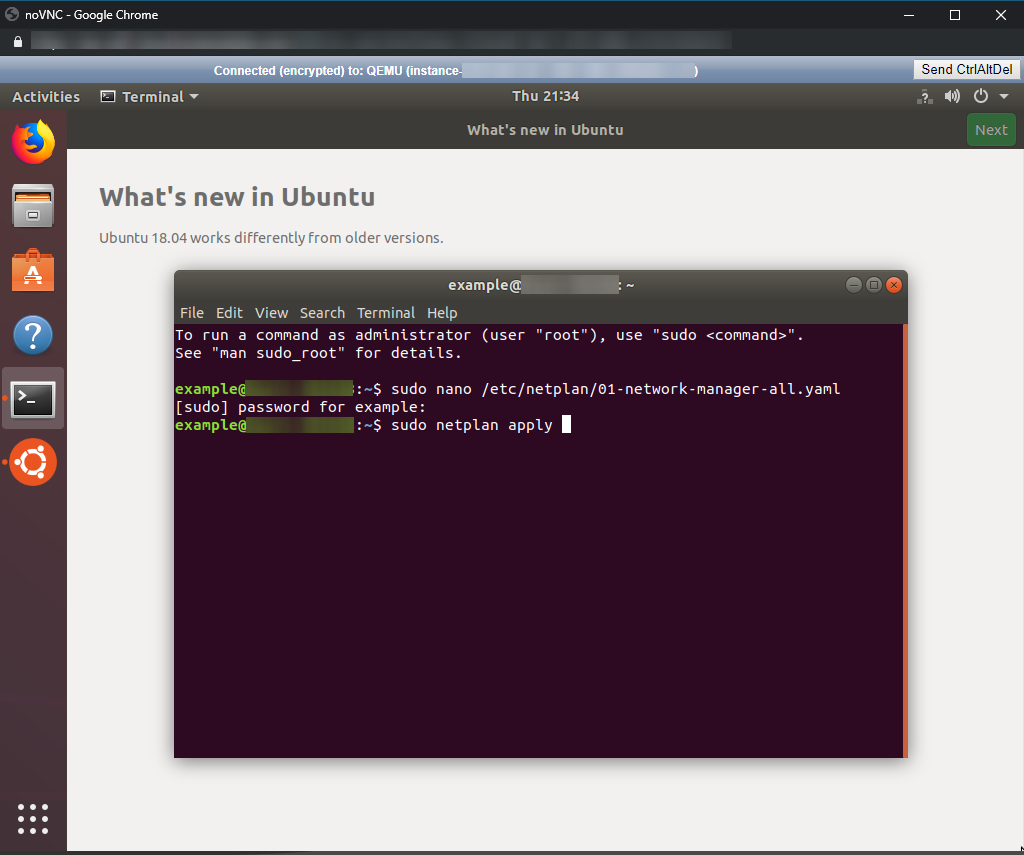
Step #7: Apply the new network configuration by running the command:
sudo netplan apply
The VPS should now have full network connectivity and internet access. You can confirm this by opening the web browser (Firefox is installed by default) and attempting to go to any website.
Enable SSH
By default, SSH is not installed/enabled in the desktop version of Ubuntu. However, you can set it up by doing the following from within the Get VNC window:
Step #1: Open the terminal by hitting the keys Ctrl + Alt + T.
Step #2: Install the OpenSSH-server package by running
sudo apt-get install -y openssh-server
Step #3: Enable and start the SSH service by running:
sudo systemctl enable ssh
sudo systemctl start ssh
Enable VNC Server
To have remote desktop access to the server, you can install a VNC server and configure it to serve your desktop environment. These steps go over installing the VNC server, a more lightweight desktop environment, and connecting using a VNC client.
Step #1: Install the vnc4server package by running:
sudo apt-get install -y vnc4server
Step #2: Set a password for VNC by running:
vncpasswd
The password for VNC is truncated to only 8 characters.
Step #3: Install a lightweight desktop environment
Due to both VNC issues and keeping performance in mind, it is recommended to install a secondary, lightweight desktop environment, such as XFCE or KDE Plasma, in place of Ubuntu's default desktop environment, Gnome.
You can install XFCE by running:
sudo apt-get install -y xfce4 xfce4-goodies
Step #4: Start the VNC server to generate default settings by running:
vncserver -geometry 1920x1080 -depth 24 :1
You may receive an error stating that there is already a VNC server running for screen :1.
If you do, you can change the ':1' part of the command to ':2', ':3', etc.
You will need to reference this screen when you attempt to connect to the server.
The -geometry flag for this command specifies the output resolution. You can change the resolution value from 1920x1080 to whatever resolution suits your needs. The -depth flag specifies the color depth.
Step #5: Kill the VNC server by running:
vncserver -kill :1
Make sure the ':1' number matches the screen number you used in step 4.
Step #6: Configure your VNC startup file to load your desktop environment.
Edit the file ~/.vnc/xstartup to look like this:
#!/bin/bash
startxfce4 &
If you installed a different desktop environment than XFCE, replace the startxfce4 statement with the launch command for your desktop environment.
Step #7: Make sure the startup file is executable by running:
sudo chmod +x ~/.vnc/xstartup
Step #8: Configure VNC as a service.
To have the VNC server run automatically at startup, you can configure it as a service by creating the file /etc/systemd/system/vncserver@.service at edit it to be like this:
[Unit]
Description=Systemd VNC server startup script for Ubuntu 18.04
After=syslog.target network.target

[Service]
Type=forking
User={USER}
ExecStartPre=-/usr/bin/vncserver -kill :%i &> /dev/null
ExecStart=/usr/bin/vncserver -depth 24 -geometry 1920x1080 :%i
PIDFile=/home/{USER}/.vnc/%H:%i.pid
ExecStop=/usr/bin/vncserver -kill :%i

[Install]
WantedBy=multi-user.target
Replace {USER} with your username on the server.
Step #9: Reload systemd by running:
sudo systemctl daemon-reload
Step #10: Enable the service by running:
sudo systemctl enable vncserver@1
It is recommended to have the number after the @ symbol matches the screen number you specified in step 6.
Connecting
You should now connect to the server via VNC using any VNC client such as the TightVNC Viewer.
Provide the client the hostname or IP of your server, followed by ':1' (or whatever number of matching the screen number you set when enabling the service in step 10.
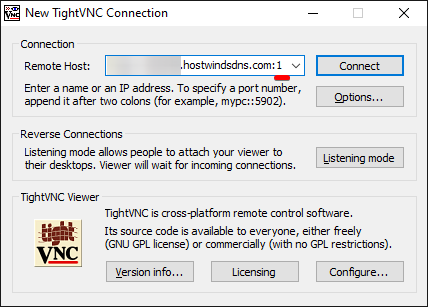
You will then be prompted for the password you set in step 2.
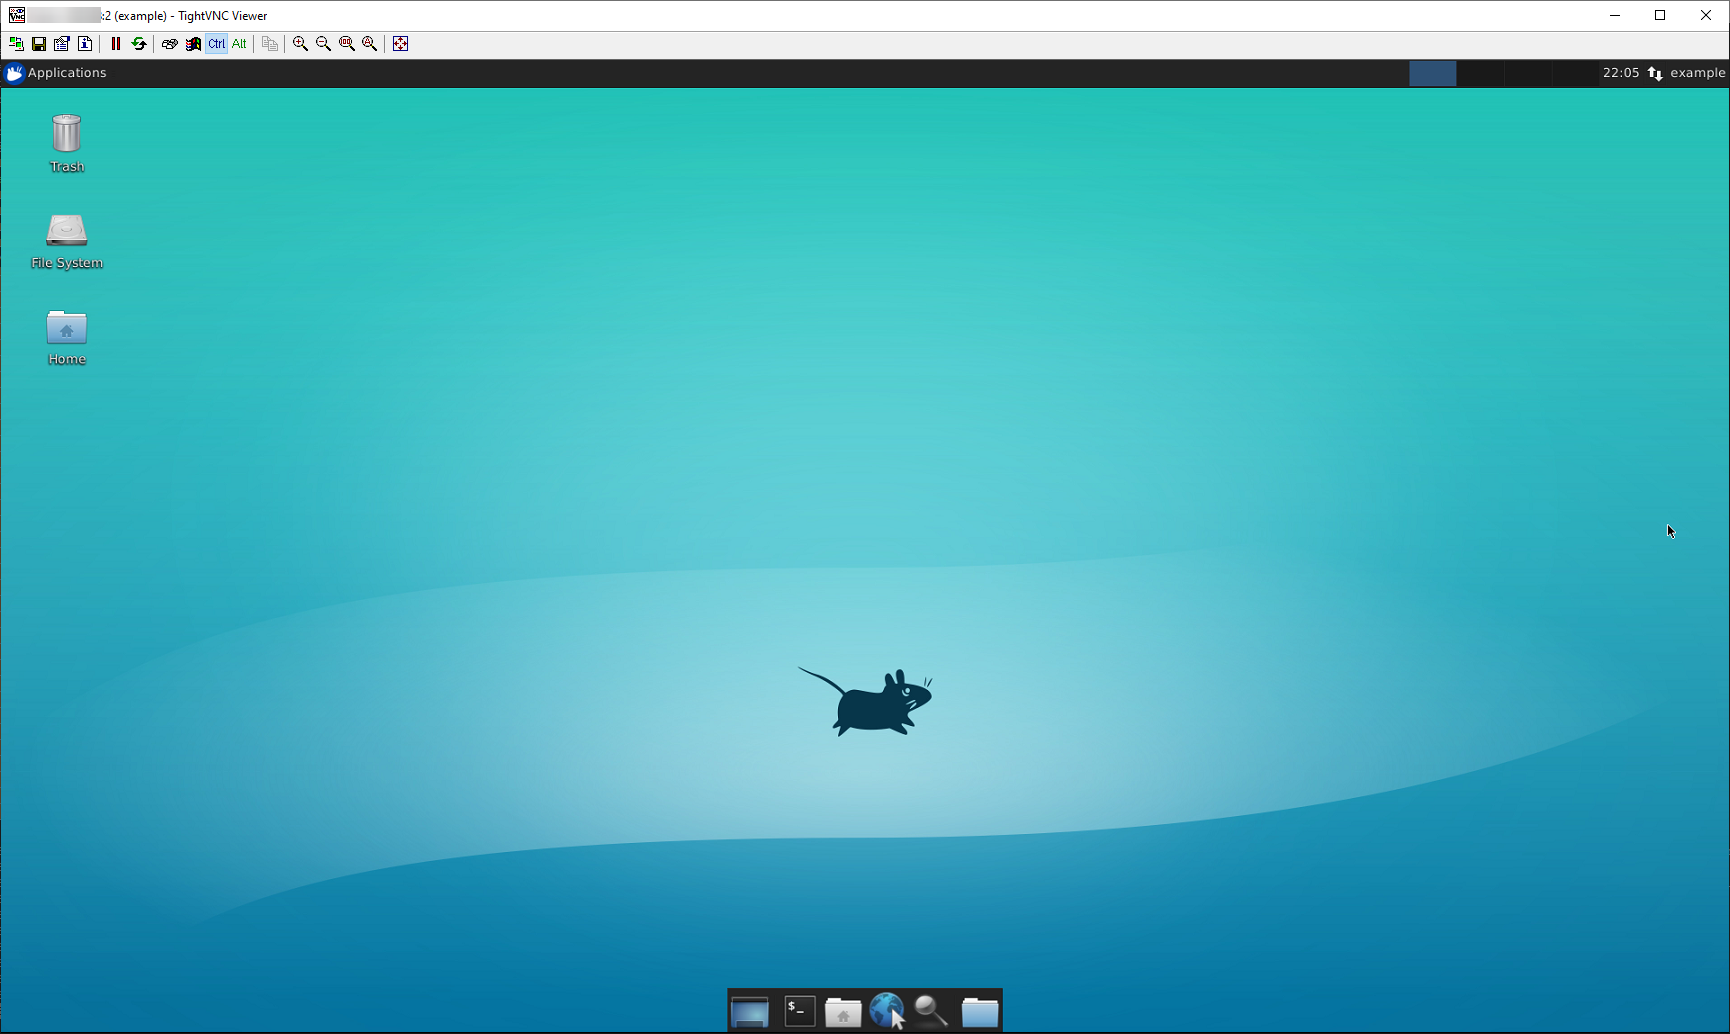
Then you will be connected and will be able to use the VPS as a remote desktop.
Written by Hostwinds Team / June 5, 2021