
Hostwinds Tutorials
Search results for:
Table of Contents
How To Login To Your SHOUTCast Control Panel
Tags: SHOUTcast
Before you can start jamming out and putting content out for your listeners, you will need first to log in. The steps to log in to your SHOUTCast Control Panel are very similar to logging into a cPanel account. However, the SHOUTCast plans do not have a dedicated IP address.
How To Login Through The Client Area
Before proceeding with the steps below, it is assumed that you have a Hostwinds account and an active SHOUTCast service with us.
Log into your Hostwinds account and navigate to the Client Area.
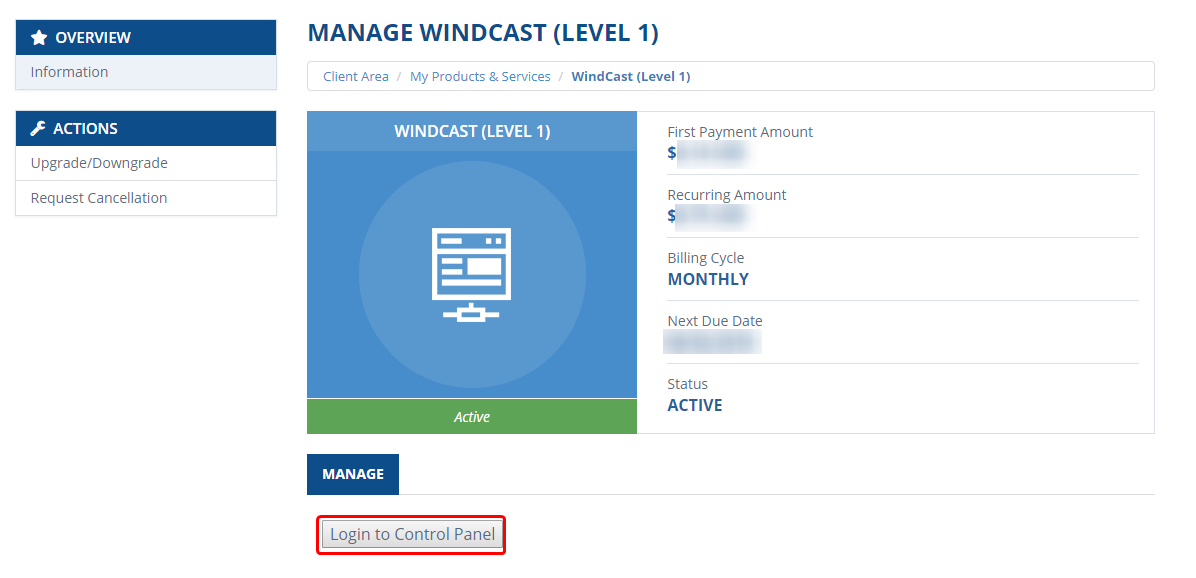
Click the green Manage button next to your SHOUTCast plan. This image shows a Level 1 WindCast plan.

From the next page, select Login to Control Panel. This will bring you to the login page for your SHOUTCast Control Panel.
On the SHOUTCast Login page, it will look very similar to a cPanel login page. It will even have the traditional cPanel text above the login fields. Here you will want to enter the login credentials that would have been emailed to you when you first purchased the SHOUTCast hosting.

- After successfully logging in, you will be brought to a new page, that is, the Home for your SHOUTCast Control Panel. Here you will be able to manage your SHOUTCast server.
How To Login Through The Direct Link
If you don't have access to your Hostwinds account, you can still log in to the SHOUTCast Control Panel. The link to login to the Control Panel should have been sent to you via Email when the plan was first purchased. If you have lost this email or cannot find the login link, you can contact our Support team in Live Chat or through a ticket, and we can assist in getting that for you. Once at that page, you will enter the login credentials that are in that same email message.
If you should have any questions or would like assistance, please contact us through Live Chat or by submitting a ticket with our Technical Support team.
Written by Hostwinds Team / May 7, 2018