
Hostwinds Tutorials
Search results for:
One thing you can do with your Windows VPS or dedicated server is map one of its folders as a network drive on your local PC. This is great if you have data on your server that you need quick access to or have data on your local PC that you would like to push to the server. This guide will show you how to map a network drive on your Cloud VPS to your local PC.
The first step is to gather the information required for your Windows server (IP address, username, password). This information can be found in your welcome email after purchasing the server or at this link.
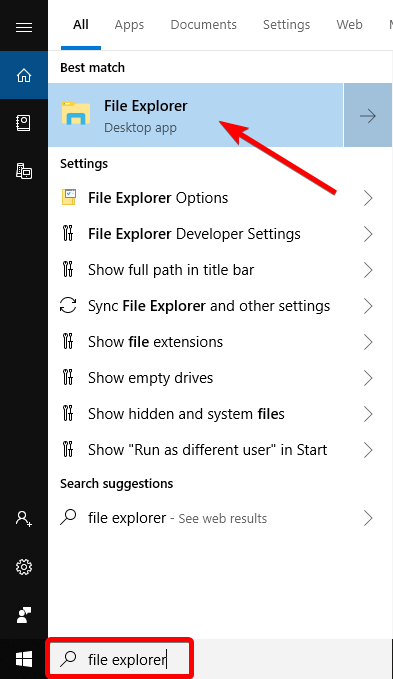
After gathering your information, you will want to open your File Explorer on your local PC. You can do this by using the search bar or pressing the [Windows] + [E] keys.
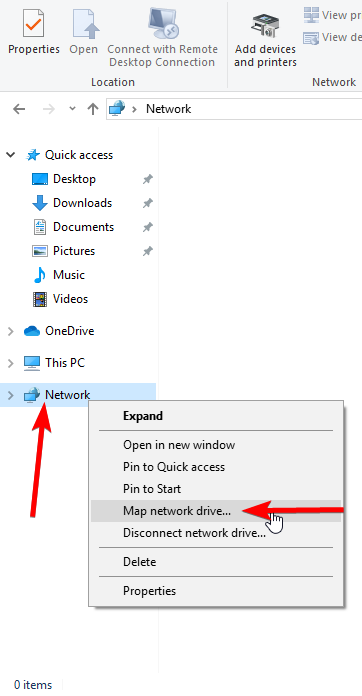
Once you have opened your File Explorer, the next step is to right-click "Network" on the left-hand side and select "Map Network Drive" from the context menu.
On the following screen, it will prompt you to:
- Select a drive letter to assign to the network drive
- Tell your local PC where the folder is located
- Whether or not to reconnect at sign-in (recommended)
- Connect using different credentials than what you are currently logged in with
When typing in the "Folder" text box, you will want to use this format:
\\Server_IP_Address\Path\To\Folder
Or, if you would like to map the entire C: drive of the server:
\\Server_IP_Address\C$
If done correctly, as long as your server is online, you will be able to access the folder you have specified with reading/write privileges.
Written by Hostwinds Team / June 28, 2019