
Hostwinds Tutorials
Search results for:
Table of Contents
How To Setup Client Groups in WHMCS
WHMCS supports assigning your clients into different groups to more easily differentiate between your customers and what policies, options, or promotions may apply to them. This article goes over the Client Group's options of WHMCS and how to manage them.
To access the Client Groups options, navigate to Setup -> Client Groups.
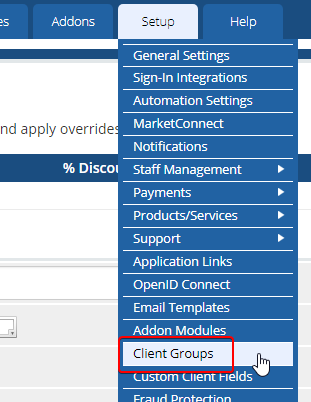
This will then bring up the following page:
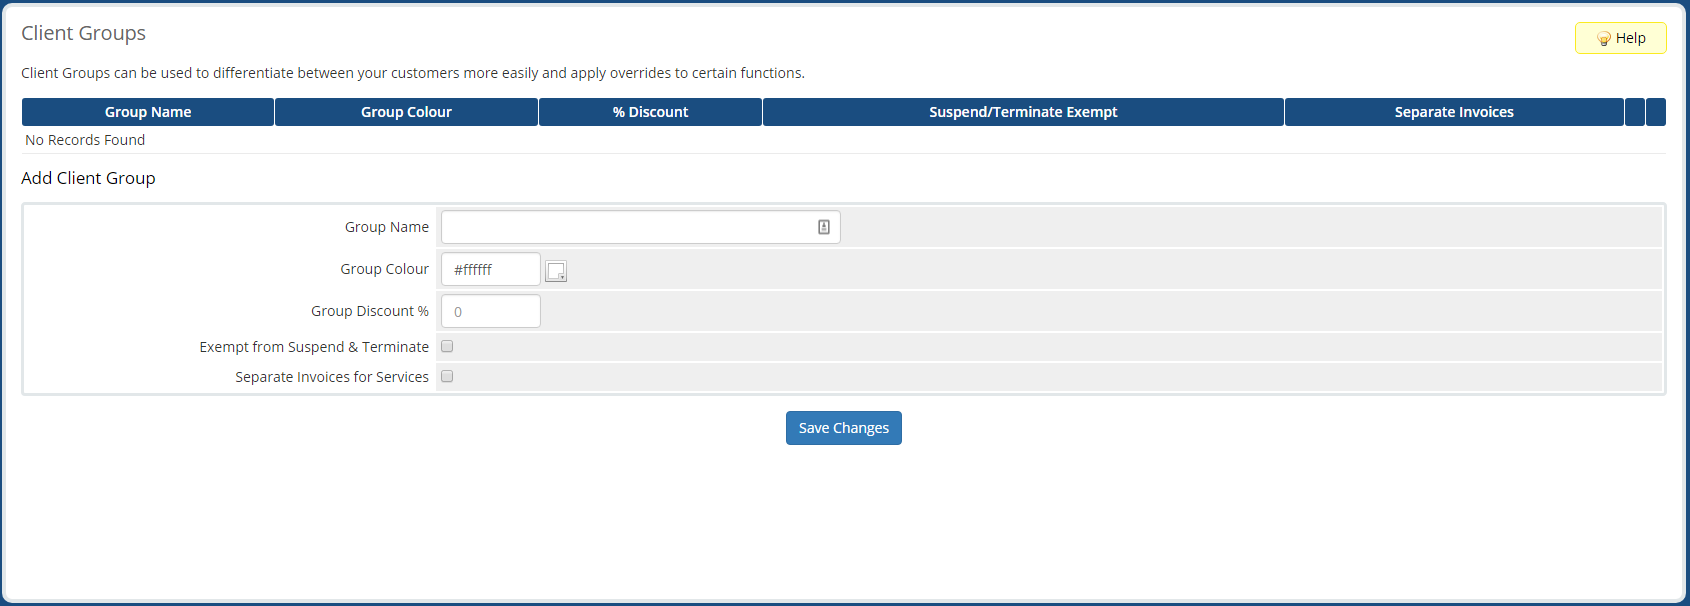
This page will list all your existing client groups and presents a form you can fill out to add a new client group.
Adding a New Client Group
To add a new client group, fill out the form on the main Client Groups page.
- Group Name: The name of the group.
- Group Color: The color the group will be displayed within WHMCS.
- Group Discount %: Discount percentage members of this group will receive on their orders.
- Exempt from Suspend & Terminate: Exempts members of this group from automatic suspension and termination.
- Separate Invoices for Services: Specifies the services members of this group have to be billed in a separate invoice per service.
Editing a Client Group
To modify an existing client group, click the Edit.

Button for the group you want to edit to fill the same Add Client Group form with the existing information. Change the fields as necessary and click Save Changes.
Removing a Client Group
To remove an existing client group, click the Remove.

Button for the group you want to remove and click OK on the confirmation popup.
Written by Hostwinds Team / September 20, 2018