
Hostwinds Tutorials
Search results for:
Table of Contents
How To Setup Products & Services In WHMCS
WHMCS provides you with many options in adding and managing the products and services you plan to sell through the system. This article goes over the options available and how to perform some basic tasks regarding products and services in WHMCS.
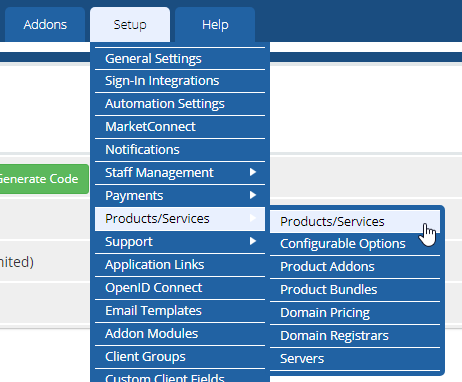
To view the Product/Services options in WHMCS, navigate to Setup -> Products/Services and then whatever section you want to access.
Products/Services
This page is where you can add and configure all the products and services you plan to sell through WHMCS. The main page lists all your existing products and their groups.
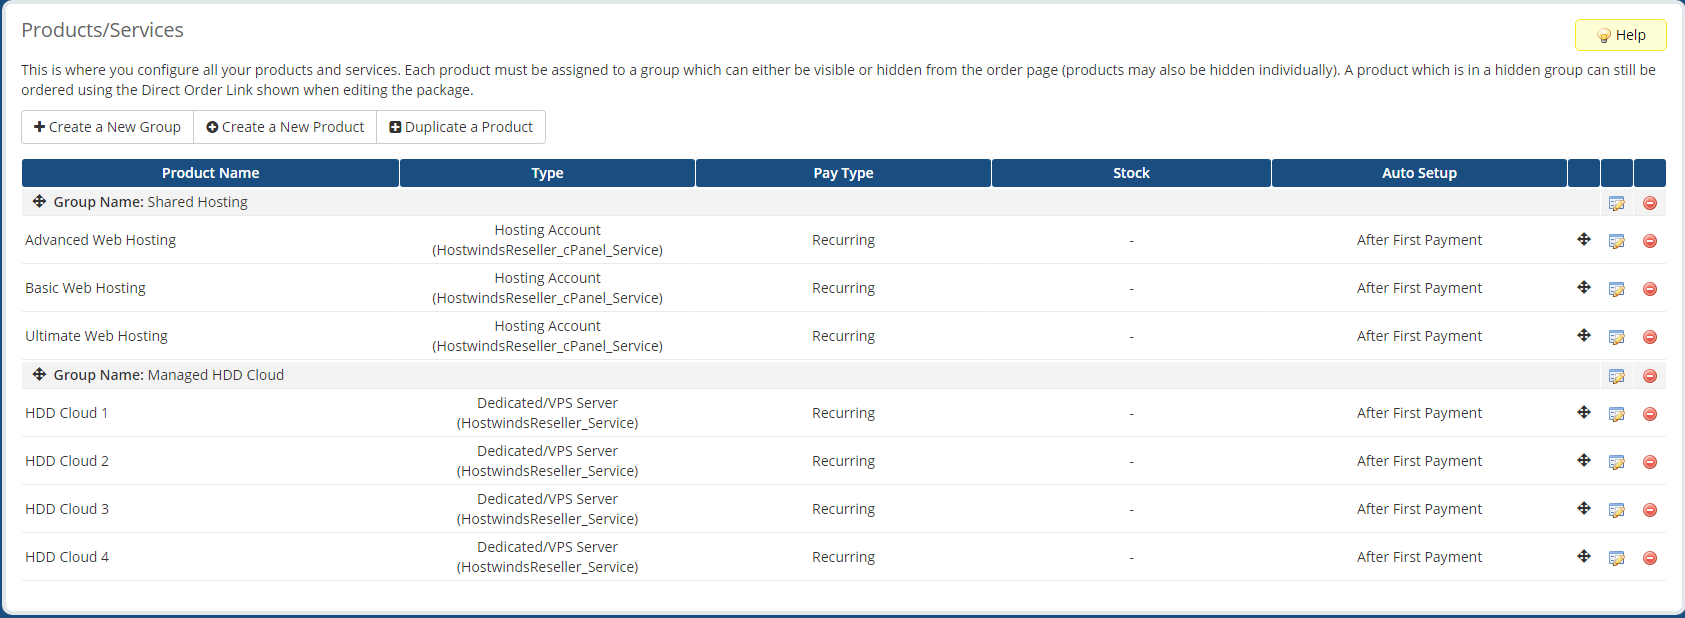
Add a New Product Group
Before you can add a new product, you must have at least one group to assign it to. To create a new product group, click the Create a New Group button, fill out the following form and click Save Changes.
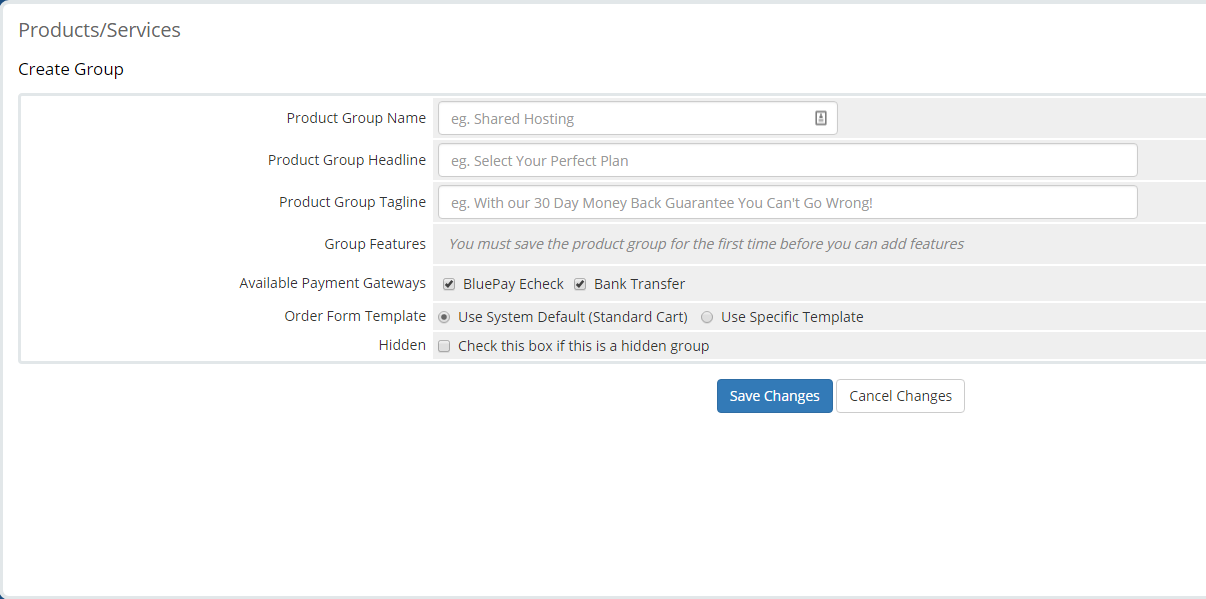
- Product Group Name: The name of the product group.
- Product Group Headline: Headline to display to clients when viewing products under this group.
- Product Group Tagline: Tagline/secondary header to display to clients when viewing products under this group.
- Group Features: Can only be modified on an existing product group.
- Available Payment Gateways: Payment gateways that can be used to purchase.
- Order Form Template: Specifies what template to use on the order page.
- Hidden: Specifies if this is a hidden group.
Add a New Product
Once you have made at least one product group, you can add a new product by clicking the Create a New Product button. You will be brought to the following form:
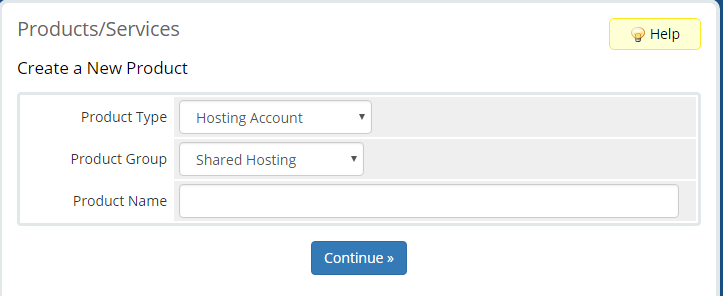
Simply select what type of product it is, what group it belongs to, and give it a name, then click Continue to proceed to the following form:
The options for this form are as follows:
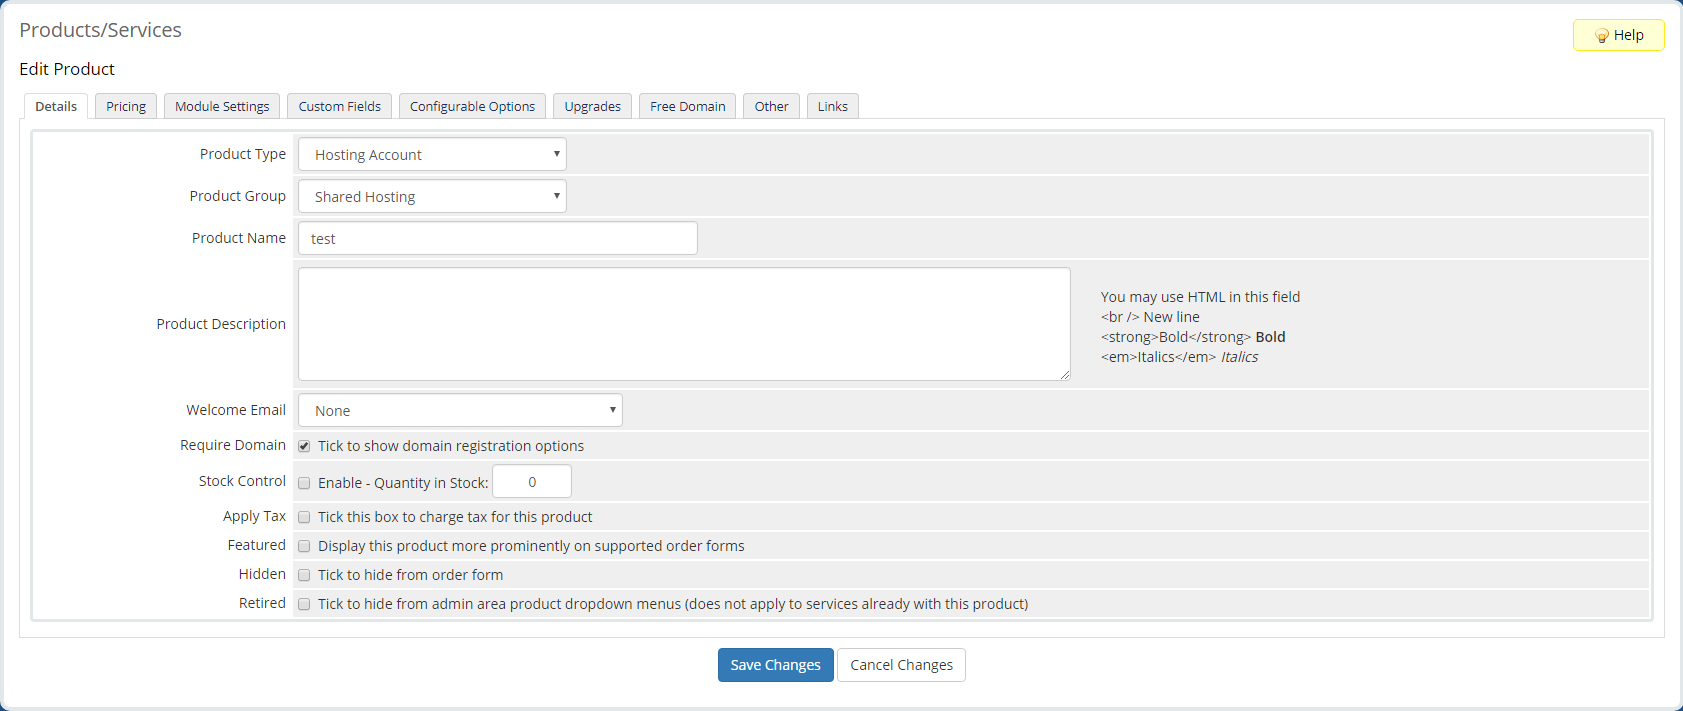
Details
This section is to specify the basic details of the product.
- Product Type: Specifies the type of product.
- Product Group: Specifies which group the product is a part of.
- Product Name: The name of the product.
- Product Description: The description of the product.
- Welcome Email: Specifies which welcome email template, if any, to send to the client upon purchase.
- Require: Specifies if the product requires a domain to be registered.
- Stock Control: Specifies if the product has a limited stock and how much.
- Apply Tax: Specifies if taxes apply to this product.
- Featured: Specifies if this product should be display more prominently on order forms.
- Hidden: Specifies if this is a hidden product.
- Retired: Specifies if this is a legacy or retired product.
Pricing
This section is to specify the pricing and billing options for the product.
- Payment Type: Specifies whether the product is free, a one-time payment, or a recurring payment.
- Allow Multiple Quantities: Enabling this allows clients to purchase multiple of this product.
- Recurring Cycles Limit: Specifies the number of billing cycles the product can be renewed for. Set to 0 for unlimited.
- Auto Terminate/Fixed Term: Specifies the number of days after activation to automatically terminate the product. This is mainly for free trials, limited-time products, etc.
- Termination Email: Specifies which termination email template, if any, to send to a client when this product is terminated for them.
- Prorata Billing: Enabling this enables prorata billing for this product.
- Prorata Date: Specifies the day of the month to charge for prorata billing.
- Charge Next Month: Specifies the month after which the next month will include the first invoice.
Module Settings
This section lets you set up individual modules that go along with your product. This can include things like cPanel, SSL Certificates, Plesk, etc. The setup varies slightly based on the module being configured, but it is as simple as supplying the input fields with their name/description. The few settings that are the same for every module are as follows:
- Module Name: Specifies the module is configured.
- Server Group: Specifies what server group the module being configured belongs to.
- Automatic Setup Options: Specifies if and when the product and modules should be automatically set up.
Custom Fields
This section lets you make custom fields to be filled out for this product.
- Field Name: The name for the field.
- Display Order: Position within all custom fields this field should be displayed in.
- Field Type: The input type for the field.
- Description: Description of the field.
- Validation: Specifies the regular expression used to validate input.
- Select Options: Specifies the options available for dropdown lists. Commas separate entries (,).
- Admin Only: Specifies if the field is for admin use only.
- Required Field: Specifies if the field is required.
- Show on Order Form: Specifies whether or not this field should appear on order forms.
- Show on Invoice: Specifies whether or not this field should appear on invoices.
Configurable Options
This section lets you specify what Option Groups this product applies to. This lets you assign a set of options to multiple products without reconfiguring those options for each product.
Upgrades
This section is to specify the upgrade/downgrade options available for the product.
- Package Upgrades: Specifies what other products within the same product group are available as upgrades for this product.
- Configurable Options: Enabling this enables upgrade/downgrade support for this product.
- Upgrade Email: Specifies the upgrade email template to send, if any, when a client upgrades/downgrades this product.
Free Domain
This section lets you specify any options regarding providing a free domain registration with the purchase of this product.
- Free Domain: Specifies the type of free domain registration/transfer/renewal that is offered.
- Free Domain Payment Terms: Specifies how long a billing cycle is needed on this product to be eligible for a free domain.
- Free Domain TLDs: Specifies the top-level domains available for the free domain offer.
Other
This section is for all other settings.
- Custom Affiliate Payout: Specifies the type of payout affiliates receive.
- Affiliate Pay Amount Specifies how much affiliates receive on a payout.
- Subdomain Options: Specifies the format for any free subdomain offerings at signup for this service.
- Associated Downloads: Specifies and allows upload of files available to affiliates.
- Overages Billing: Enabling this enables overage billing.
- Soft Limits: Specifies limits disk usage and bandwidth. Set to 0 for unlimited.
- Overage Costs: Specifies the price per unit for overage cost when above the soft limit.
Links
This section displays the direct links for several pages and sections this product will appear under.
Written by Hostwinds Team / September 8, 2018