
Hosting Tutorials
Search results for:
Using the Perl Modules module located in Webmin, you can install various Perl modules with a few simple clicks. This article will teach you how to locate the Perl Modules module and how to use it to install Perl modules. You'll need to have Virtualmin installed on your server and be logged in with Webmin access. If you need help with that, please refer to the following guides:
To begin installing Perl modules, please refer to the following:
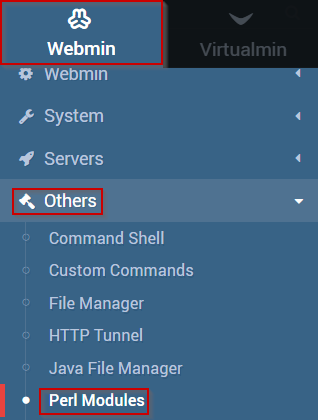
- Click on the Webmin section
- Click on the Others option
- Select the Perl Modules module
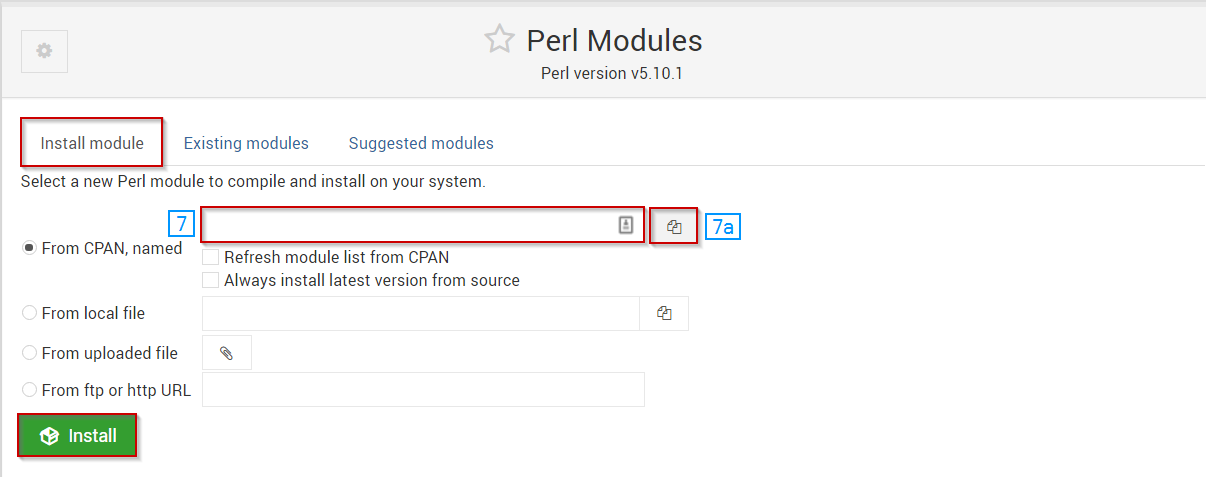
- Select the Install module tab if it is not already selected
- You can install modules via the four following options
- From CPAN, named – Install modules from the default repository
- From local file – Install a module from a local file on your server
- From uploaded file – Install a module from a file that is on your local computer
- From ftp or http URL – Install a module from an ftp or http URL
- For this guide, we'll be utilizing the first/default option
- You can enter the name of the module that you wish to install
- Alternatively, you can click the dual file icon to list modules that are available for installation
- When you're satisfied with your selection, click the Install button
If the installation completes successfully, the new Perl module should be ready to go!
Written by Michael Brower / June 21, 2017