
Hostwinds Tutorials
Search results for:
Table of Contents
Installing and using cockpit-docker
Tags: Linux
What is Cockpit-Docker?
Cockpit-Docker is a plugin for Cockpit, a web-based graphical interface for managing Linux servers. This plugin specifically focuses on managing Docker containers, providing a user-friendly alternative to command-line Docker management. With Cockpit-Docker, you can:
- View and manage running containers.
- Pull images from Docker registries.
- Create, start, stop, and delete containers.
- Monitor container resource usage in real-time.
Prerequisites
Before starting, let's make sure you have the following squared away:
- Linux Server: This tutorial assumes you are using a supported distribution like Ubuntu, Fedora, CentOS, or Debian.
- Root or Sudo Access: You need administrative privileges to install software and modify system configurations.
- Docker Installed: If Docker isn't installed yet, you can do so with:
# For Ubuntu/Debian
sudo apt update && sudo apt install docker.io -y
# For Fedora/RHEL
sudo dnf install docker -y After installation, start Docker:
sudo systemctl start docker
sudo systemctl enable docker
To confirm Docker is running:
sudo docker infoThis will display details like the version of Docker, the number of running containers, and available resources.
Installing Cockpit
Step 1: Update Your System
Before installing Cockpit, update the package manager's database and upgrade existing software:
For Ubuntu/Debian
sudo apt update && sudo apt upgrade -y On Fedora/RHEL:
sudo dnf update -y - What this does: Gives you with the latest software versions and dependencies required to install and run Cockpit.
- Expected Output: A list of updated packages, followed by a confirmation that all upgrades are complete.
Step 2: Install Cockpit
Now, install Cockpit using your system's package manager:
On Ubuntu/Debian:
sudo apt install cockpit -yOn Fedora/RHEL:
sudo dnf install cockpit -y- What this does: Installs Cockpit and its dependencies.
- Expected Output: Progress messages showing downloading and installation of Cockpit-related packages.
Step 3: Enable and Start Cockpit
sudo systemctl enable --now cockpit.socket- What this does:
- 'enable': Configures Cockpit to start at boot.
- '--now': Starts the Cockpit service immediately.
- Expected Output: A confirmation that the Cockpit service is active and running.
Step 4: Verify Cockpit is Running
sudo systemctl status cockpit- What this does: Displays the status of the Cockpit service.
- Expected Output: Look for "Active: active (running)" in the output.
Installing Cockpit-Docker
Once Cockpit is installed, we can start installing the Docker management plugin:
For Ubuntu/Debian
sudo apt install cockpit-docker -y For Fedora/RHEL
sudo dnf install cockpit-docker -y - What this does: Adds the Docker management functionality to the Cockpit interface.
- Expected Output: A message confirming the installation of the cockpit-docker package.
After installing, restart Cockpit to confirm the plugin is loaded:
sudo systemctl restart cockpitAccessing Cockpit
Open a browser and and type the following into the address bar:
https://<your-server-ip>:9090
Replace <your-server-ip> with your server's IP address. For local testing, you can use https://localhost:9090.
What happens here:
- Cockpit runs on port 9090 by default. The https:// indicates that it uses a secure connection (self-signed SSL).
- If accessing remotely, ensure port 9090 is open in the firewall:
sudo ufw allow 9090/tcp   # Ubuntu
sudo firewall-cmd --add-port=9090/tcp --permanent
sudo firewall-cmd --reload
Expected Output:
The browser might warn about a self-signed certificate. This is normal for internal tools. Click "Proceed" to continue.
Login:
- Enter your Linux system username and password.
- Once logged in, you'll see the Cockpit dashboard.
Managing Docker Containers with Cockpit
Docker containers are self-contained packages that include everything an application needs to run, such as its code, libraries, and settings. It keeps the application separate from your system, so it can work the same way on any computer.
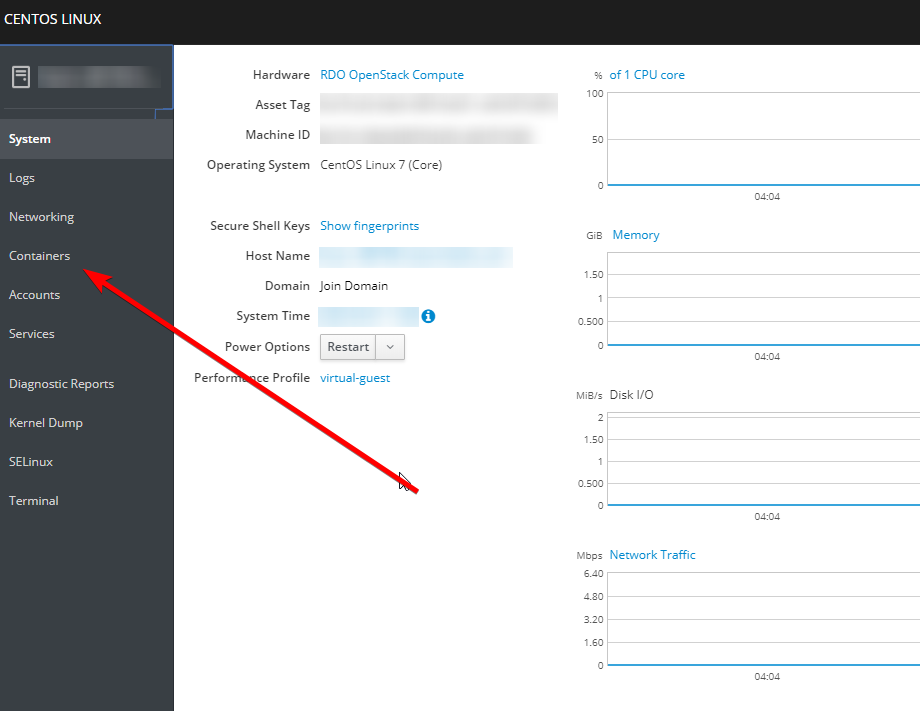
Step 1: Open the Docker Plugin
On the left-hand menu, click Containers. This opens the Cockpit-Docker interface.
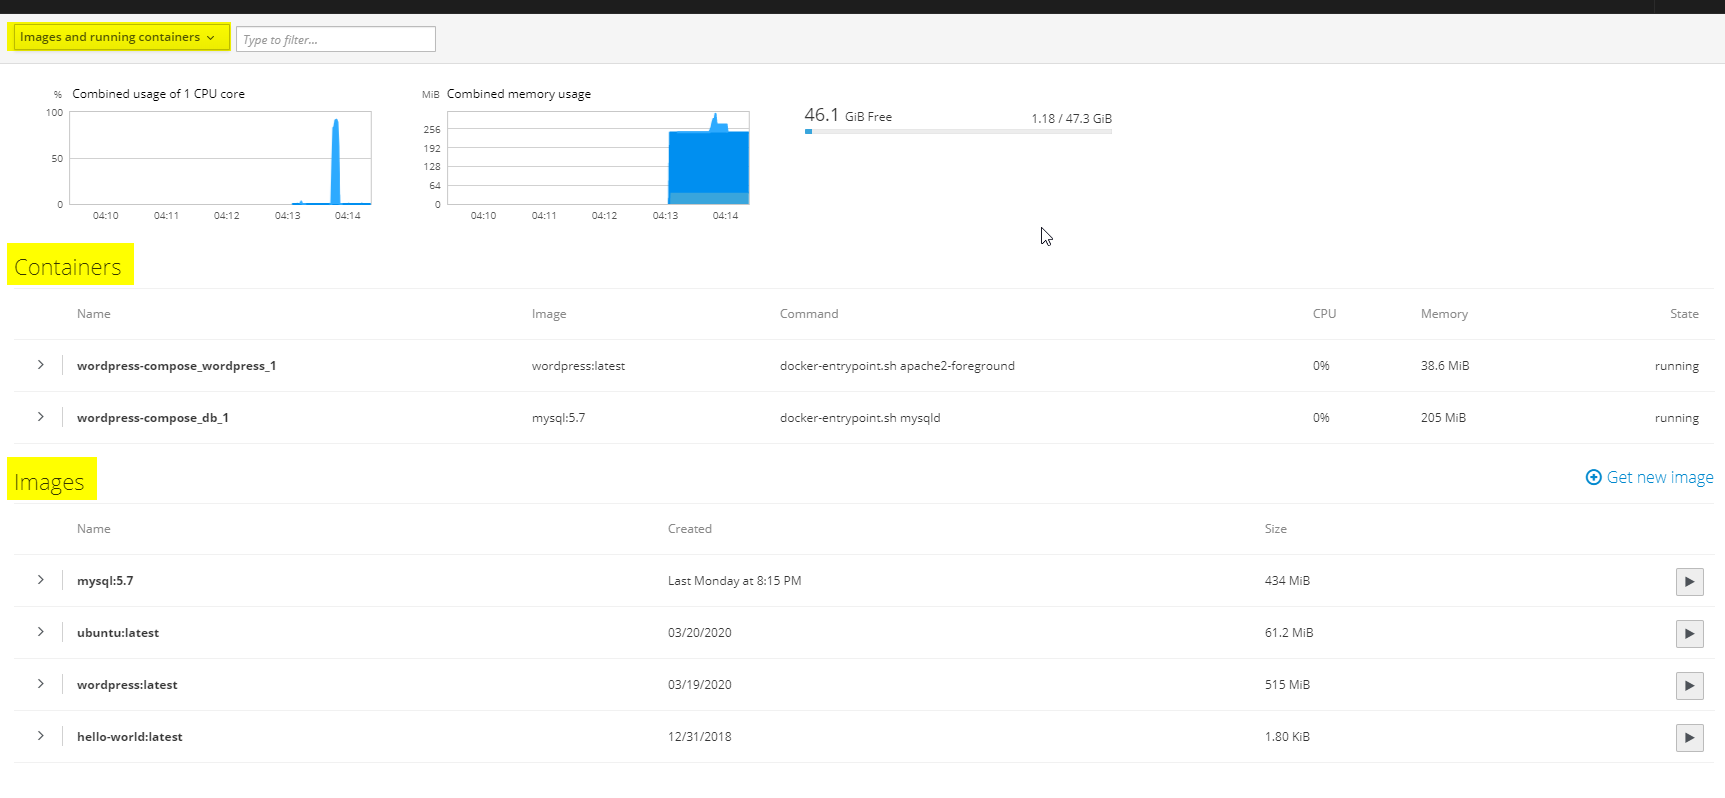
Step 2: Understanding the Interface
The interface consists of:
- Containers: Lists running/stopped containers with details like name, status, and resource usage.
- Images: Displays Docker images on the system.
- Volumes: Manages Docker volumes for persistent data storage.
- Registries: Allows you to log in to Docker registries.
Common Tasks with Cockpit-Docker
Pulling a Docker Image
Pulling a Docker image means downloading a pre-packaged blueprint of an application from a Docker registry. The image contains everything needed to run the application, such as code, libraries, and settings.
- Go to the Images tab.
- Click Pull Image.
- Enter the name of the image (e.g., nginx) and click Pull.
- What this does: Downloads the requested image from Docker Hub (or another registry if configured).
- Expected Output: The image appears in the list of available images.
Running a New Container
Running a new container involves creating a live, isolated instance of an application from a Docker image. Containers run the application in a consistent environment without affecting your system.
- In the Containers tab, click Create Container.
- Choose an image from the dropdown or enter the name of an image (e.g., nginx).
- Configure container options:
- Name: A custom name for the container.
- Ports: Map host ports to container ports (e.g., 8080:80 maps host port 8080 to container port 80).
- Volumes: Specify persistent storage paths.
- Click Create and Run.
- What this does: Creates and starts a new container.
- Expected Output: The container appears in the Containers tab as "Running."
Monitoring a Running Container
Monitoring a running container refers to observing a container's performance and activity, like CPU, memory usage, and logs.
- Click on a container in the Containers tab.
- View detailed metrics like:
- CPU usage (%).
- Memory usage (MB).
- Network traffic.
Troubleshooting and Tips
Can't Access Cockpit?
Check if the service is running:
sudo systemctl status cockpitDocker Plugin Missing?
Verify the cockpit-docker package is installed:
sudo apt install cockpit-docker -yWant a More Secure Cockpit?
Install an SSL certificate to replace the self-signed one.
Wrapping UP
Cockpit-Docker simplifies Docker container management with an intuitive web interface. Whether you're deploying simple containers or monitoring resource usage, it's an excellent tool for server administrators. By following this guide, you should now have Cockpit-Docker installed and ready to use.
Written by Benjamin Bream / April 2, 2020