
Hostwinds Tutorials
Search results for:
Table of Contents
Installing CentOS Web Panel on CentOS 7
Tags: CentOS Web Panel
What is CentOS Web Panel?
CentOS Web Panel (CWP) is a free web hosting control panel designed for quick and easy management of servers, both virtual and dedicated. Using this control panel, you won't need to resort to managing your server through SSH. As CWP has full compatibility with the Softaculous Apps Installer, you can install over 400 packages automatically!
Prerequisite System Requirements
- 1GB Ram Required (At least a Tier 2 Linux VPS)
- 4GB Ram Recommended (At least a Tier 4 Linux VPS) This is required for running higher resource tools such as real-time mail scanning/etc.
CentOS Web Panel Installation Process
Let's take a look at the steps required to install CWP on CentOS 7.
Step 1: Fresh install of CentOS 7
you will want to make sure your newly installed CentOS version is a fresh install and is up to date. The following command will update your software to the most recent versions and then initiate a restart of your server. This can be done by issuing the following command via SSH.
yum -y update
Step 2: Download CWP Installer
Navigate to /usr/local/src, download the CWP installer, and then execute it with the following command:
cd /usr/local/src && wget http://centos-webpanel.com/cwp-el7-latest && sh cwp-el7-latest
This process will take anywhere from 5-10 minutes, depending on the Tier of your server. However, once it is complete, you will be presented with this screen.

You can copy this and paste it into a local document for reference later.
Step 3: Reboot Server
At the bottom of the "CWP Installed" follow the prompt to reboot the server by pressing ENTER - This process may take a few minutes. You can track the status of the reboot via "Get VNC" from your Cloud Control panel. Once everything is back up and running, we can move on to the next steps.
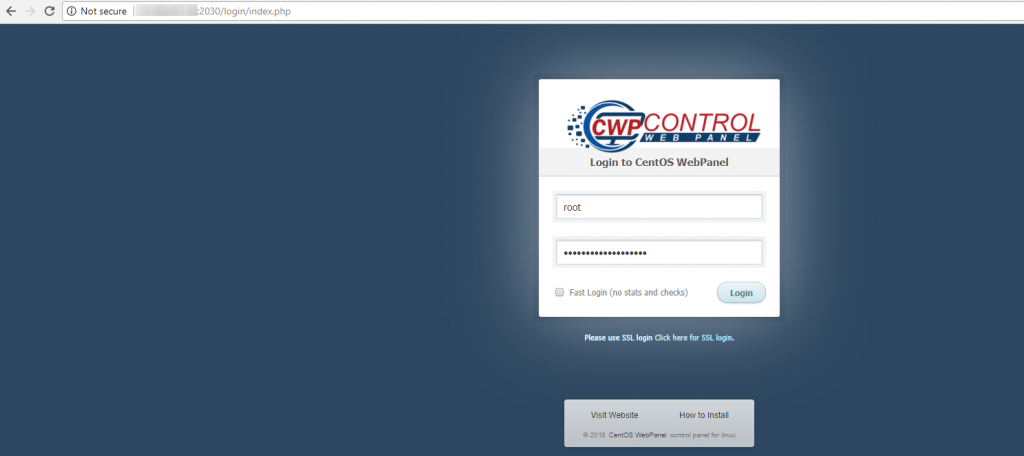
Step 4: Load CWP Admin Page
Once your server has finished booting, we will now want to load the CWP admin page. To do so, you will open a new browser window/tab and enter your IP address, followed by the CWP administration port, which is 2030.
123.456.789.123:2030
You will then be presented with the CWP login screen. Enter your server's root login information, and click 'login.'
Congratulations, your server is now running CentOS Web Panel, and you are on your way to setting up your user accounts and associated websites!
Written by Hostwinds Team / April 10, 2018