
Hostwinds Tutorials
Search results for:
Table of Contents
Install PrestaShop Using Softaculous
Tags: Softaculous
While WordPress might be the most popular script in Softaculous, many people want to set up a shop without a blog framework. PrestaShop, similar to WordPress, is written in PHP and uses MySQL. It's available in Softaculous and works well with our Shared or Business web hosting. We also have a VPS image with it pre-loaded that you can install with these instructions.
To continue with this guide with your Hostwinds Shared or Business web hosting account, you will want to be log into cPanel.
Install PrestaShop with Softaculous
Step 1. Scroll to the bottom of your cPanel
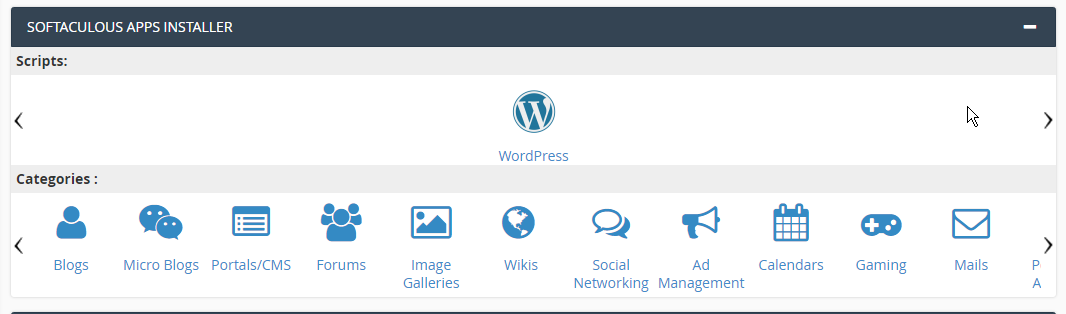
Step 2. Please hover over the > until you get to E-Commerce and click it

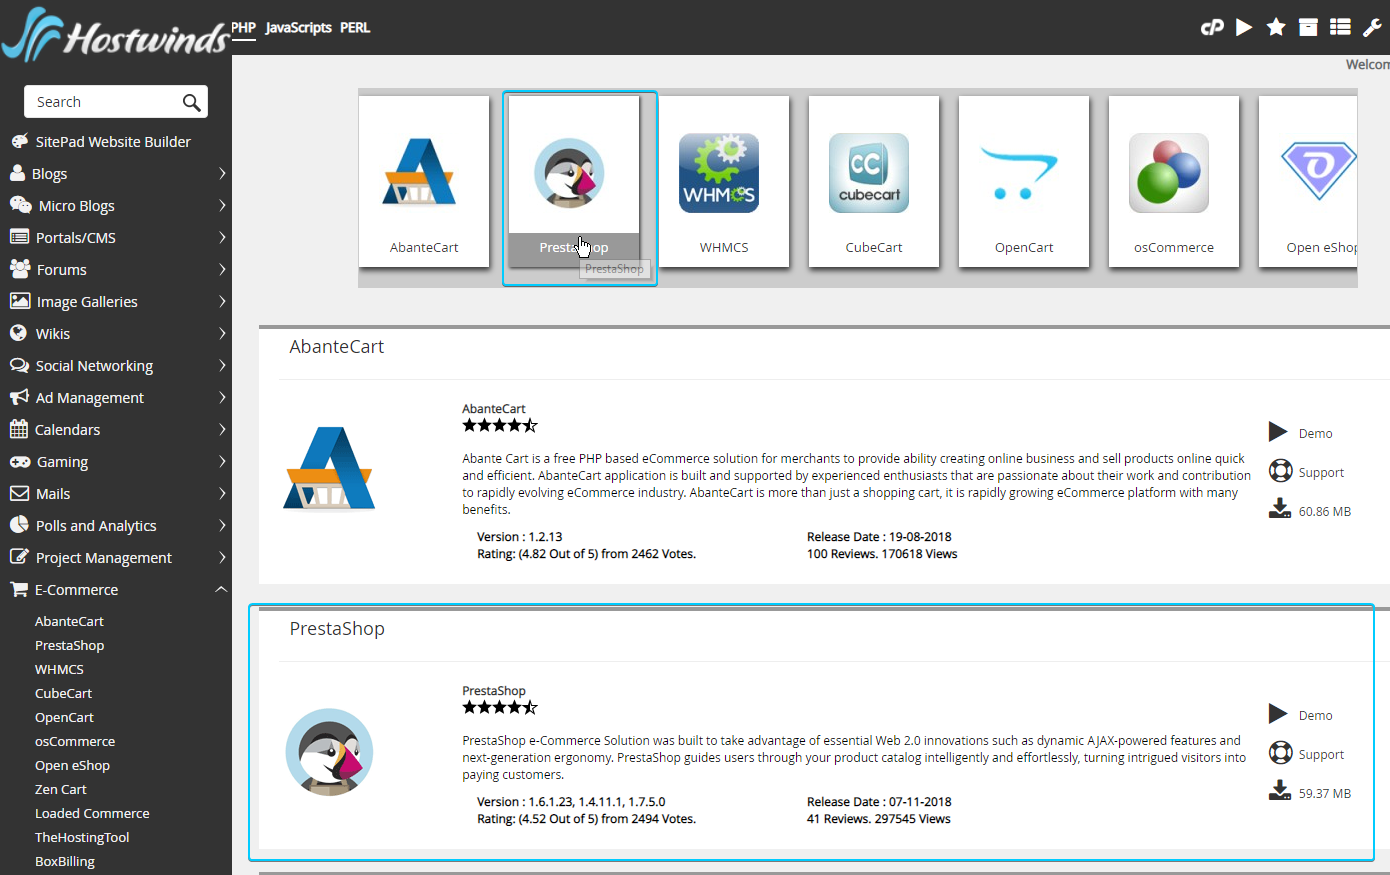
Step 3. This will open Softaculous in the E-Commerce section. Click PrestaShop.
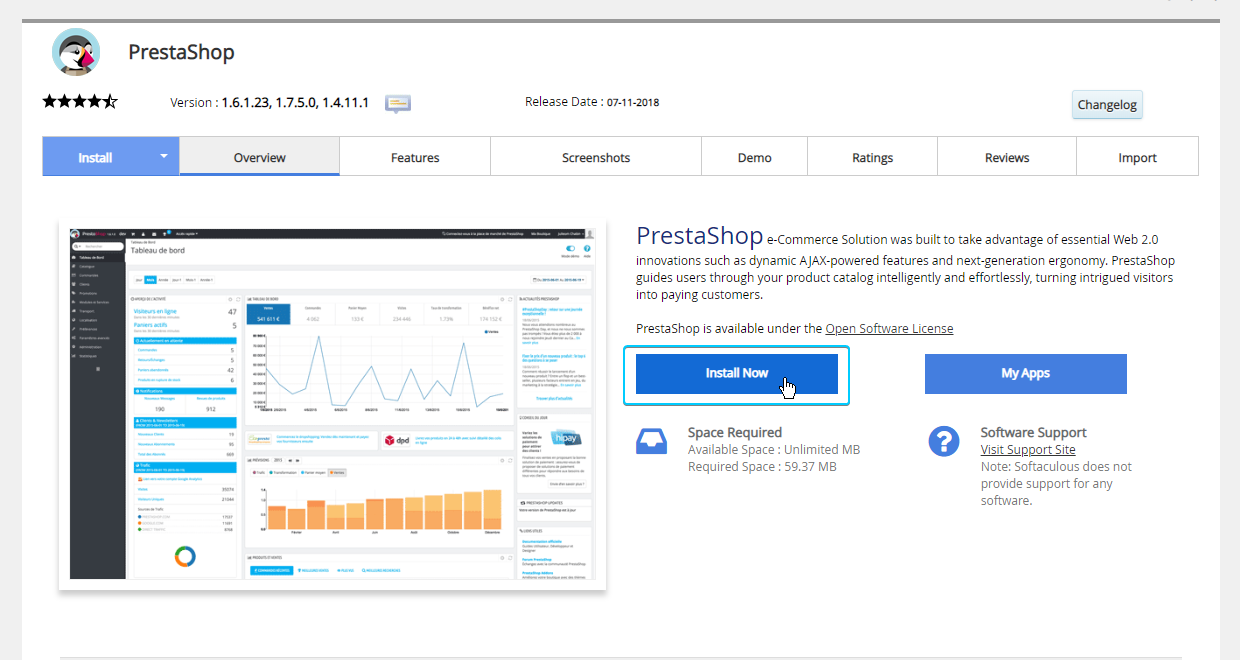
Step 4. Click the Install Now button to start installing PrestaShop
Step 5. The pre-installation configuration asks the version, protocol, domain, and directory to install into.
Make sure you have taken a backup of your files in the document root, as this will overwrite any files in the current document root.
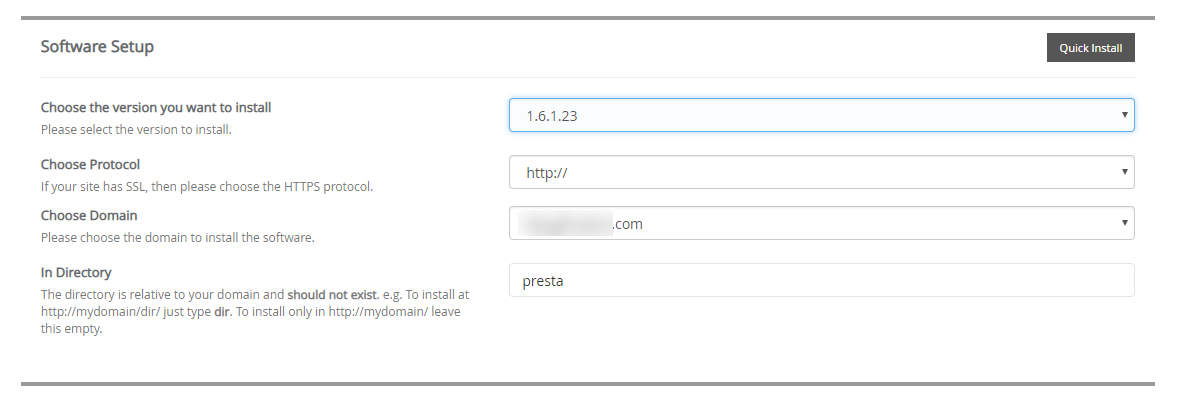
- Version: 1.6.1, 1.7.5.0 and 1.4.11.1 are available
- Protocol: HTTPS:// is highly recommended. AutoSSL is available for free, see here or contact us in chat or via a tech support ticket if you have issues setting it up
- Domain: this is the domain or subdomain that the PrestaShop installation will associate itself with
- Directory: if you want yourdomain.com/ to go straight to the shop, leave this blank; otherwise, the shop will be at yourdomain.com/thisdirectory
Step 6. Enter in your Site Settings
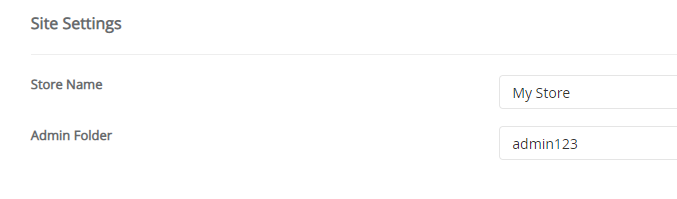
- Store name: the title and header for the web pages in the store
- Admin Folder: the directory on the website you will access to modify the site, e.g., mydomain.com/presta/admin123
Step 7. Enter in the Admin Account details and keep these in a safe place. We strongly suggest using a strong password here.
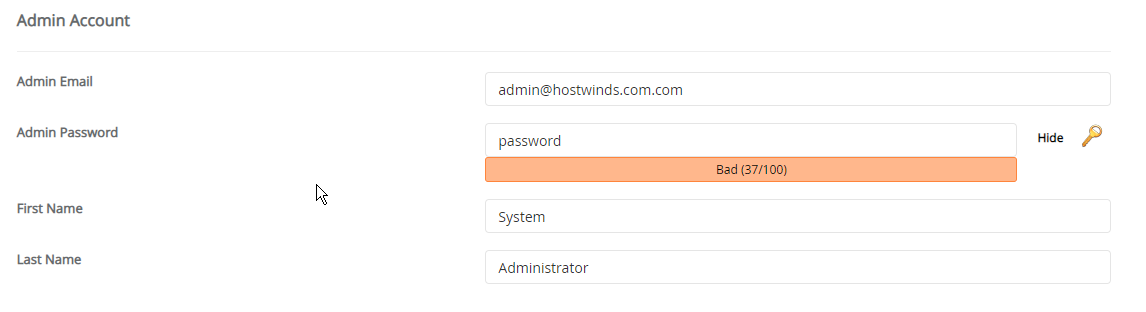
- Admin Email: the email you will log in with
- Admin Password: please make sure this is strong
- First name: Your first name
- Last name: Your last name
Step 8. Enter in the Advanced options

- Database name: This is the name of the database that will be created in your hosting package's MySQL — cPanel will automatically prepend the cPanel username
- Table prefix: this will be prepended to all the table names
- Auto Upgrade: You have the option not to upgrade the PrestaShop installation automatically, but the default is for Softaculous to keep it up to date
Step 9. Once you have entered all the information, click Install

The installation will show you a progress bar then finish. It will give you the links to the shop and admin pages to retrieve from Softaculous.
Viola! Then you'll have the default PrestaShop installation.

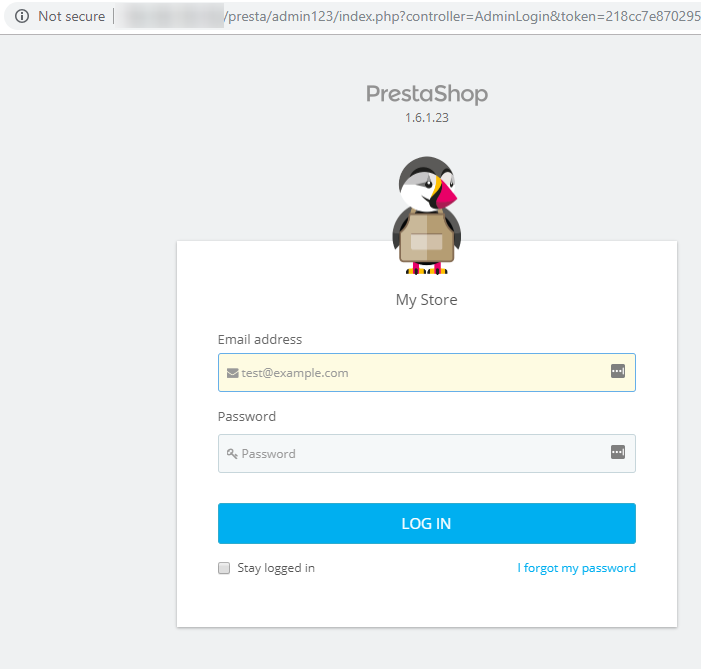
And this is the Admin login screen at domain.com/presta/admin123 to show you an example of how this looks.
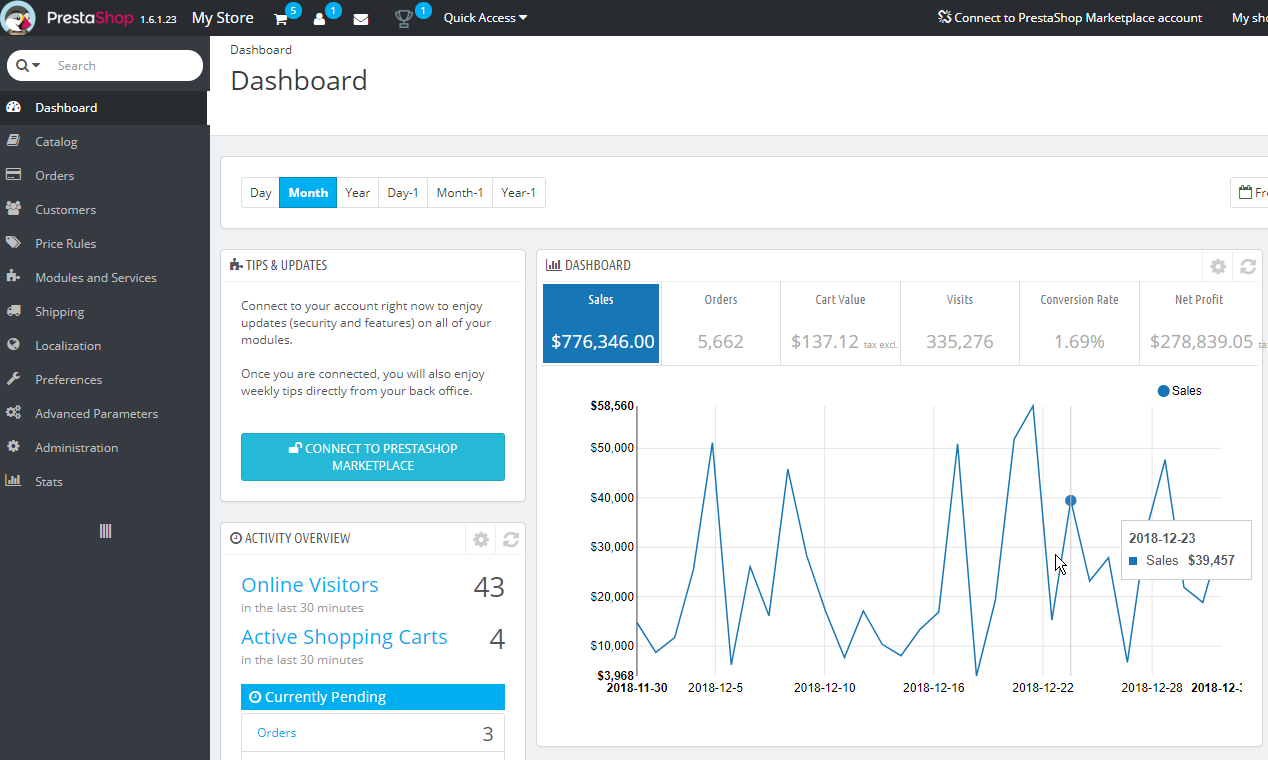
Once you are logged in as the admin user, this will lead you to the PrestaShop Admin console and look similar to this.
Written by Hostwinds Team / January 3, 2019