
Hostwinds Tutorials
Search results for:
Table of Contents
Manage Users Inside CentOS Web Panel
Tags: CentOS Web Panel
You may sometimes need to manage users you have created with CentOS Web panel (CWP). This would happen when a user needs to be upgraded or downgraded, granted different permissions, have the email address or password modified, or other similar user management tasks. This guide will help show you how to manage users inside CentOS Web Panel.
Displaying Current User List
Step 1: If you are not already logged in, log in to your CWP7 dashboard. By default, this is done by navigating to the IP Address of your server and affixing the port number of "2030" at the end. It looks something like this:
192.168.1.183:2030
Once logged in, you should see your CWP7 Dashboard.
Step 2: Click on the

the dropdown on the left, then click

. This will bring you to a page that lists current existing accounts.
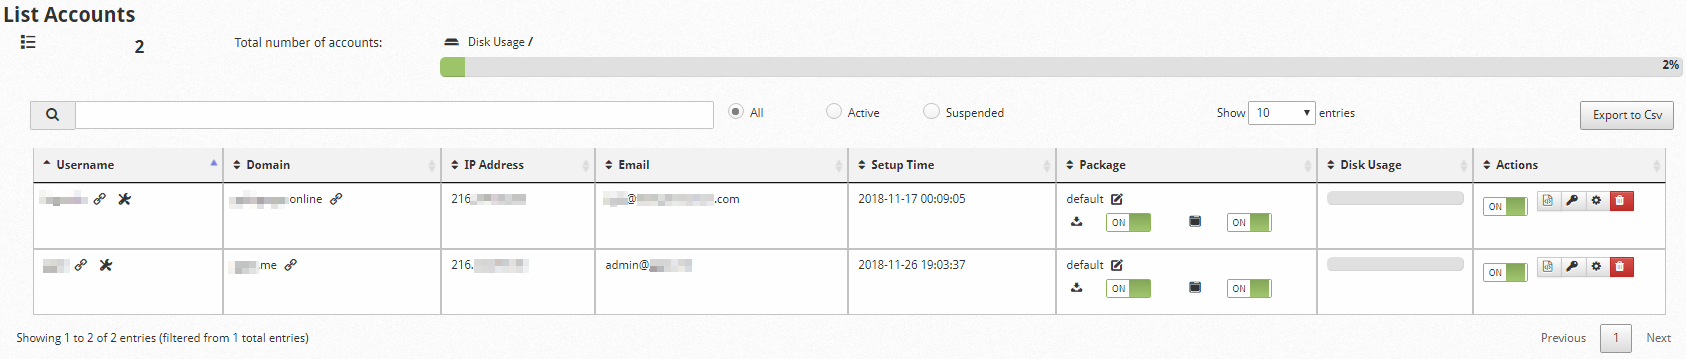
Now we can move to manage the user we intend to modify. The table shows all the existing users as well as their currently configured options. These options include the primary domain associated with each account, the username for the account, the email address associated with the account, toggles for backups and shell access (seen as "on" for all users on this list), current disk usage, and account controls under the "Actions" column.
Let's go over each action and what it does.
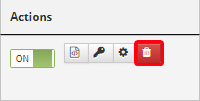
User Actions
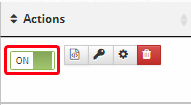
Suspension Toggle:
You can suspend an account and all services associated with it by toggling this to "Off." It will take effect near immediately. Alternatively, you can toggle it "On" to resume services as they were before. This does not cause any data loss. It simply restricts the user from logging in and stops any active services that are running. You would toggle this, for instance, if you have a paying client that has not paid current as of yet.
Edit DNS Zone
You can jump to a page that manually edits the DNS Zone file associated with this user account. This would be handy for changing DNS Records that may not typically need to be modified that often. Something like the SOA nameserver Record for the primary domain or any TTL associated with it.

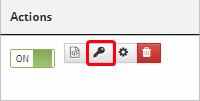
Manage User Password
You can set the selected user's password here. It will pop up a box and prompt for the new password. Once entered and confirmed, it will take effect immediately.
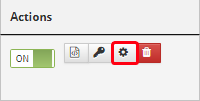
Edit Account Settings
You can manage various settings associated with the user account here. Assuming your default package, or the package assigned to this user during its creation, was set up correctly, likely, you'll never need to come into this area.
Delete Account
You can delete the user account here. This button is pretty self-explanatory. You should backup the files associated with the user account if you do not wish to lose them, as this will delete data associated with the user account.
Now you can manage users inside CentOS Web Panel.
Written by Hostwinds Team / December 3, 2018