
Hostwinds Tutorials
Search results for:
Table of Contents
Managing Feature Lists in WHM
Tags: WHM
This guide is intended for Hostwinds Cloud VPS or Dedicated Server clients with access to cPanel/WHM.
With cPanel/WHM, you can create packages that define resource limitations for created cPanel accounts. In addition, there are Feature Lists that can be made to affect what levels of access the cPanel accounts will have. Some of these features include the DNS Zone Editor and managing FTP Accounts. Below you will find how you can Add and Manage Feature Lists in WHM.
Where To Find The Feature Manager
Step One: Log into your WHM Administrative dashboard.
Step Two: From the search box in the upper left, type in "Packages_" and hit enter. In the available options, select the _Feature Manager option.

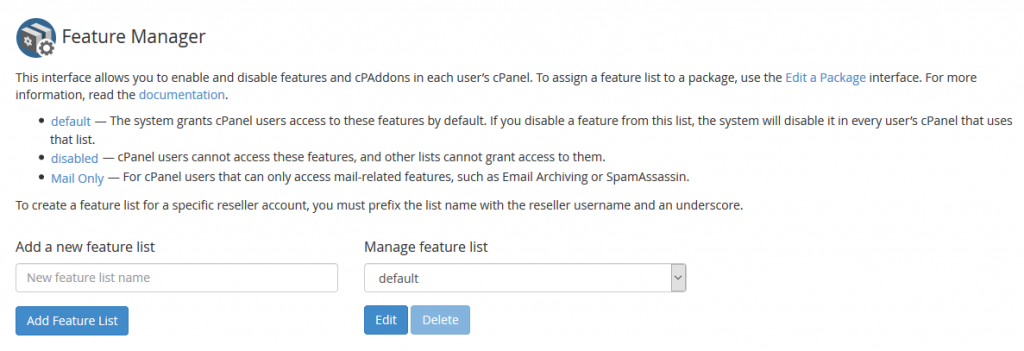
Step Three: After clicking the Feature Manager option, you will be brought to a new page, where you will be able to add a new Feature List, Edit, and Delete a previously made Feature List.

Managing Feature Lists
From the Feature Manager page in WHM, you will see a couple of different actions that can be performed and some additional information. With the option on the left, you will add a new Feature List to WHM. On the right, you can either Edit or Delete a previously created Feature List. Three Feature Lists are unable to be deleted. However, you can edit the Feature Lists how you would like. These are the default, disabled, and mail only. Default is the package that is used by default for new WHM Packages. The disabled Feature List is used to indicate features that are disabled in ALL cPanel accounts. Other lists are unable to overwrite the options listed here. The Mail Only feature lists define what accounts that are created as Email Only will have access to.
Adding a New Feature List
Step One: From the Feature Manager page, there is an option to add a new feature list on the left side. Enter the name for the new Feature list in the text box.
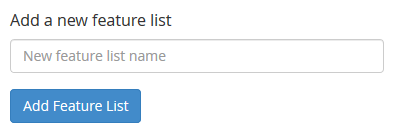
Step Two: Once you have set a name that you are satisfied with, click the blue Add Feature List button. This will take you to the Edit Feature List page to customize. For the options listed, a description of them can be found in cPanel's Documentation.
Editing and Deleting a Feature List
Step One: On the Feature Manager page, there will be a dropdown to select a Feature List name towards the right side. This will contain all the Feature Lists that are set up on the server. Select the Feature List you would like to Edit or Delete.
Step Two: After you have selected the Feature List you want to Edit or Delete, there will be 2 Blue buttons underneath the dropdown.
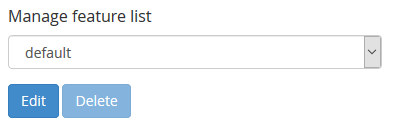
To Delete the Feature List click the Delete Button.
To Edit the Feature List, click the blue Edit button. For a description of each of the options in the Feature List Editor, please refer to the cPanel Documentation.
Managing a Feature List
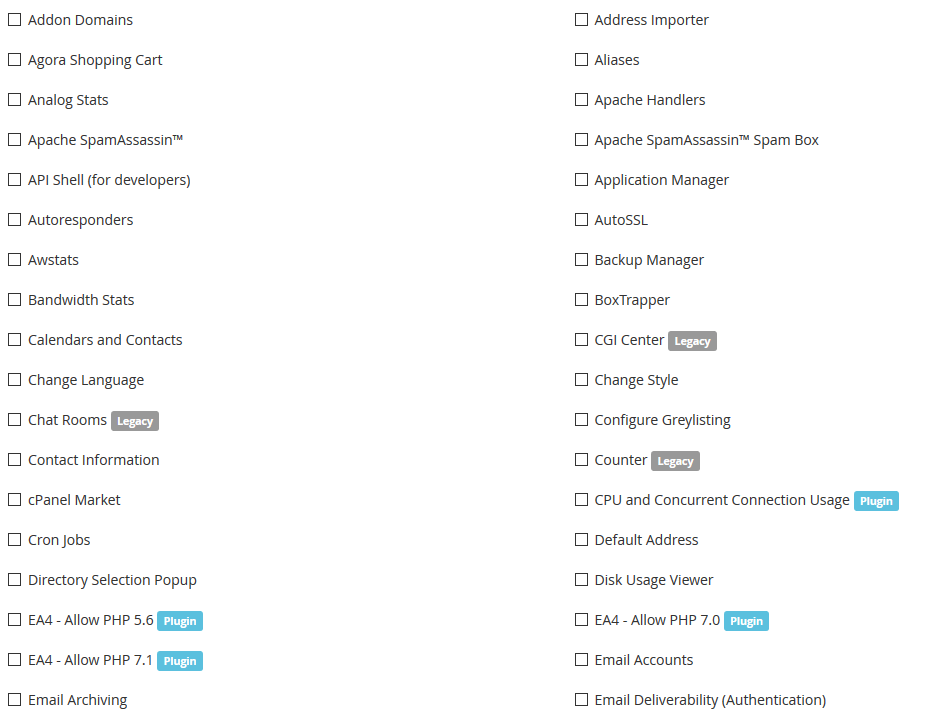
When adding or editing a feature list, there will be many options to choose from. If you already know the options you want to change. You can use the Search box at the top to easily find them. Or, if wanting to enable all features for the Feature List, you can select the Checkbox to Select all features for the current Feature List.

With each Feature that you can select, there will be a Checkbox. Filling the checkbox means it will have the Feature with all WHM Packages using this feature list. If there is a small formatted piece of text next to the option with Plugin, the Feature is added due to a cPanel / WHM plugin installed on the server. If it has Legacy, this means the Feature refers to a deprecated feature.
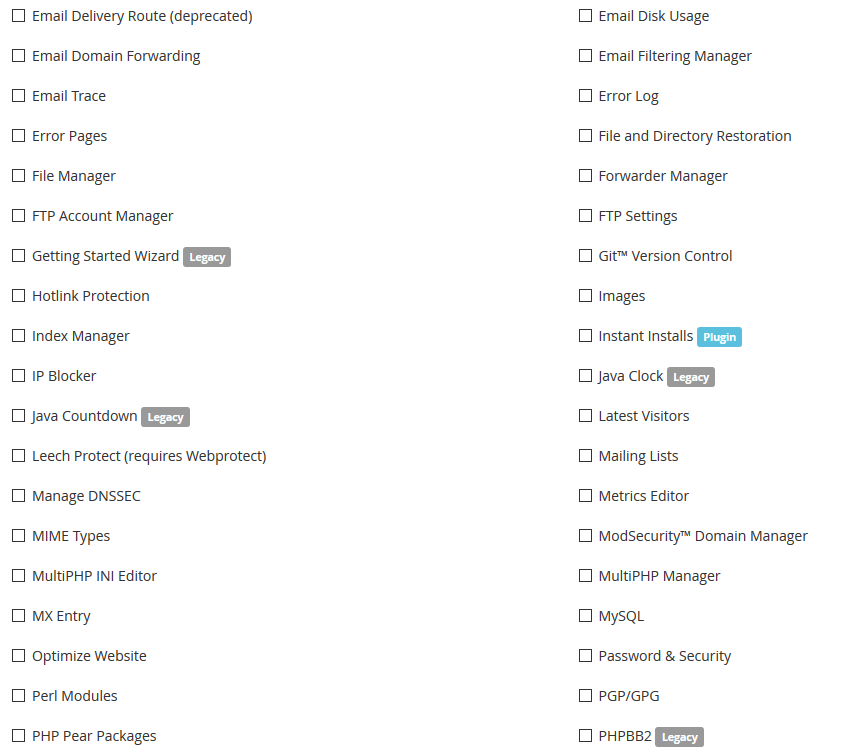
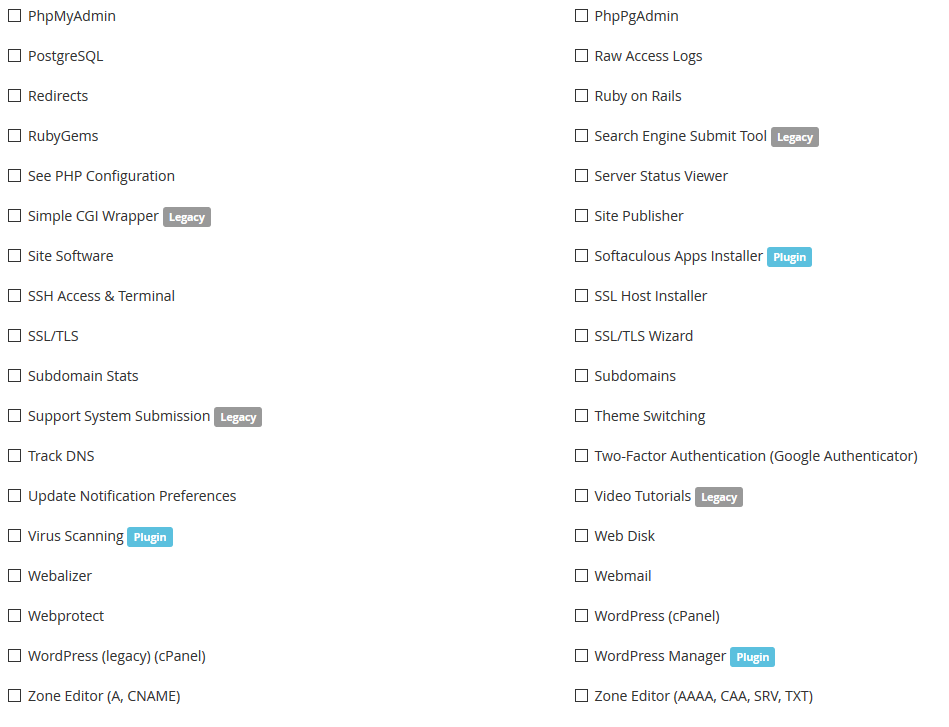
For a description of each feature that can be enabled for a Feature List, it is recommended to look at cPanel's Documentation here as it will contain a brief description of each Feature listed.
After you have finished making any changes to the Feature List, you can click the blue Save button located at the bottom of the page. If wanting to cancel any changes, you may click the Cancel button.
Written by Hostwinds Team / March 25, 2019