
Hostwinds Tutorials
Search results for:
Table of Contents
Setup cPanel and WHM
When using the Hostwinds VPS or Dedicated Server to host your cPanel and WHM applications, the first time you access it will prompt you to perform some initial one-time setup steps. This guide will discuss the cPanel and WHM initial setup process and is intended for Hostwinds clients with a Cloud VPS with a cPanel license.
Prerequisites
- Hostwinds VPS or Dedicated Server with the recommended minimum specifications
- cPanel installed on the VPS
Configuring WHM for Use
cPanel is only one part of the whole package when it comes to managing a web host space. Web Host Manager (WHM) is the underlying support system that cPanel relies on. They are both included in the cPanel license purchased with your VPS. The first time logging into WHM after a fresh installation to your VPS will prompt a few setup process steps.
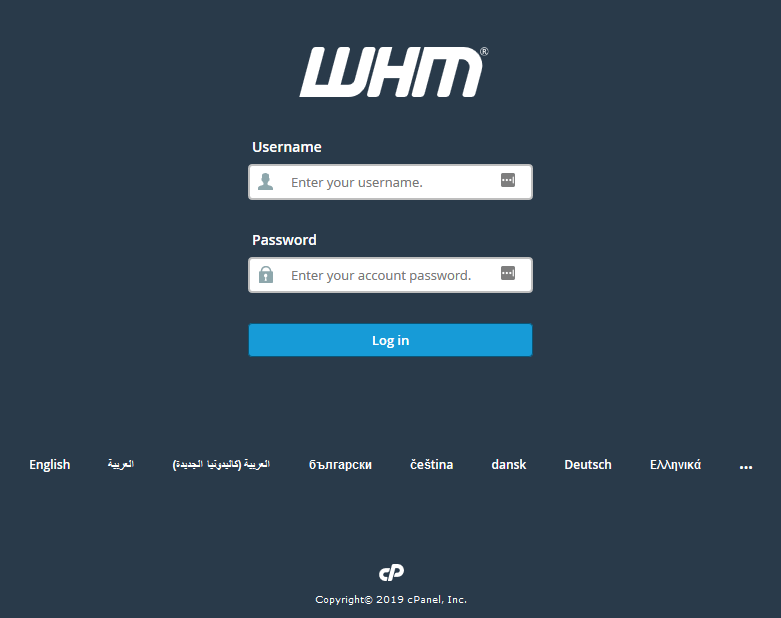
Step 1: Log into your WHM using the root user and associated password. These are included in the welcome email sent at the time of the creation of the server. There is also a link in the same email that opens the login page to your WHM portal. Alternatively, manually typing the server's IP Address and using port 2087 will also bring you to the login page. The URL looks like this:
"`https://108.174.193.107:2087"`
And you will arrive at the login page for your WHM install. You may receive a "Page not secure" error message in your browser. This is normal and to be expected. Follow the instructions in your browser to continue to the login page.
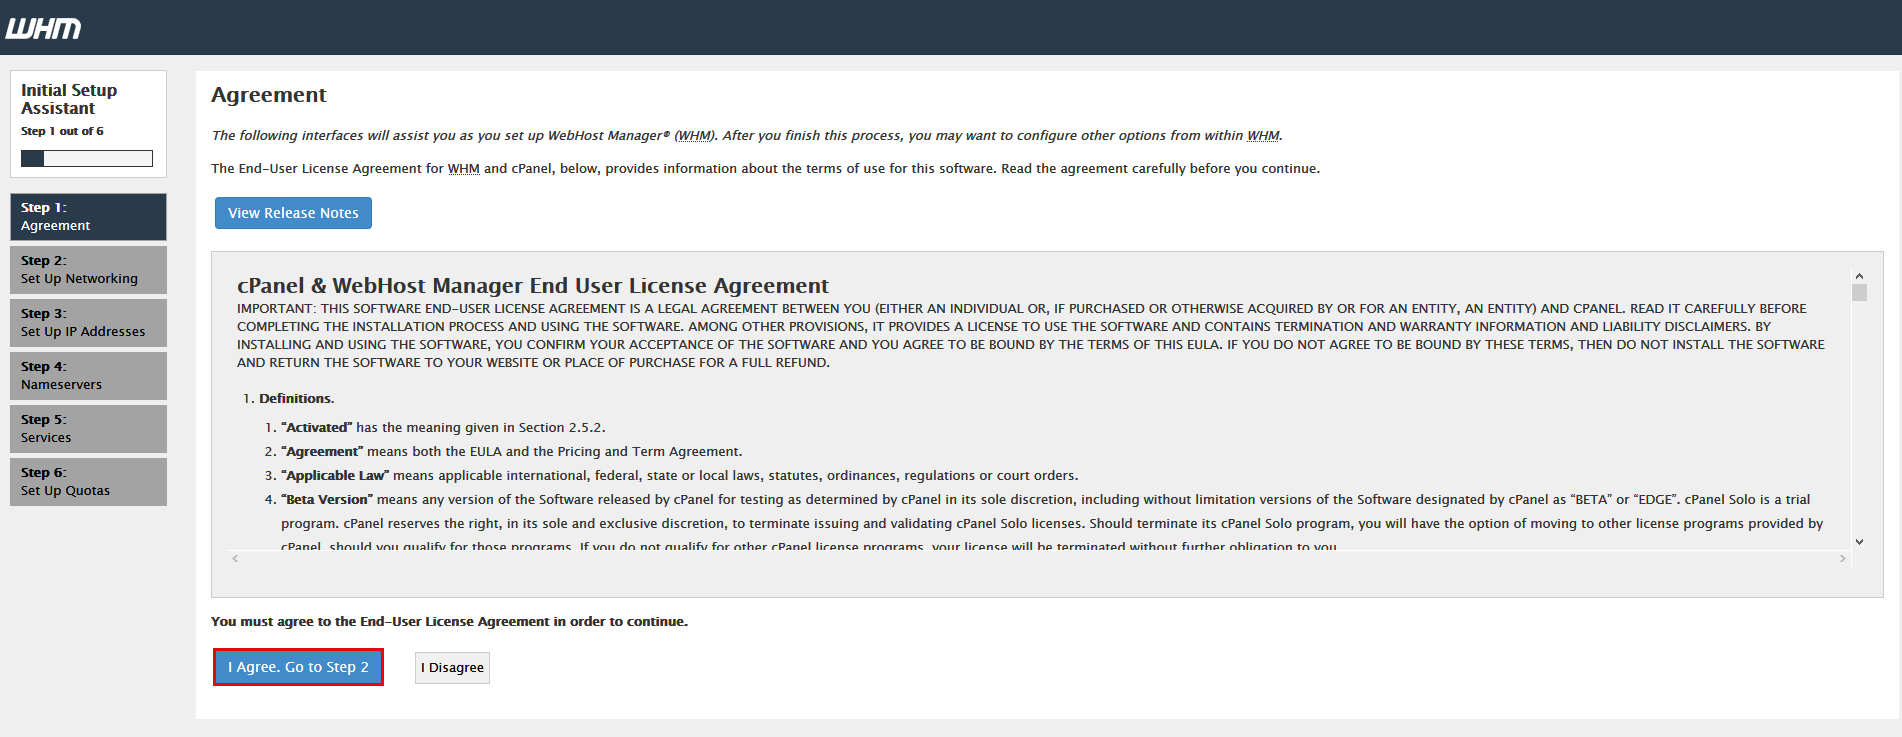
Step 2: Displayed next will be the standard Terms of Service for cPanel and WHM. Click I Agree, Go to Step 2 to continue.
Step 3: Networking Setup will now begin. A lot of this page can be left default. There are a few specific changes that are recommended here. We will detail each section one at a time here.
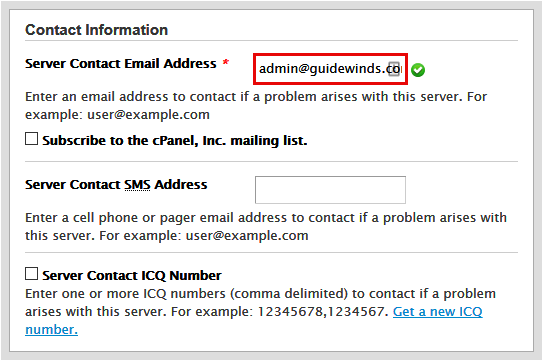
Section Actions Screenshot Contact Information Enter an email address to receive WHM notifications. Additionally, the SMS address is optional.
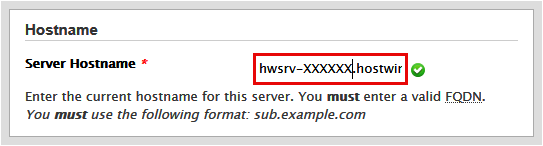
Hostname This can be left to the default value. An FQDN must be used if you replace the default hostname.
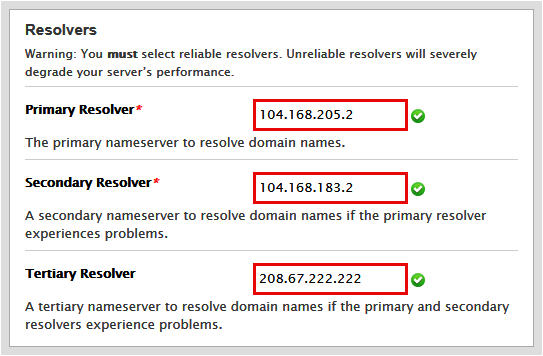
Resolvers These are the DNS Server settings. Either use the defaults or change them to your preferred DNS Servers.
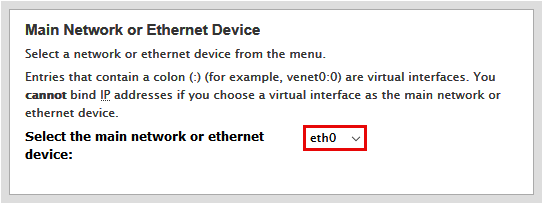
Network Interface This will automatically be set to the best option. As such, we recommend leaving this alone.

Click at the bottom of the page to continue to the next step.
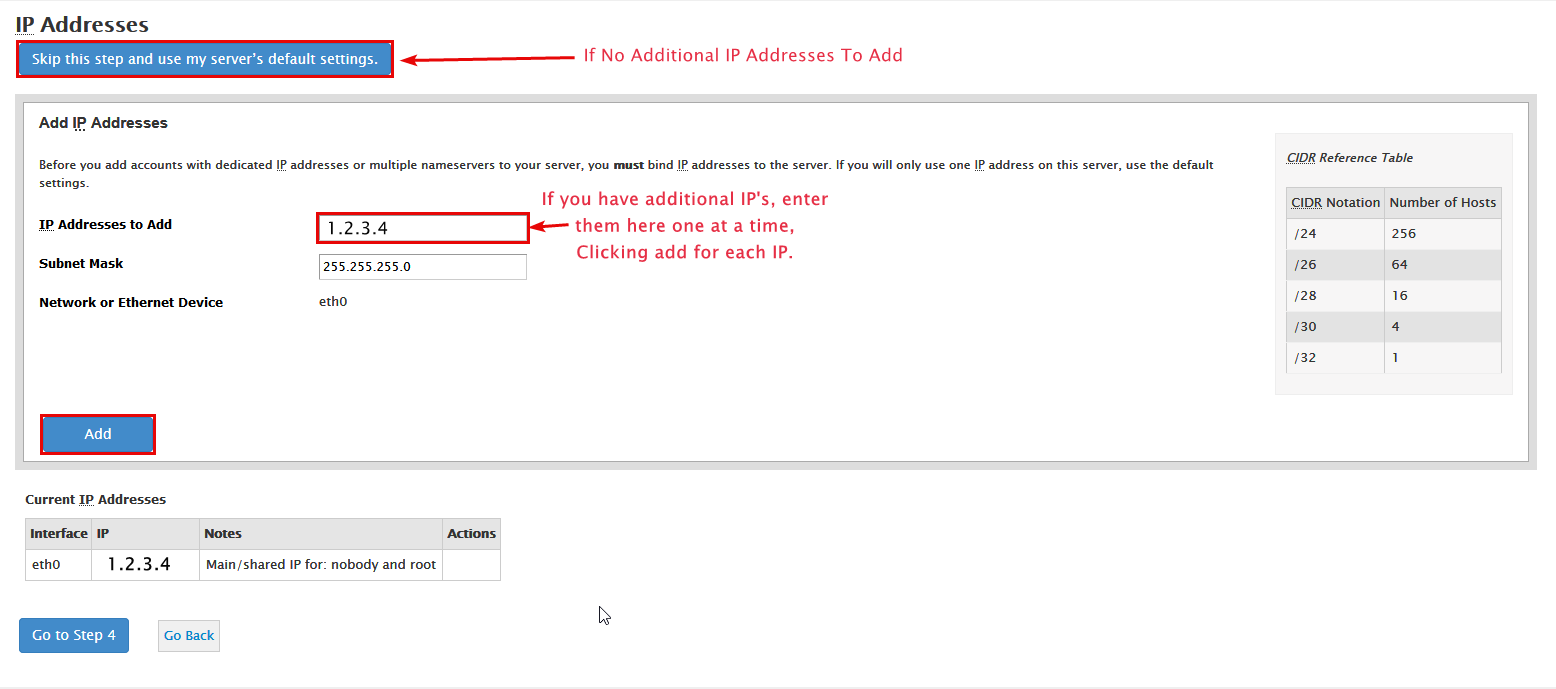
Step 4: The next step is adding any extra IP Addresses to your server. You do not need extra IP Addresses and can skip this step using the Skip this step and use my servers default settings button at the top of the page. Alternatively, if you purchased additional IP Addresses here, you can add them using the form in the Add IP Addresses section of the page.
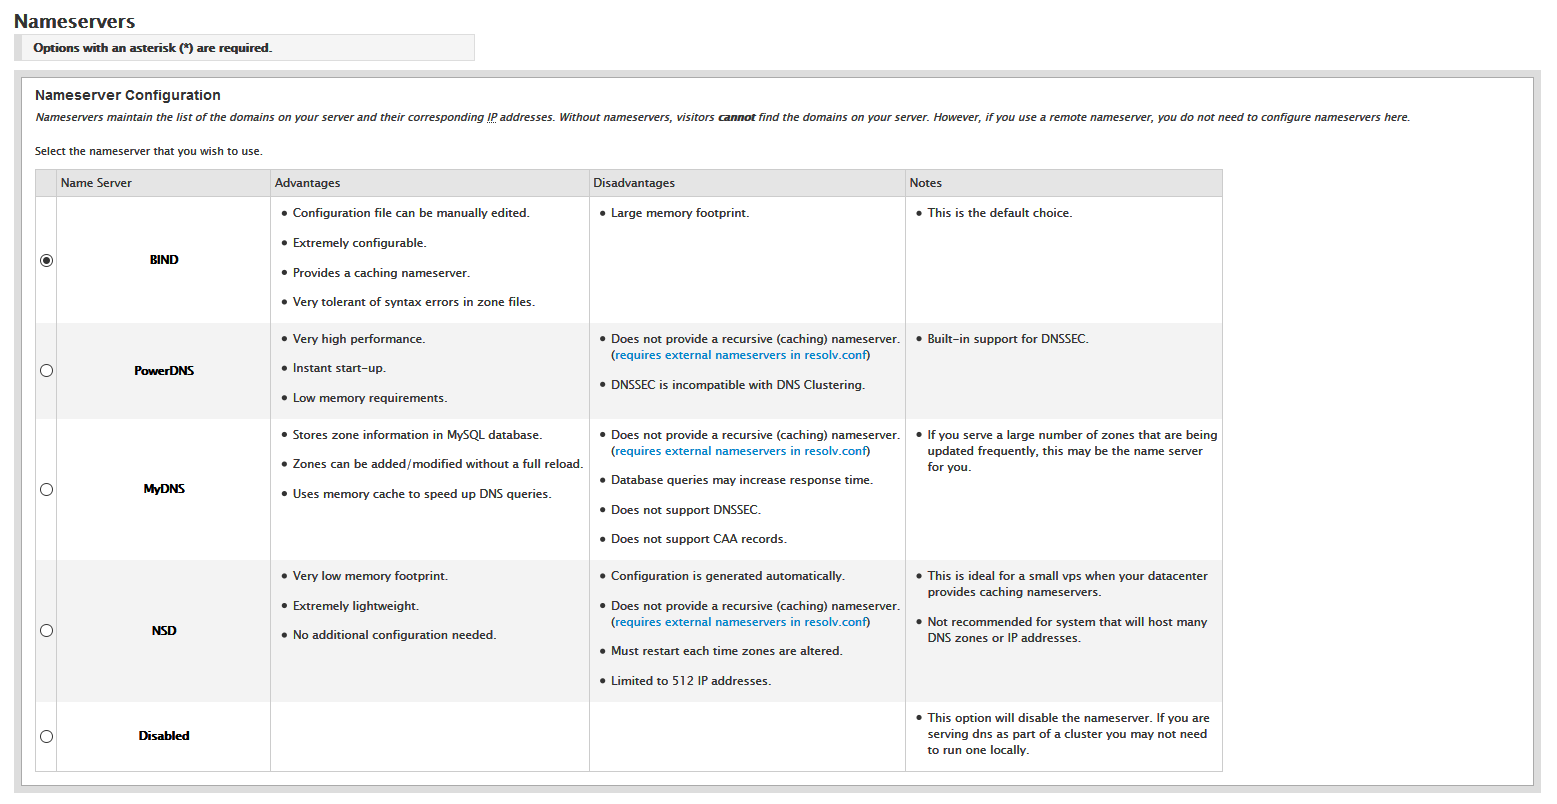
Step 5: Setting up the nameservers is the next step. The default selection here is BIND and is perfectly suitable for our needs.
Scroll down and enter any nameservers you have ready. If you previously created Private Nameservers with a domain registered with Hostwinds or elsewhere, enter them here. Review our guide on cPanel Nameserver Setup for an in-depth guide on optimally setting up nameservers for cPanel and WHM.
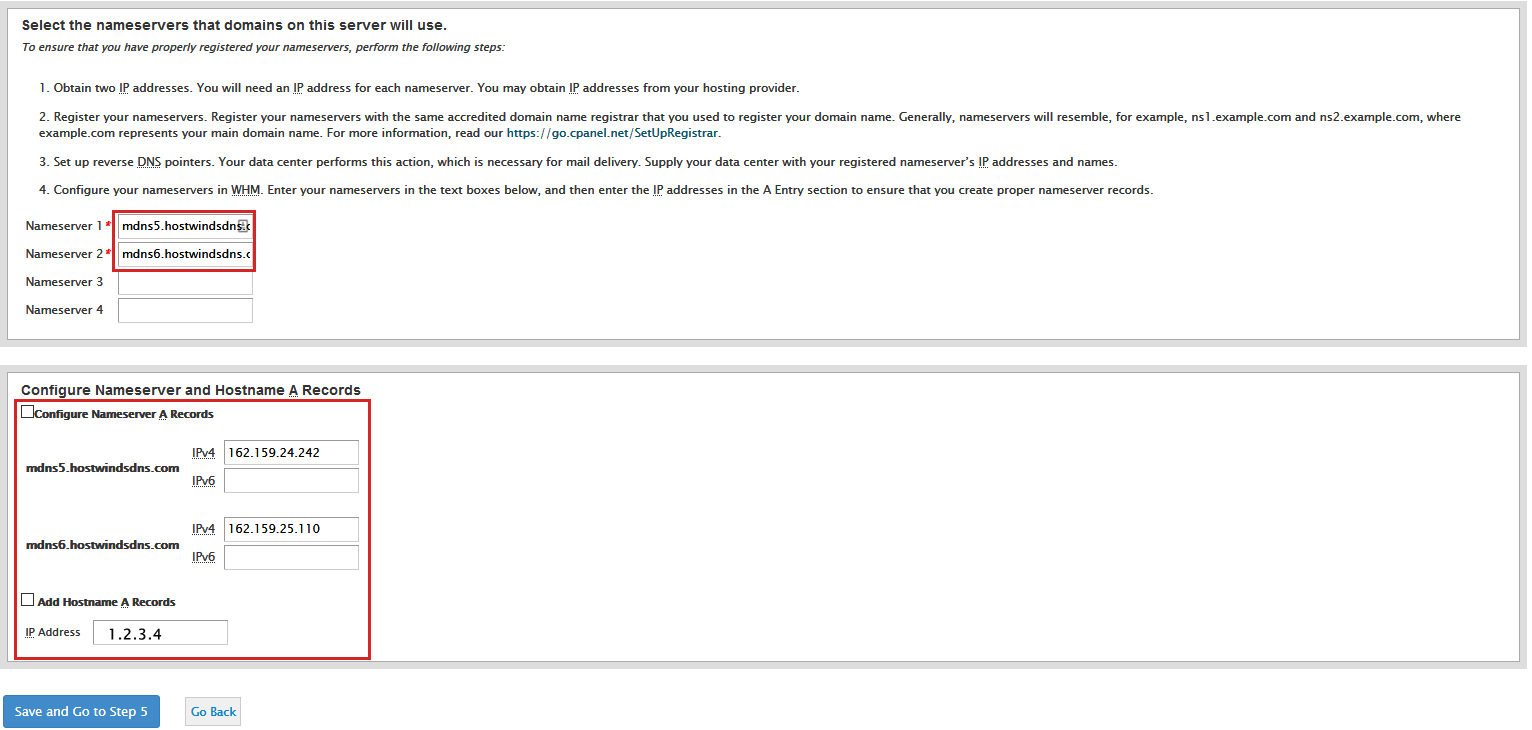
If you already have private nameservers configured, or are using a service such as Cloudflare, use these instead of the default nameservers. Furthermore, check the boxes for Configure Nameserver A Records and Add Hostname A Records before clicking Save and Go to Step 5.
The nameserver setup process can take up to 20 minutes to complete. Please leave the Nameserver Setup page there until after it progresses on its own to the Services step.
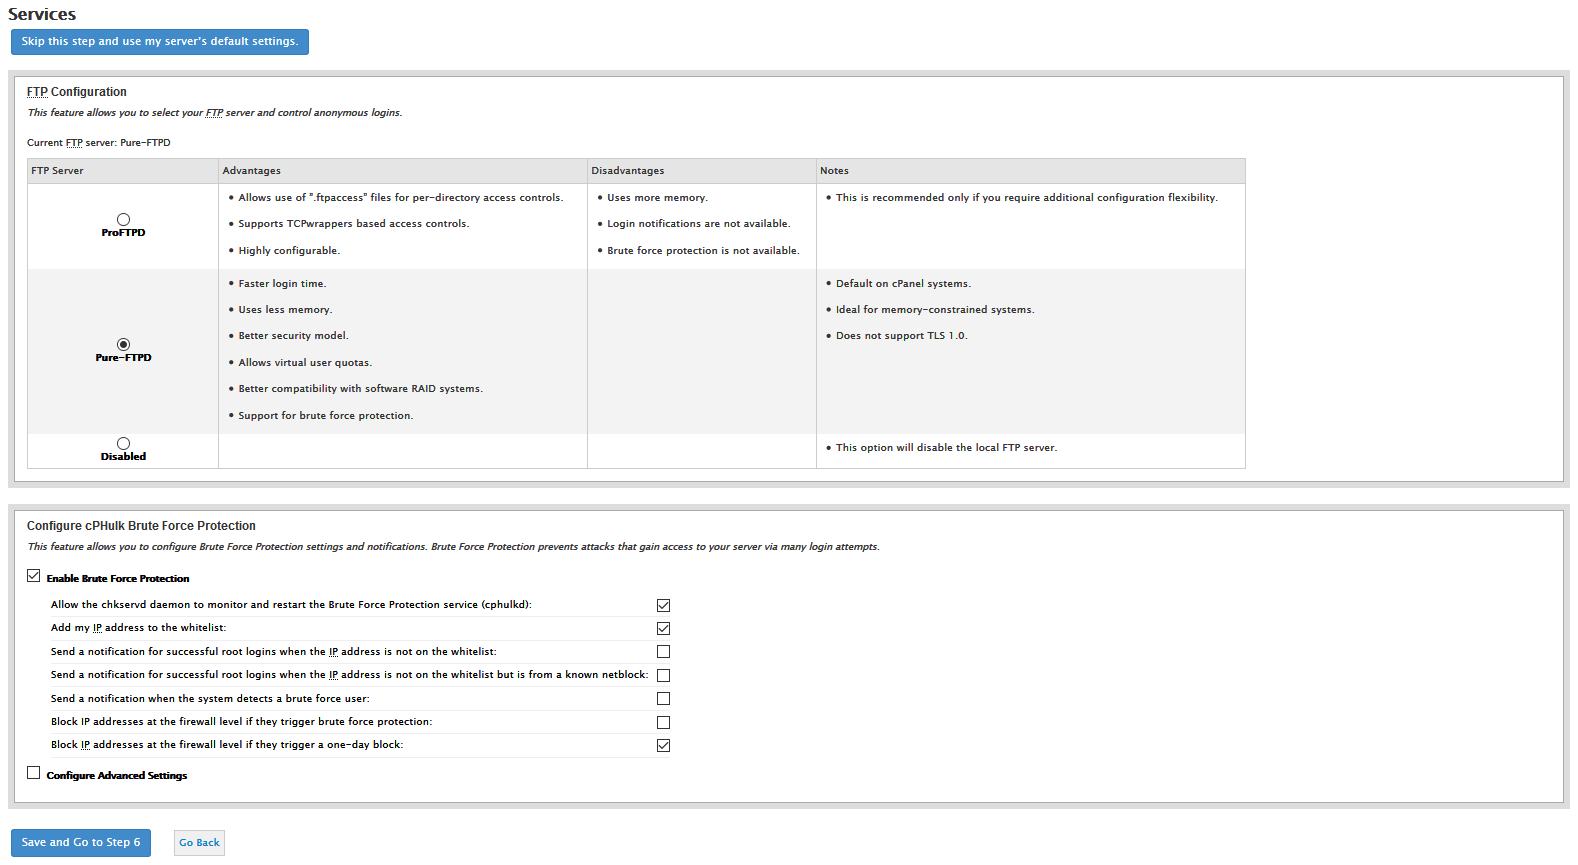
Step 6: The next page involves setting up services. All the default options are fine, and you can leave them be. Alternatively, if you know exactly what you're doing, you can manipulate the settings on this page to your desire. Otherwise, click Skip this step and use my server's default settings.
Step 7: This last step offers the option to enable Quotas. This is not a necessary feature and can occasionally cause issues with the file system in place. Disable this by selecting the Do not use filesystem quotas radio button and click Finish.

The final setup process that happens after clicking F_inish_ in the previous step can take time. It may look like nothing is happening, but the server is processing all changes and placing them into effect. Finally, you may be brought to a message stating that your PHP Memory Limit has been modified to suit the memory available on your server better. This is normal and can be changed later to a higher amount as needed.
Step 8: Click Go To WHM to proceed. You may then be presented with a Feature Showcase page. You are not required to modify anything on this page. Scroll down to the end of the page and click Save Settings. Clicking Exit to WHM will cause the same page to be displayed the next time you log into WHM.

Written by Hostwinds Team / January 11, 2019