
Hostwinds Tutorials
Search results for:
Table of Contents
Unable To Send Email Through WordPress
If you are having trouble sending emails from your Shared or Business Web Hosting account with Hostwinds, we recommend using a plugin so that you can authenticate to the mail server and send your emails. This will ensure that your WordPress is configured to authenticate with an email account's username and password and send emails using your forms with the desired result. To continue with this guide, be sure you can log in to cPanel, install WordPress, and are in the admin area to follow this guide.
As always, please be sure you have taken a backup of your files and database before proceeding with this guide or making any changes.
Install WP Mail SMTP by WPForms
Step One: Navigate to Plugins > Add New
Step Two: Search for SMTP Auth
Step Three: Click the Install Now button
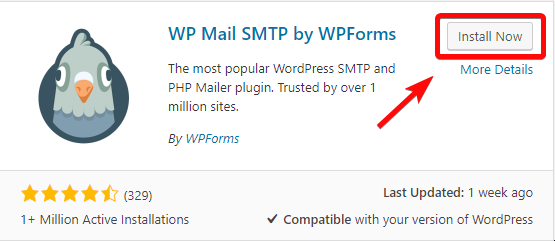
Step Four: Once the plugin is installed, click the Activate button
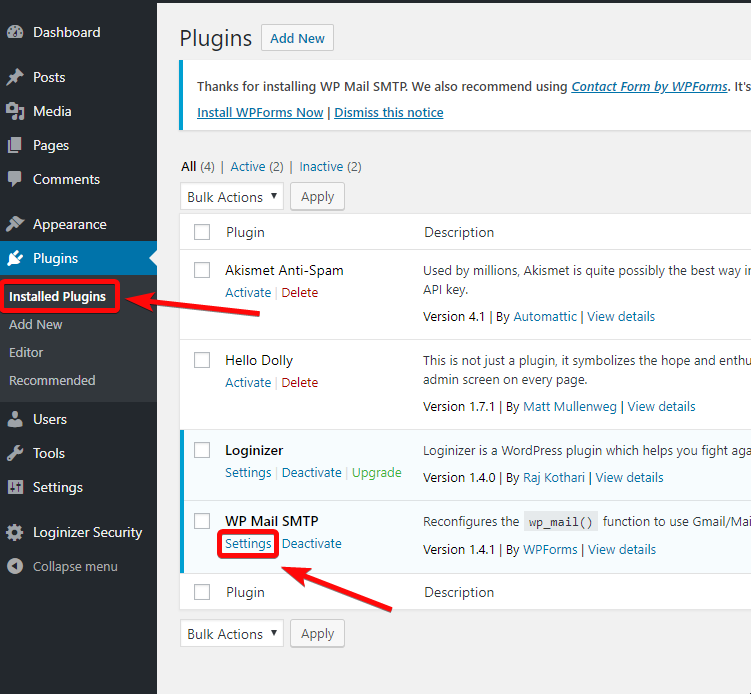
Step Five: Navigate to Plugins > Installed Plugins on the left side of the page and find the Settings link under WP Mail Auth Plugin
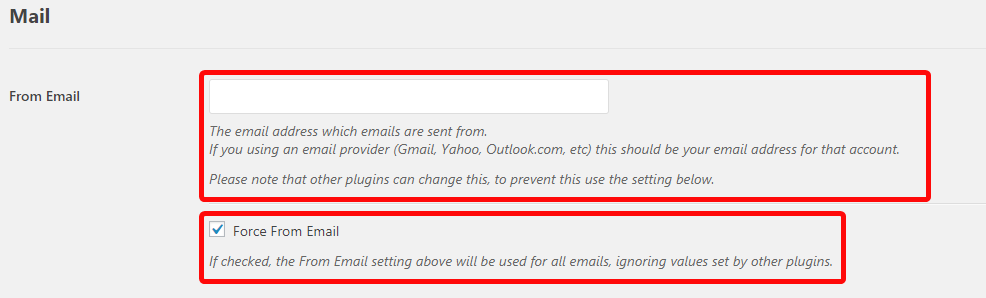
Step Six: Enter the email address you would like to send email from in the From Email box and check the box to Force From Email so that emails are sent using the email address you specify here and are going to authenticate sending email from
Step Seven: Scroll down the page and select Other SMTP from the list of Mailers.

Step Eight: Enter the SSL settings in the SMTP server name
For Hostwinds Shared and Business Hosting accounts, you can find this in cPanel by going to Email Accounts > Click the Connect Devices link to the right of the email account > Set Up Mail Client

Step Nine: Toggle the Authentication switch to the On position (), indicating that authentication is required.
Step Ten: Add the email account username
Step Eleven: Save the Changes
The password is stored in plain text. We highly recommend you set up your password in your WordPress configuration file for improved security; to do this, add the lines below to your wp-config.php file.
define( 'WPMS_ON', true );
define( 'WPMS_SMTP_PASS', 'your_password' );
Step Twelve: Navigate to your WordPress installation's files and locate wp-config.php so that you can edit it
Step Thirteen: Enter the following at the bottom of this file and save these changes:
define( 'WPMS_ON', true );
define( 'WPMS_SMTP_PASS', 'your_password' );
Replace your_password above with your email account password
Written by Hostwinds Team / December 14, 2018