
Hostwinds Tutorials
Search results for:
Table of Contents
How to Configure Custom Nameservers in WHM
Tags: Nameservers, WHMCS
When using WHM and cPanel to manage your Hostwinds VPS or Dedicated server, private nameservers help enhance performance and security. Using ns1.yourdomain.com and ns2.yourdomain.com instead of generic nameservers provided by your hosting company can set your server apart. This guide will cover how to configure custom nameservers in WHM.
Prerequisites
VPS or Dedicated server Setup with cPanel.
Private nameservers created here or at your domain registrar.
cPanel account created for the domain to be used for nameservers.
Nameserver Setup in WHM
Step 1: Navigate to your WHM Portal using the hostname or the server's IP address on port 2087. Alternatively, you can use a domain hosted within this cPanel on port 2087. The URL should look something like this:
Using a Domain such as https://domain.tld:2087
Using a Hostname such as https://server.domain.tld:2087
Using an IP Address such as https://127.0.0.1:2087
This will bring you to the WHM Login page as seen below:
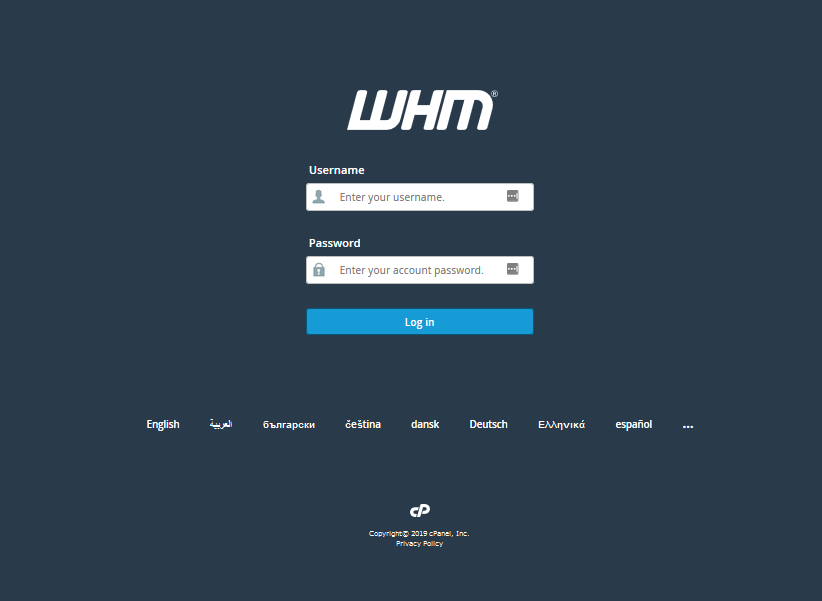
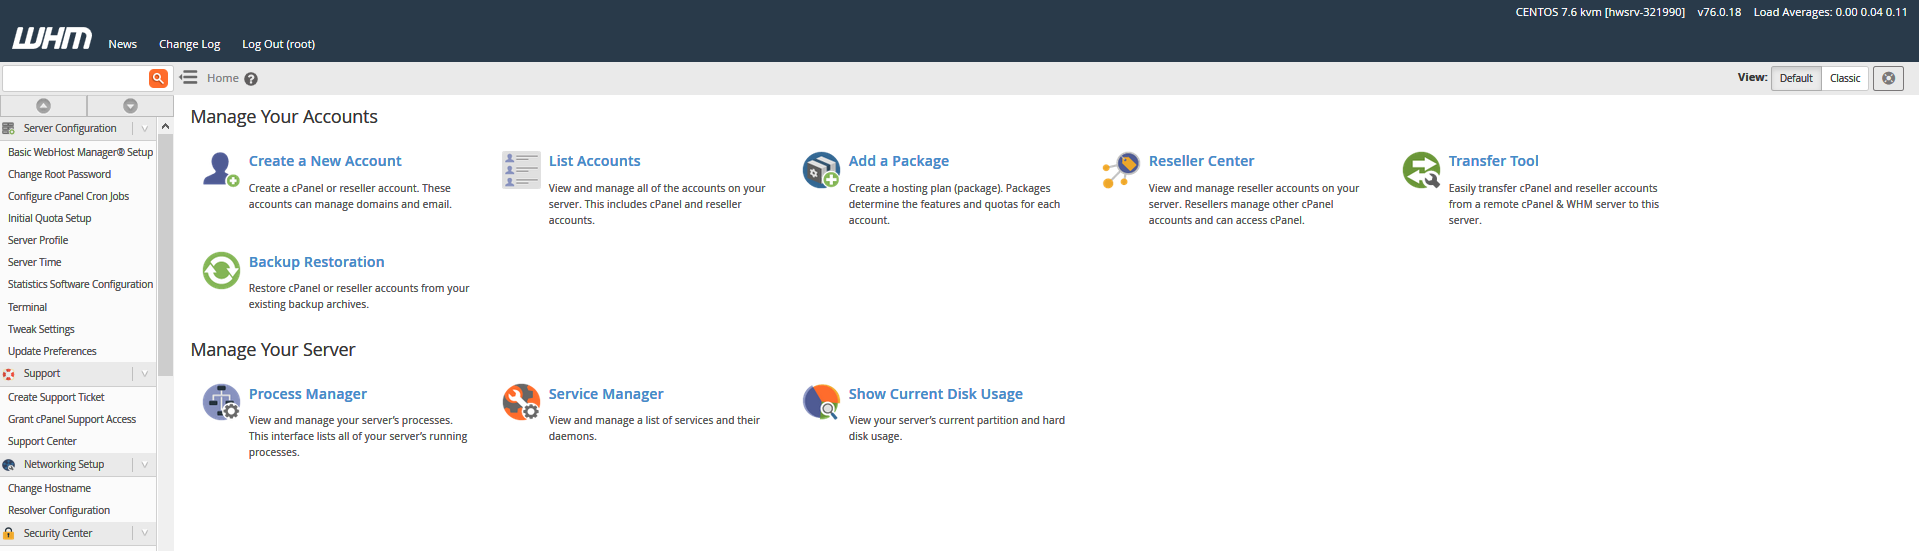
Step 2: Use the root username and password to log in to WHM. Afterward, you will be welcomed by the WHM Landing page.
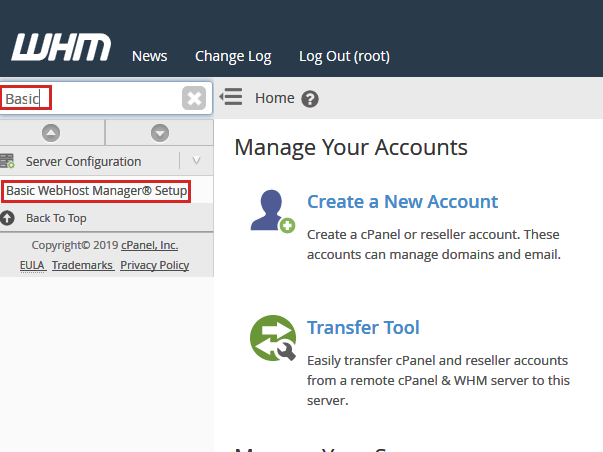
Step 3: In the search filter in the top left, type basic and click on the only option that shows up below. This leads us to the Basic WebHost Manager Setup page. You'll need to scroll to the bottom of the page that follows to get to the Nameservers section.
Step 4: To configure different IP Addresses for each nameserver, click Configure Address Records next to all entries. Enter each IP Address you wish to set as indicated below. Otherwise, change the boxes provided to reflect the nameserver URLs created prior.
Single IP Address:
If you have a single IP Address, this will suffice. Both nameservers will be added to the root domain's DNS Zone File as A Name Records to point where they need to.
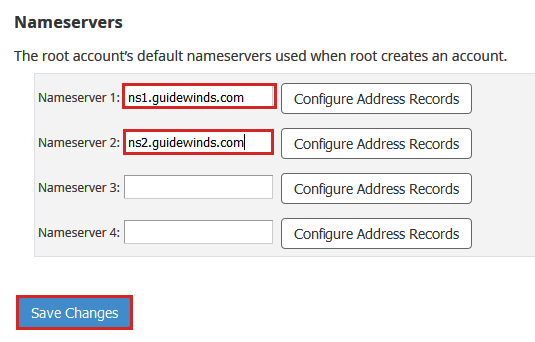
Separate IP Addresses:
If you wish to assign each nameserver an IP Address, use the Configure Address Records button. The top outlined location is the nameservers' current A Name Record. The bottom outlined location is where you enter the new record.
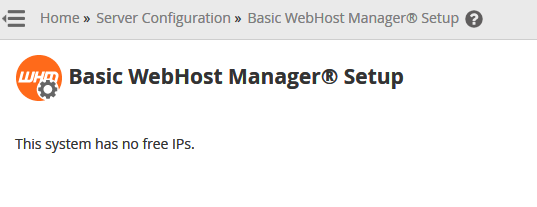
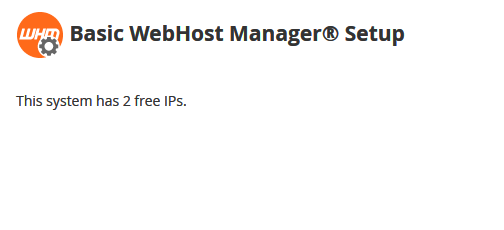
You will land on a page that may state, "This system has no free IPs." This is normal and only informational. Alternatively, the following page may show the number of remaining IP Addresses that remain. Either way, the changes were saved successfully. You can use a DNS verification system to check that your domain resolves to your current IP Address.
Shared IP Address:
IP Addresses Available
DNS Changes can take up to 3 – 24 hours to propagate globally. You may flush your DNS cache to ensure you do not see a cached DNS lookup from your ISP.
You have now successfully Setup Private Nameservers within WHM. You may now provide the nameservers set up to future domains you wish to use within WHM.
Written by Hostwinds Team / August 24, 2018