
Hostwinds Tutorials
Search results for:
Table of Contents
How to Add a Site To Windows VPS
After choosing to install IIS on your Hostwinds Windows 2016 VPS, you will want to configure your website for IIS. Read through the following guide to learn how to configure your website on your Windows Cloud server easily.
We do offer our Windows VPS clients the option to purchase a Plesk license. You can purchase a Plesk license to manage your server through https://clients.hostwinds.com > Services > Order New Services > Licenses > Plesk.
Configure Website
Step 1: Go to Start → Administrative Tools → Internet Information Services (IIS) Manager
Step 2: In the Connections pane of IIS, expand the Sites and select the website which you want to access via IP address
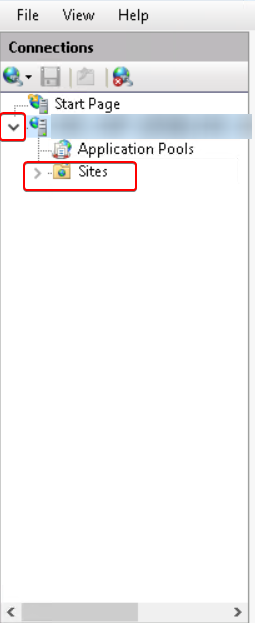
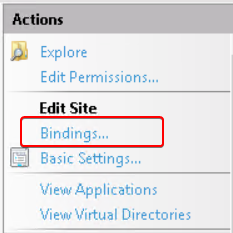
Step 3: On the right hand side, click on bindings to view binding setting for your site
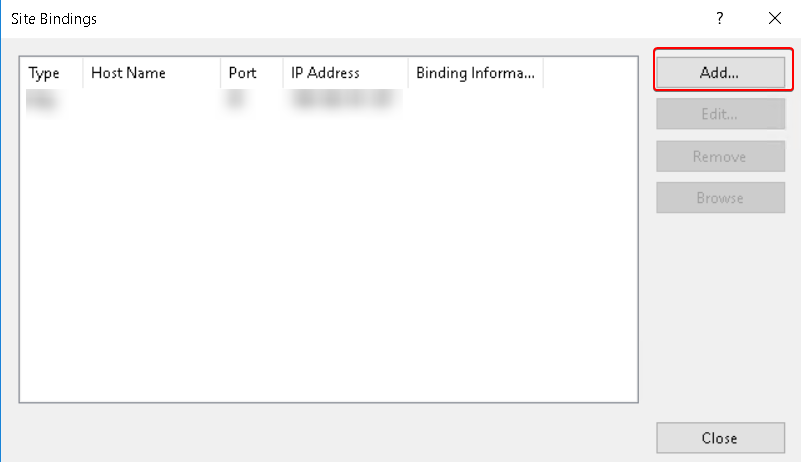
Step 4: Click the Add button to add a new binding.
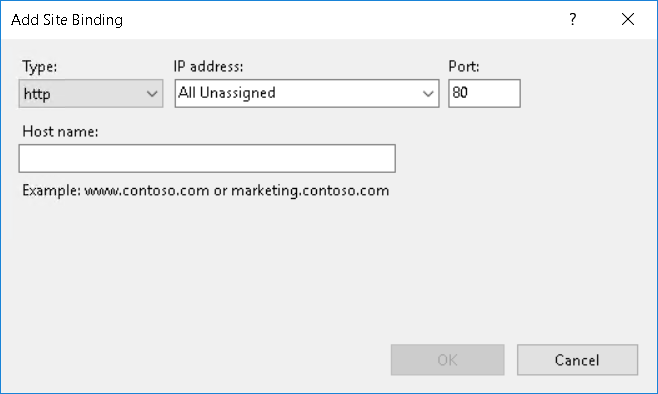
Step 5: Select the IP for your website, keep website Type as HTTP and specify a port number (if IIS is configured on a port other than default port 80) on which you want to bind this new website. Keep Hostname as blank, click OK, and then Close.
Congratulations, you have set up your domain in IIS. The next step is to install SMTP on your Windows Server.
Written by Hostwinds Team / September 21, 2018