
Hostwinds Tutorials
Search results for:
Table of Contents
How To Configure Your Weebly Blog Settings
Tags: Weebly Website Builder
Hostwinds offers many different choices to our clients to help make building a website fun. In addition to our Softaculous Apps Installer (which can install services like WordPress, Magento, Drupal, Joomla, and more), we also offer Weebly with our shared and business hosting services. Weebly is an incredible drag-and-drop website builder that you can use to build your very own website with little or no coding experience required.
It is important to note that the information provided in this guide is for informational purposes only. The premium features and changes made after the time writing this guide may be different and will be displayed to you in your Weebly account when editing your site through Weebly. Please open a ticket with our Support Team if you have any questions to help.
Weebly's Settings can be customized to fit the needs of many different types of websites. In this article, we'll go over the Blog tab in your Weebly Settings, discussing what every option is and how it affects your site.
Accessing Blog Settings
To access your blog settings, follow these steps:
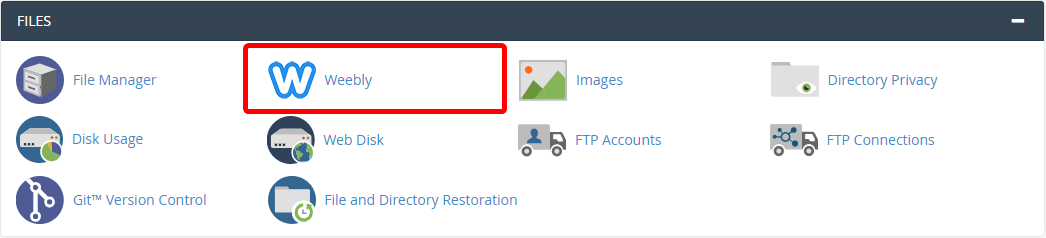
Step 1: From your cPanel, select Weebly.
Step 2: Click on the Edit button to select the site you wish to edit.

Step 3: Select the Edit Site button on Weebly to edit the site in question.

Step 4: At the top of your Weebly panel, select the Settings option.

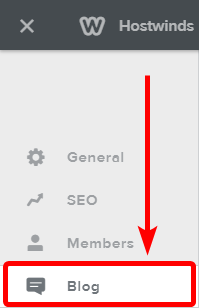
Step 5: On the lefthand of your Weebly panel, select the Blog tab.
Blog Settings
General
Posts per Page control how many blog posts will be shown on each page of your website. You can have as few as 1 and as many as 25 blog posts per page listed at any one time. The default value is 10 posts.

The post share buttons option determines whether you will allow the blog post to be shared on social media. When the toggle is to the right (as shown below), this means blog posts can be shared. The options you can customize are whether to allow Facebook and Twitter as target social media options.

The blog sidebar option will determine whether a sidebar will appear on your blog, showing other blogs available to navigate to. Please note that some themes may overwrite or remove this functionality altogether.

The post header code option allows you to determine the blog post's header code, allowing you to post HTML code to customize the area displaying above your blog post. Just click on the plus (+) symbol to add the header code in a text box.

The post footer code option allows you to determine the blog post's footer code, allowing you to post HTML code to customize the area displaying below your blog post. Just click on the plus (+) symbol to add the footer code in a text box.

Comments
The commenting system allows you to determine what sort of commenting system you want your blogs to use. The possible values are the default commenting system, a Disqus commenting system, and a Facebook commenting system. Please note that the Facebook commenting system does not allow for post moderation.

The comment default lets you decide how your website handles comments. Leaving this on Open means that anyone who comments will have their message posted immediately to the website for all to see. The option to Require Approval means that you must approve the message before it becomes visible on your website.

The option to auto-close comments determines whether or not the comments section will automatically close after a certain period of time. The options you can set are after 30 days, after 60 days, after 90 days, or never.

Under spam protection, you can set up whether or not to use a CAPTCHA system to prevent bots or spammers from spamming your comments section. You can choose never to show a CAPTCHA message and not moderate spam or always show a CAPTCHA to require all comments to be screened. The default option is a Smart CAPTCHA, which will only flag messages that meet the Smart CAPTCHA's tests on whether it may or may not be spam.

Spam moderation allows you to determine how often the spam protection will moderate your blog posts. You can either turn the spam moderation off or set it to Smart Moderation to detect possible spam when posted on your site.

The notify section will send you a notification to the selected email whenever any new comments are made on your blog posts. You can choose to turn this feature on or off and set the email account you wish to notify.

Written by Hostwinds Team / July 21, 2018