
Hostwinds Tutorials
Search results for:
Table of Contents
How to Install and Configure OpenSSH (Windows Server 2016)
Tags: Windows
You might find it useful to install OpenSSH on your Windows server. Running SSH on your Windows server means that you can transfer files using Secure Copy (SCP) or SFTP. Aside from SCP and SFTP, you can open a secure Powershell shell or a Bash shell if Windows Subsystem for Linux (WSL) is enabled on your Windows server.
By default, you will enter into a Windows CMD shell when you connect to the server using SSH.
This guide will explain the steps to install and configure OpenSSH in Windows Server 2016. It would be best if you were prepared to log in to your Hostwinds Windows Server to continue with this guide.
Step 1: Download and Install OpenSSH
Start by accessing your server via RDP (from Mac), and download the latest release of OpenSSH (OpenSSH-Win64.zip).
Locate the downloaded file, right-click it, and Extract All to C:\Program Files\OpenSSH-Win64.
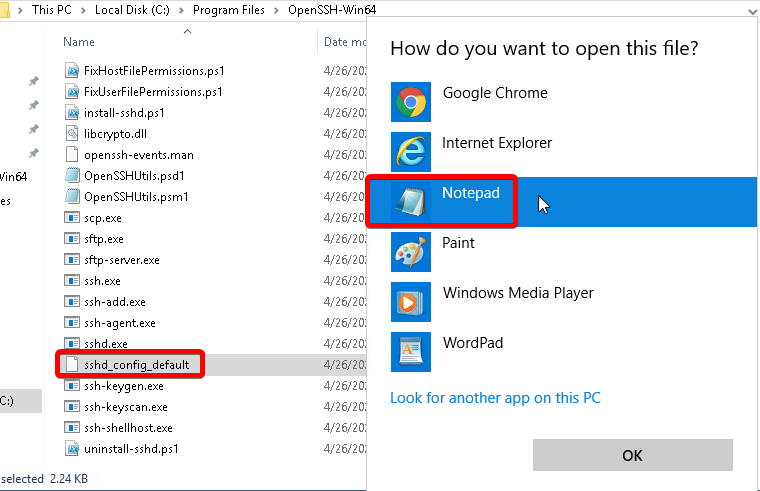
Optional: To change the default SSH port to something other than 22, select the sshd_config_default file in the OpenSSH folder and open with a text editor:
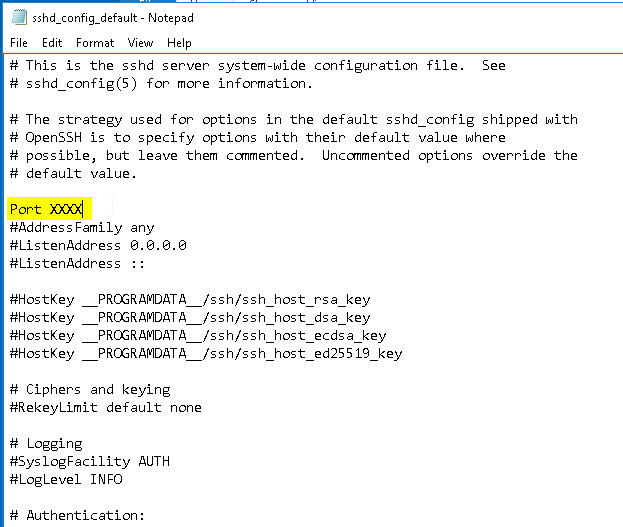
Uncomment Port 22 and change it to your desired port, then save the file:
End optional step.
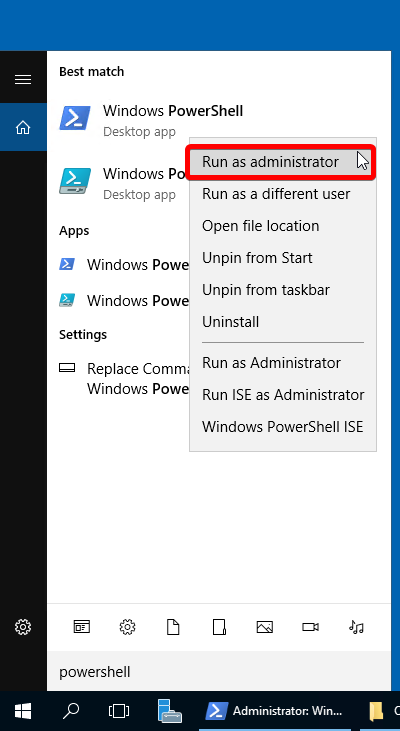
Next, search for and right-click Powershell to Run as administrator:
Modify the Path system environment variable by running the command:
setx PATH "$env:path;C:\Program Files\OpenSSH-Win64" -m
You should see the following output:
SUCCESS: Specified value was saved.
Next, change to the OpenSSH directory:
cd "C:\Program Files\OpenSSH-Win64"
Then run the install script:
.\install-sshd.ps1
Next, enable automatic startup and start sshd and ssh-agent:
Set-Service sshd -StartupType Automatic; Set-Service ssh-agent -StartupType Automatic; Start-Service sshd; Start-Service ssh-agent
Step 2: Allow Access in Windows Firewall
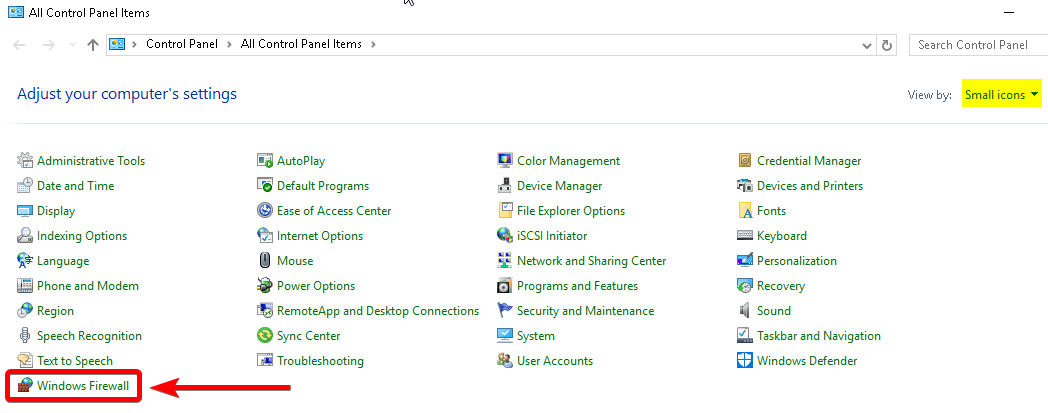
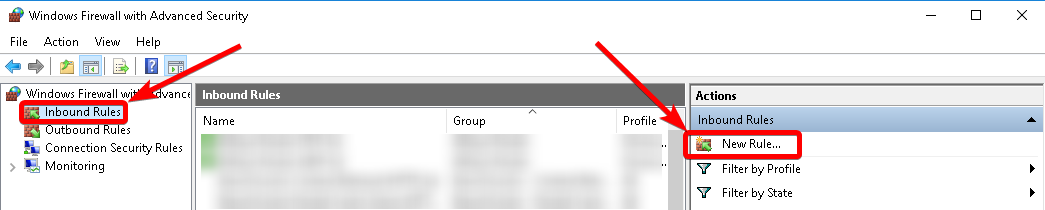
Start by opening Control Panel > Windows Firewall:
Select Advanced Settings on the left-hand side, then select Inbound Rules > New Rule…:
Under Rule Type, select Custom > Next.
Under Program, select All programs > Next.
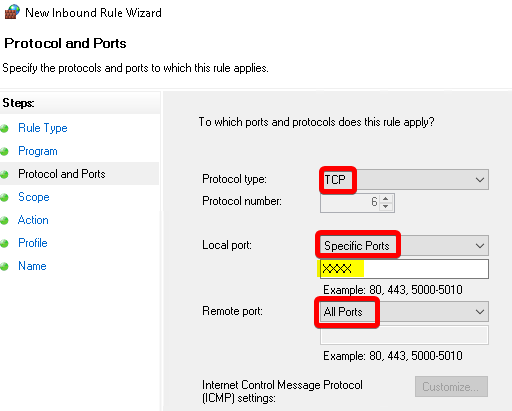
Under Protocols and Ports, enter your desired SSH port with the following selections:
Under Scope, let the rule apply to Any IP address for remote and local IP addresses, then Next.
Under Action, select Allow the connection > Next.
Under Profile, leave Domain, Private, and Public checked > Next.
Lastly, name the rule and select Finish.
Now you can access your Windows server using SSH!
Written by Benjamin Bream / May 14, 2020