
Hostwinds Tutorials
Search results for:
Table of Contents
Installing and connecting to Filezilla Server for Windows Server
Windows's built-in FTP does not support secure FTP, making Filezilla Server an option to support secure FTP. It also offers a simpler user management that is presented upfront on the server application's interface. While it is not a better solution to the IIS FTP role, it is a quick solution if you do not use IIS and use a Windows-based control panel that doesn't offer FTP.
This guide will assist with installing and configuring the Server application.
Installing Filezilla Server
Step One. Download FileZilla Server installer from the Filezilla site.

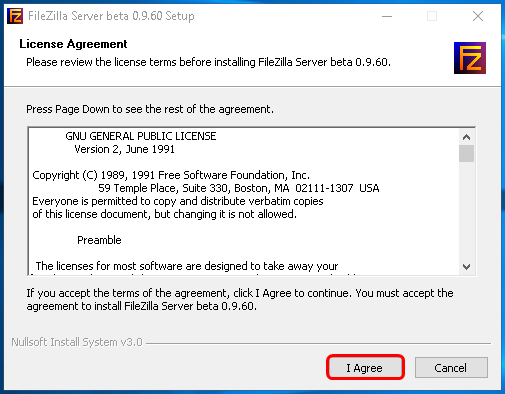
Step Two. Run the installer to bring up the License Agreement part of the installation.
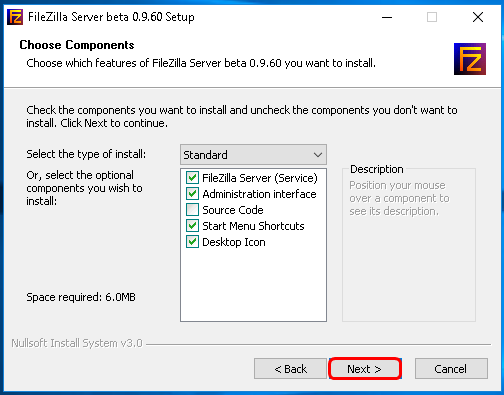
Step Three. Then, select the checkboxes you wish to include in the installation. Standard is a good default, however, if you wish to include the source code, you can click the checkbox, and it will add it to the installation.
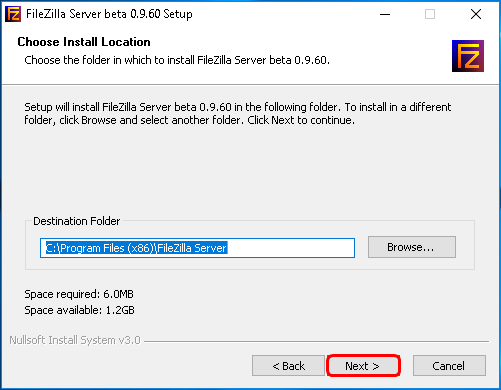
Step Four. Next, please select the file path you wish to install it to and click next.
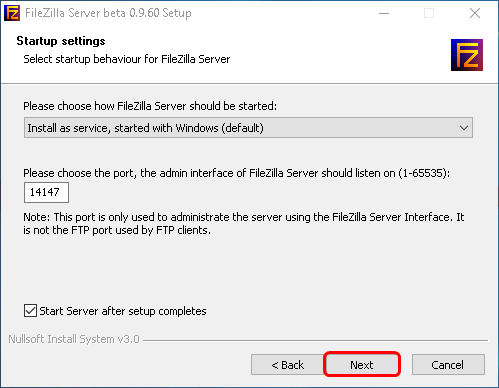
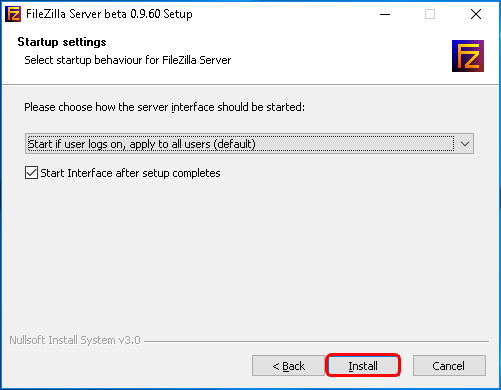
Step Five. Next, it will ask how Filezilla Server should be started. It is recommended to go with the default if you plan to use FTP frequently. It will also ask for the port you wish to set. Input the port you wish to use and click Next.

Step Six. Next, it will ask if you wish to start it if the user logs on and apply to all users. Select the desired result and click Install.
Step Seven. Last, it would run through the installation process. Once it is completed, it will allow you to click close.
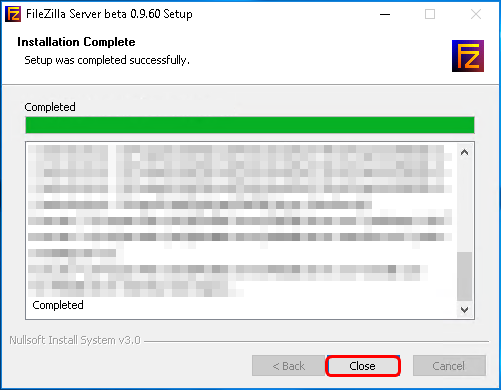
Now, you should have Filezilla Server installed on the Server. Next, you would need to connect to the server.
Connecting to Filezilla Server on Windows
You may need to add an exception to the configured port for FileZilla FTP Server to achieve a connection to the FTP client. Our article on opening or blocking ports using Windows Firewall goes into detail on adding a port rule to Windows Firewall.
1. Start FileZilla Server.
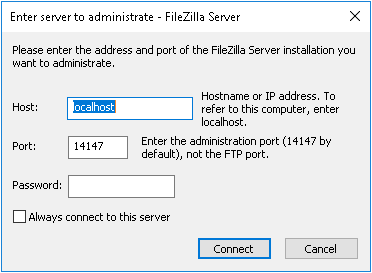
2. Next, enter the server information. Typically, if this is installed on a single VPS, localhost and the port you configured earlier in this article would be the information you would input and the password you have set. Then click Connect.
The following steps will not be needed if you already have a user-configured into the FileZilla Server application. If you have not created a user and/or a group, please follow the next 4 steps.
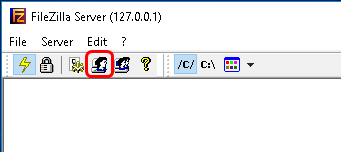
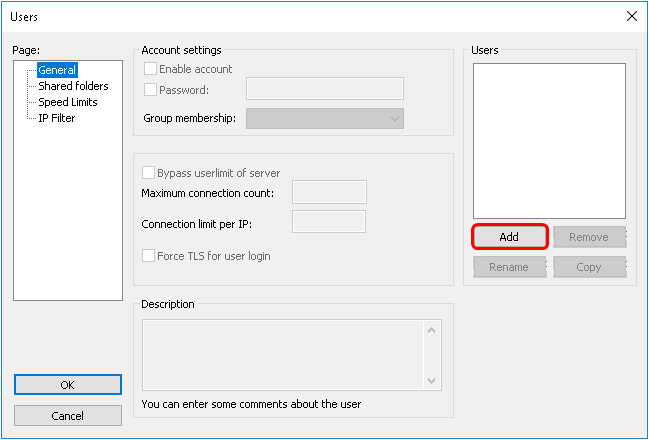
3. Once the client has loaded, click the User icon on the top bar.
4. Next, click add on the general tab that loads first.
5. Then, you enter the desired username for the FTP account you wish to connect with. This can be any username you see fit to use. Then click OK.

6. Next, you would click the checkbox to enable a password requirement and enter the password.
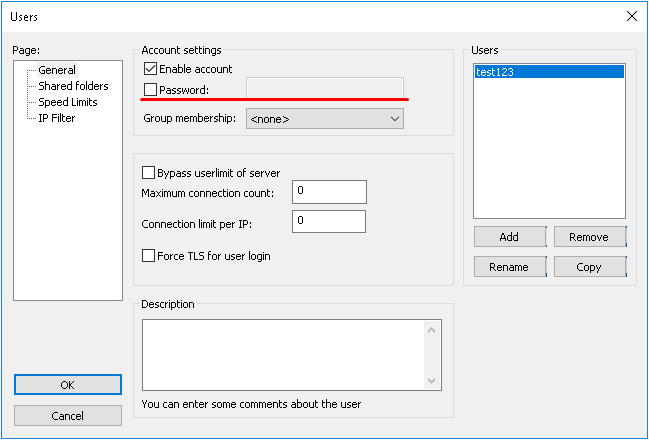
This is optional. However, it is strongly recommended that you set a password to secure user access.
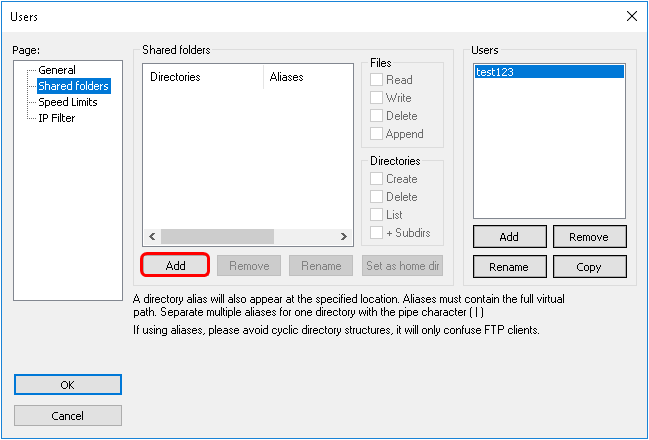
7. Then, you would add the directory you would like to grant the username access to. This can be any directory. However, if this is for a developer, pick only the directory they would need access to.
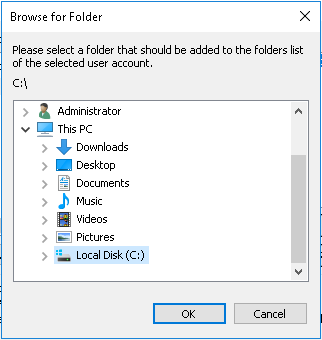
8. Once the directory is selected and confirmed by clicking OK on the directory selection window. It should have a bold H next to it. This indicates the Home Directory. Next to this area, the permissions are indicated by reading, Write, Delete, and Append. You would select as needed. However, it is not recommended to enable deletion permissions unless you trust the person you may be allowing access to those files with.
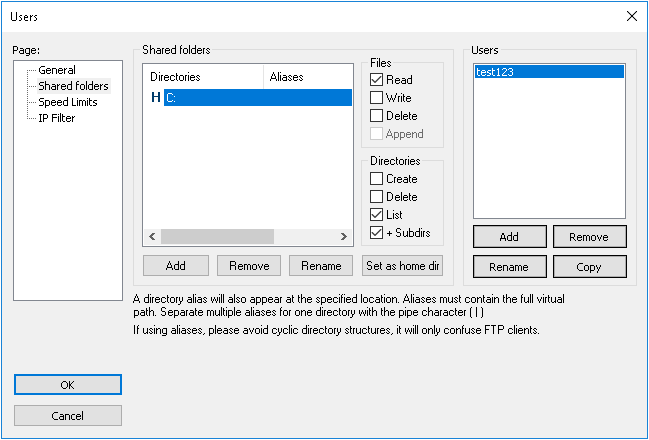
DO NOT SET THE HOME DIRECTORY AS C:! THIS WILL ALLOW THE USER TO READ, MODIFY, OR DELETE IMPORTANT FILES TO THE OS OR THE DRIVE AS A WHOLE. ONLY ALLOW THE USER PROFILE TO HAVE ACCESS TO THE FILES DEEMED ESSENTIAL FOR THE PROJECT AT HAND.
9. Next, click OK, and the settings will be applied.
10. On the desktop client, you would then enter in the hostname or IP, the username you set up, the password, and the port you set on the FileZilla server application on the server and click connect.
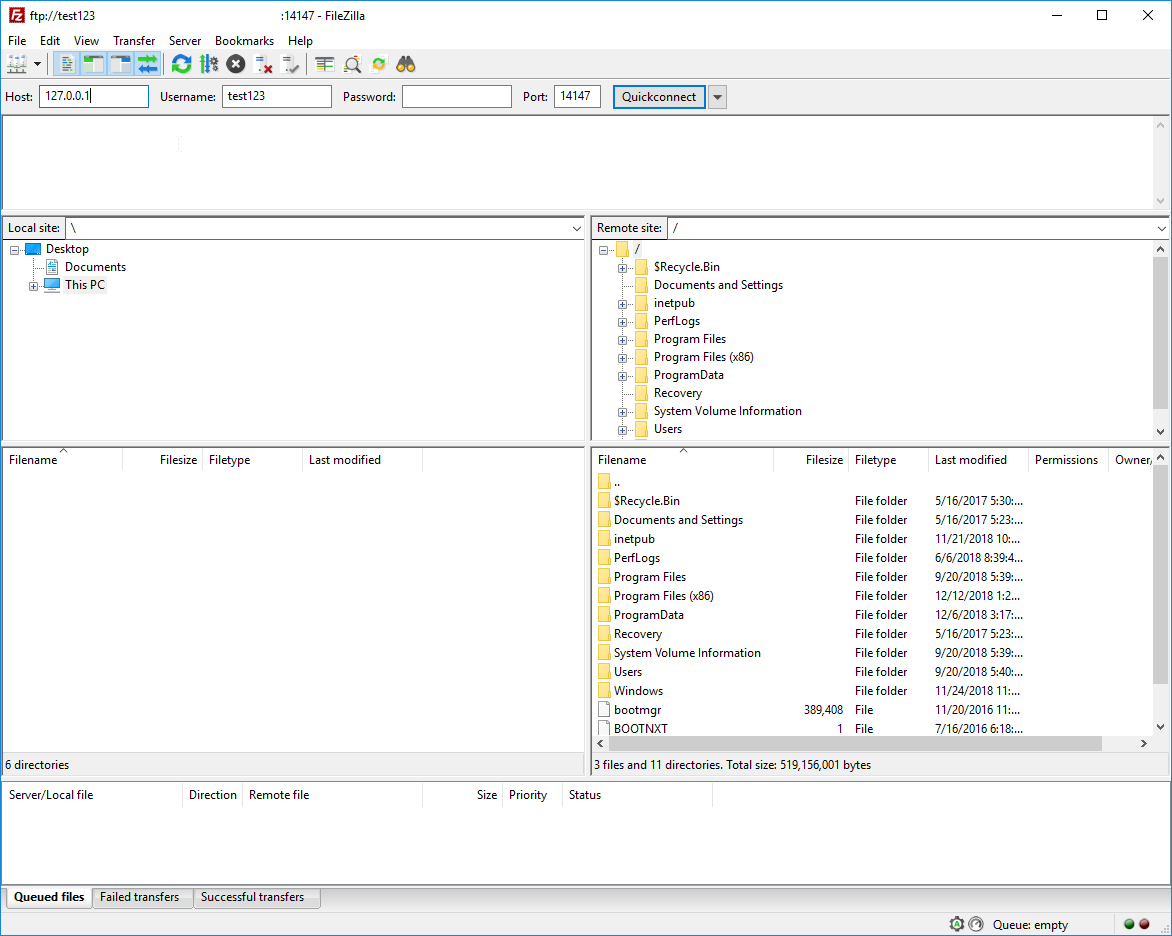
Once the client connects, it should display the folder's content for the user to access.
Written by Hostwinds Team / February 4, 2019