
Hosting Tutorials
Search results for:
Table of Contents
Checking Email Within CentOS Web Panel
Tags: Email, CentOS Web Panel
When using CentOS Web Panel to manage your email addresses, you will need to know how to check those email addresses. This guide will detail two different methods of Checking Emails hosted within the CentOS Web panel.
Prerequisites
Before starting, you should have the following already established:
- DNS Functional, preferably with CentOS Web Panel handling DNS internally
- User account created with a Domain associated
- Domain using appropriate Nameservers for CentOS Web panel to handle DNS
- Mail server setup with an Email address created
Checking Email Through Webmail
The simplest way to check your email on CentOS Web Panel is through the webmail client. CentOS Web Panel features the Roundcube webmail client by default.
Step 1: Access Webmail Client
You can access the webmail client by typing in your domain name followed by the subfolder of webmail. Here is an example of what this looks like in your URL bar:

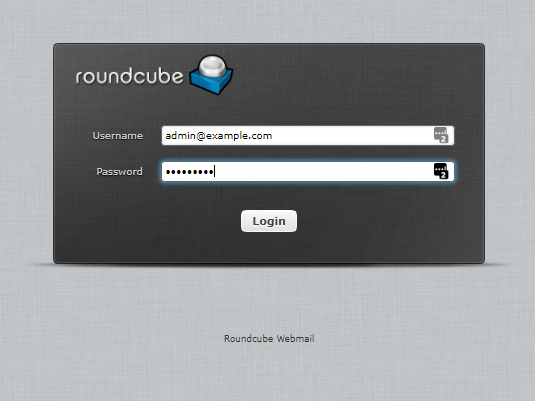
Step 2: Log Into Webmail Portal
Once you arrive at your webmail portal login page, you will need to enter your username and password here. The username will always be entered as the full email address of the domain inbox you wish to check
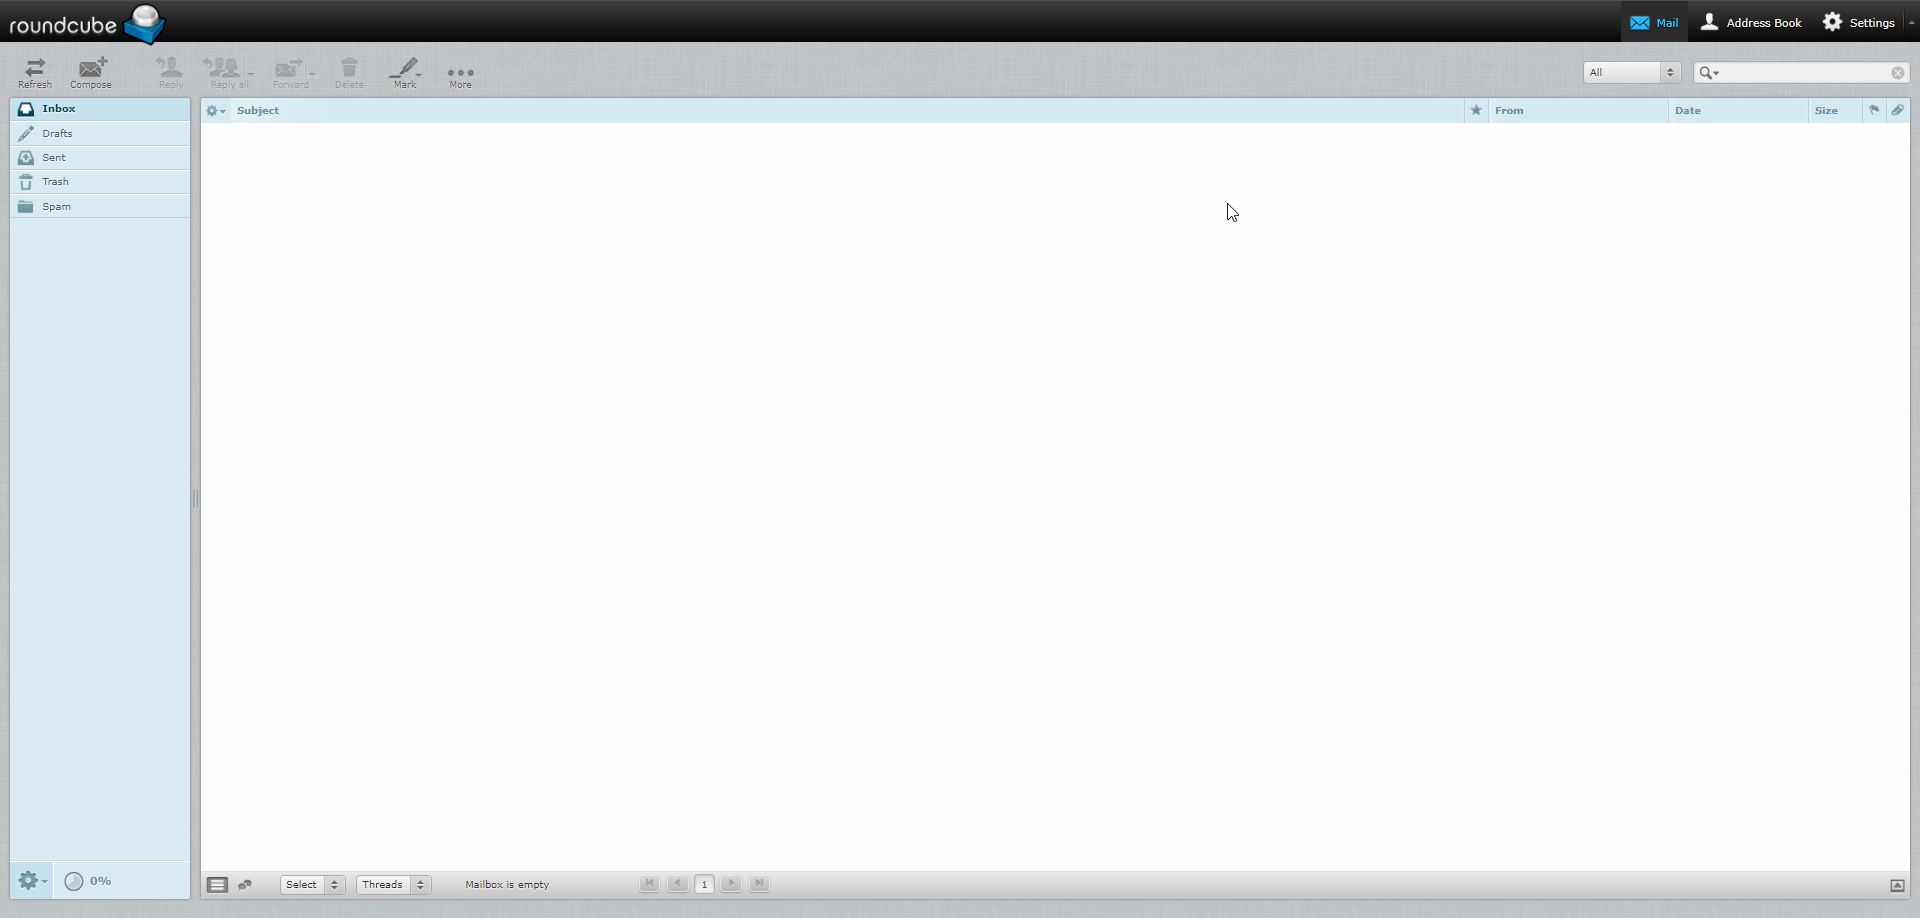
Step 3: Access Main Webmail Portal
Once successfully logged in you will be presented with the main Webmail portal. From here, you can send and receive an email as you would with any other email account.
Checking Mail From A Desktop Mail Client
You might prefer to use a desktop client for your email needs. These are applications like Microsoft Outlook, Mozilla Thunderbird, or Mac OS Mail, to name a few. Here's how to find the necessary configuration options to use these types of clients with your CentOS Web Panel email accounts.
Step 1: Log into User Account
Log in to the User account for the domain you wish to get the information for using the User Login page.


Step 2: Access Email Accounts
Click on the drop-down on the left, then click on the link. This will take you to the page that lists the email accounts associated with this user.
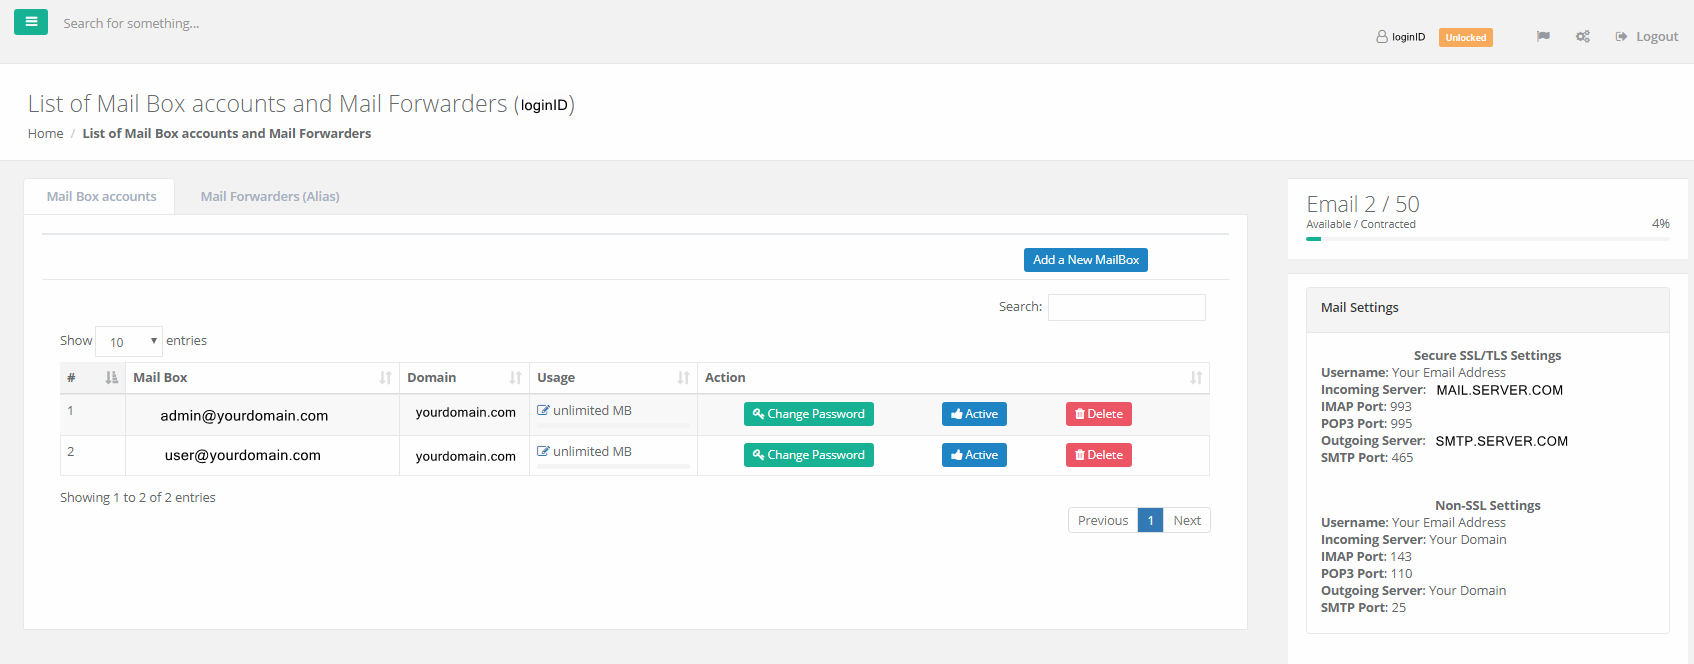
Step 3: Configure Mail Client
Locate your Mail Settings section. Use this information to configure your preferred mail client on your desktop or laptop.
Written by Hostwinds Team / December 14, 2018