
Hosting Tutorials
Search results for:
Table of Contents
CentOS Web Panel User Email Creation
Tags: CentOS Web Panel
User accounts within CentOS Web Panel will manage email accounts from the CentOS Web Panel Control Web Panel. This guide will detail CentOS Web Panel user email creation to help Hostwinds clients use a Cloud VPS or Dedicated server.
Creating an Email Account
Step 1: Log in to the CWP Control Web Panel with the user account. This user should control the domain you wish to use for the email address.
Step 2: Locate Email Accounts dropdown on the left-hand navigation bar, then click Email Accounts. This will take you to the List of Mail Box accounts and Mail Forwarders page


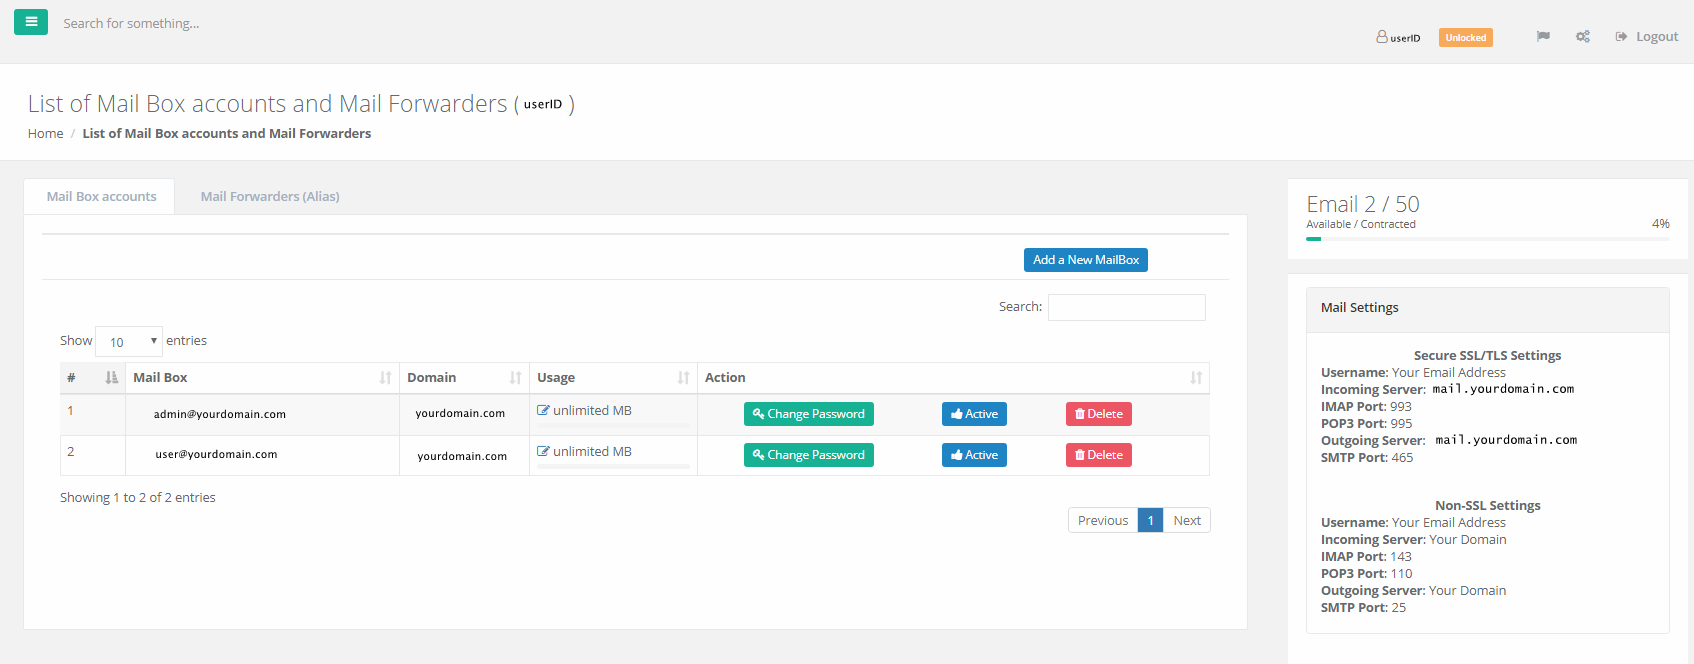
Step 3: Click Add a New MailBox. A popup window will appear.


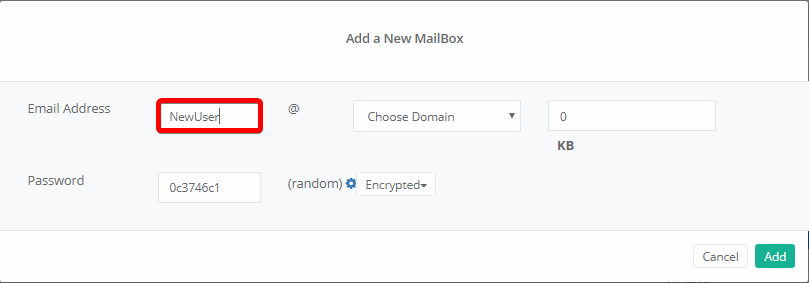
Step 4: Enter the first half of the email address you want to create in the Email Address box. The @ symbol will be added automatically, so do not enter it here.
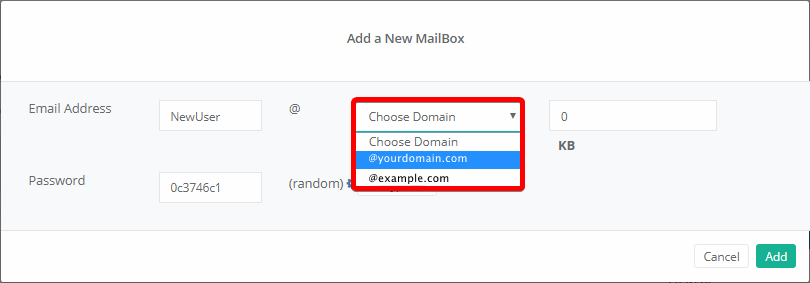
Step 5: Select the desired domain from the drop-down list. Keep in mind you will only have one domain to choose from if only one domain is associated with this account.
Step 5: Enter the maximum storage space to be made available for this account. You can allow unlimited storage by entering a 0 (zero) here.
Note: Though the value is in KB, the list of accounts will display in MB.
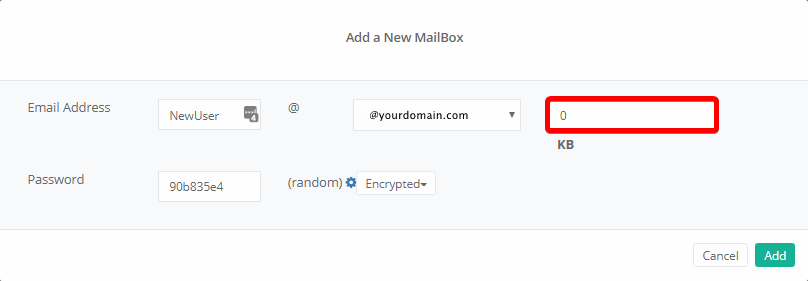
Step 6: Enter a secure password in the Password box. You will need to make sure it is a properly secured password, as the webmail login page will be public-facing. CWP Control Web Panel will auto-fill with a randomized password, but you can use your own.
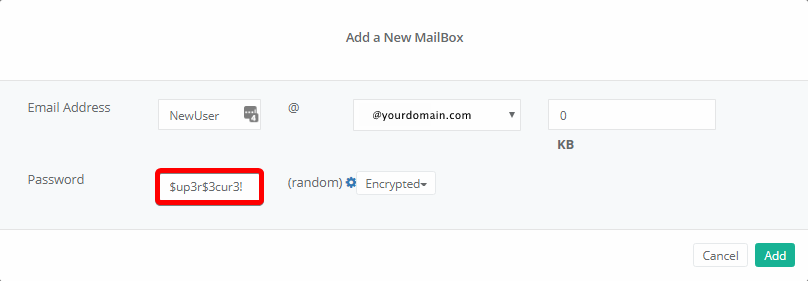
Step 7: Click Add to create the email account.

An Account Created notification successfully will display in the top-right corner.

You have been successful in CentOS Web Panel user email creation. You can now access your email in CentOS Web Panel.
Written by Hostwinds Team / December 28, 2018