
Hostwinds Tutorials
Search results for:
Table of Contents
Getting Started With McMyAdmin
Tags: McMyAdmin
One of the most appealing things with McMyAdmin is how quick and intuitive it can be to get a Minecraft server started.
Logging Into Your McMyAdmin Panel
Upon completion of the purchase and installation of the Minecraft VPS, you should receive an email with all of the login credentials for your new McMyAdmin Control Panel and the server that was purchased.
The link you will need to navigate to log in to your McMyAdmin will, by default, be the IP of your server on port 8080, like this:
http://123.456.78.90:8080
You will be brought to the main login page for your McMyAdmin panel.

Once you enter the correct login credentials, you will be welcomed with the McMyAdmin panel for your new Minecraft server. On the first-time installation, you will be on the Configuration page, as shown below.
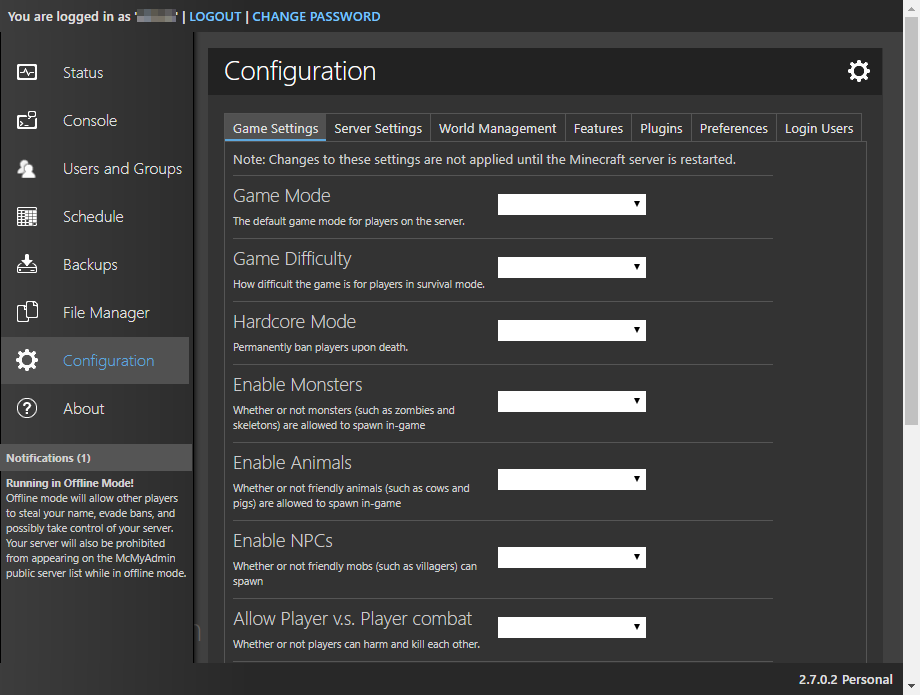
Here, you can create the Minecraft server's world to your exact specifications.
Setting Up Your Minecraft Server
We'll go over each of the configuration options more in the Configuring Your McMyAdmin article, so for now, we're just going to create a quick and easy service that will play like the standard Minecraft game. We'll need to set the Game Settings, the Server Settings, and the server's Features before it can launch.

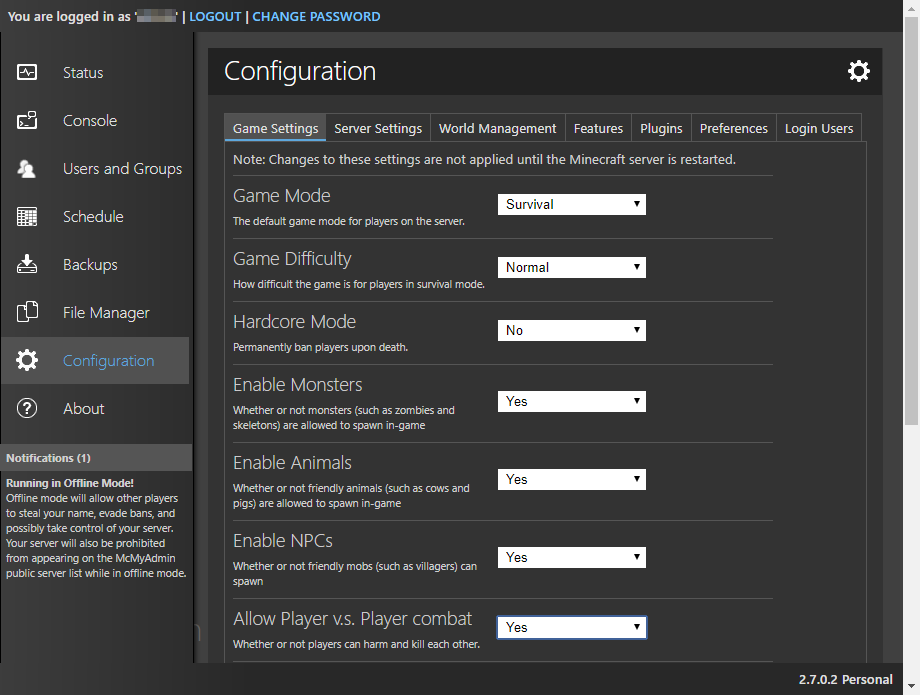
Game Settings
Game Mode: Survival
Game Difficulty: Normal
Hardcore Mode: No
Enable Monsters: Yes
Enable Animals: Yes
Allow Player v.s. Player combat: Yes
Enable 'The Nether': Yes
Allow Flight: No
Allow Command Blocks: No
Player Idle Timeout Minutes: 5
Resource Pack: Leave empty
Server Settings
World Seed: Leave empty
World generator settings: Leave empty
Server MOTD: Leave empty
Server type: Official
Server release stream: Recommended
Maximum Players: 10
Generate Structures: Yes
World Type: Standard
Announce achievements: Yes
View Distance: 10 (Default)
Allow Snooping: No
Include Permissions: Yes
Include Plugins: No
Include Plugin Configuration: Yes
Restart on severe errors: No
Features
Server Name: Whichever name you want people to see your server as when they log in
Welcome Message: Leave as the default
Whitelist Mode: No whitelisting
Whitelist Group: Everyone
Enable server sleeping: Yes
Server sleep message: Leave as the default
Enable status image and widget: Yes
Show as public on server list: Yes
Permissions exporting mode: None
Backup overflow mode: Delete the oldest backup (Default)
mChat message format: Leave as the default
Whitelist Message: Leave as the default
Show standard greetings message: Yes
Show access denied errors: No
Display warning during world save: Yes
Announce group changes: No
Launching Your Minecraft Server
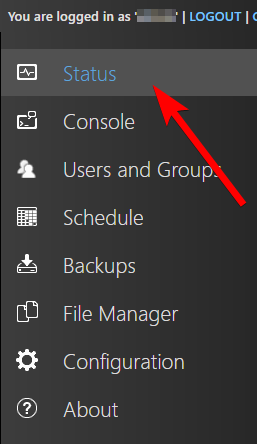
Once you have all of these options set, you can launch the server! Just click on the Status option in the left menu bar.
Now all you need to do is click on Start Server.
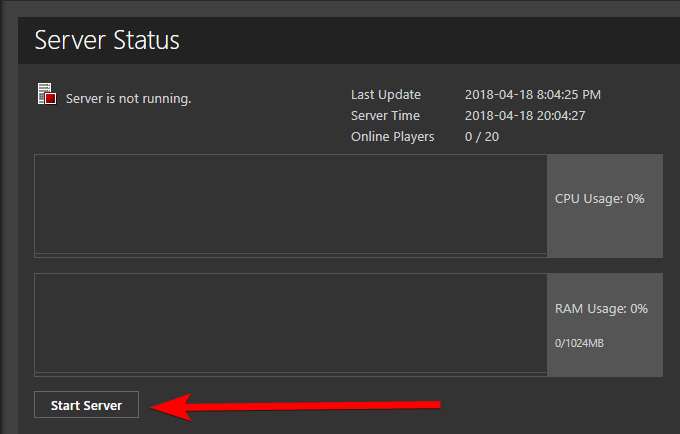
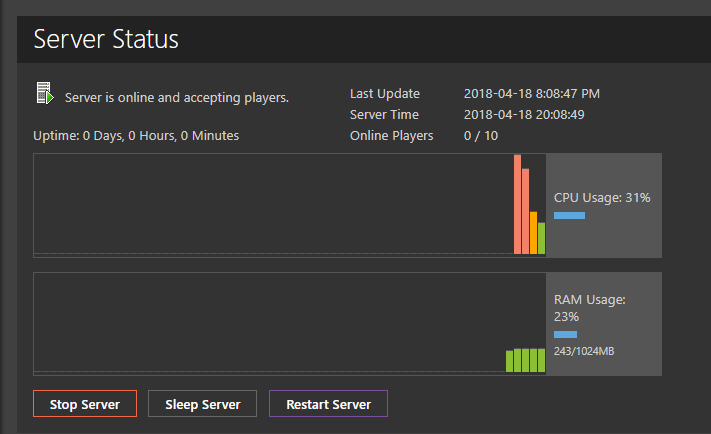
When the server starts, you'll start seeing bar graphs in both the CPU Usage and RAM Usage. The CPU usage often has an initial spike as the server is spun up and the world generated per your configurations.
Congratulations! You now have your very own Minecraft server to build, destroy, and explore within!
Written by Hostwinds Team / April 19, 2018