
Hosting Tutorials
Search results for:
Table of Contents
How Can I Access My Cloud VPS Without A Password?
Tags: VPS
SSH, also known as Secure Shell, is the preferred tool of server admins looking to administer their devices over the internet or any other network while maintaining their privacy. By offering an encrypted, remote command-line interface, the secure shell is the tool of choice for clients running a Linux machine on their Cloud VPS or Dedicated Server.
Making SSH even more secure
One of the few flaws SSH has is that it still uses a password by default. Unfortunately, passwords come with a few security disadvantages. For instance, Malicious actors may be able to guess passwords even if the password is well-chosen. Additionally, passwords can be difficult to memorize and type. This may be something for you to consider when using tools that may or may not have decent copy-paste support. Fortunately, SSH offers a more robust form of protection that is safer and more convenient: key-based authentication.
From a combination lock to a lock and key
As the namesake implies, key-based authentication relies on a digital key. Similar to how a password-based scheme for SSH could be viewed as a combination lock. Anyone who knows the lock's combination can be let in, and anybody who knows your password can access your machine. With a key lock, only people in possession of it can open the lock. Similarly, people that have the digital key are the only ones who can access your machine.
Generating an SSH key from the cloud portal.
If you're a Hostwinds client, setting up key-based authentication is easy. Generating an SSH key:
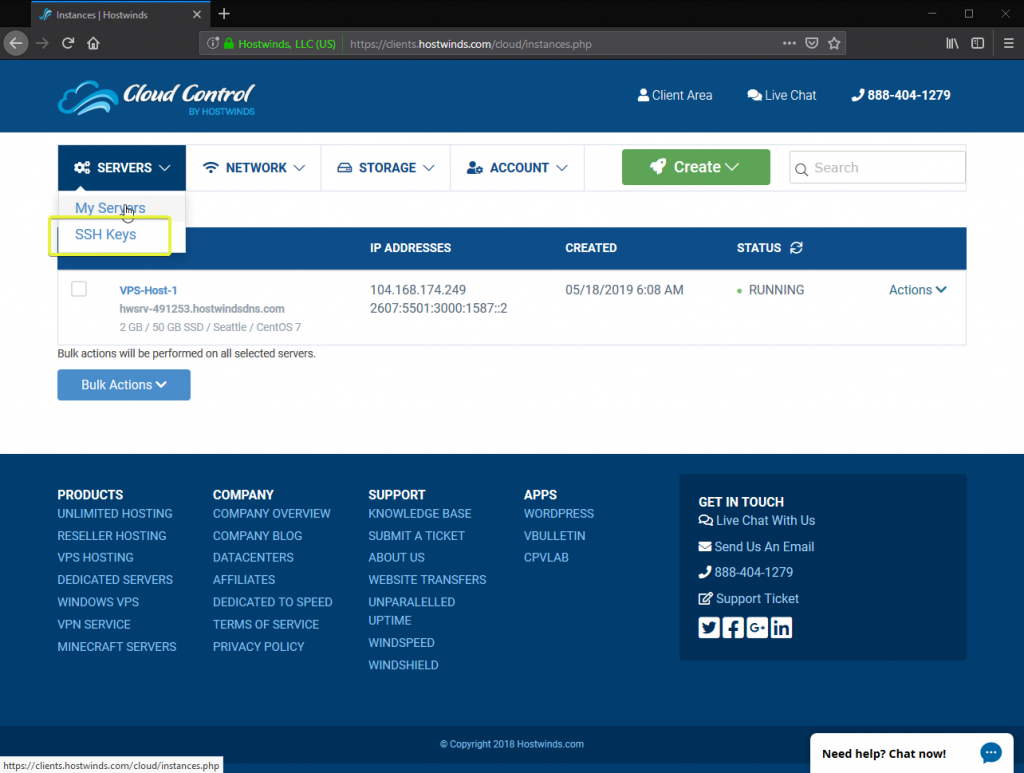
Upon logging into the cloud portal, check under the "Servers" menu for "SSH Keys".
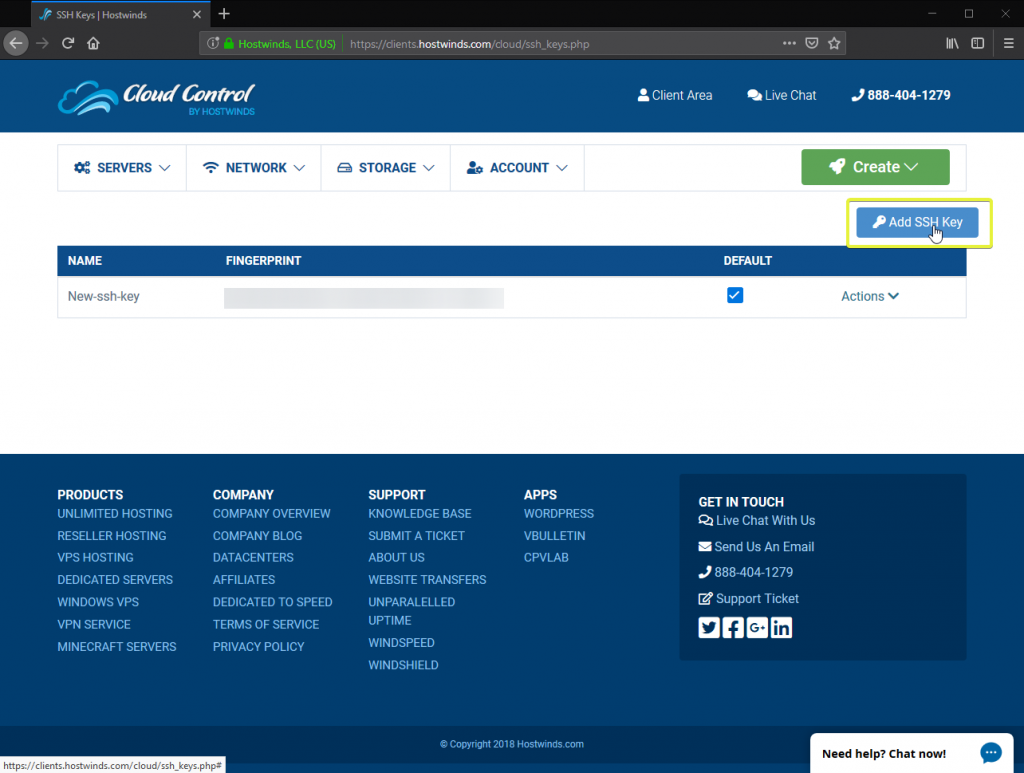
Click "Add SSH Key" to generate a new key.
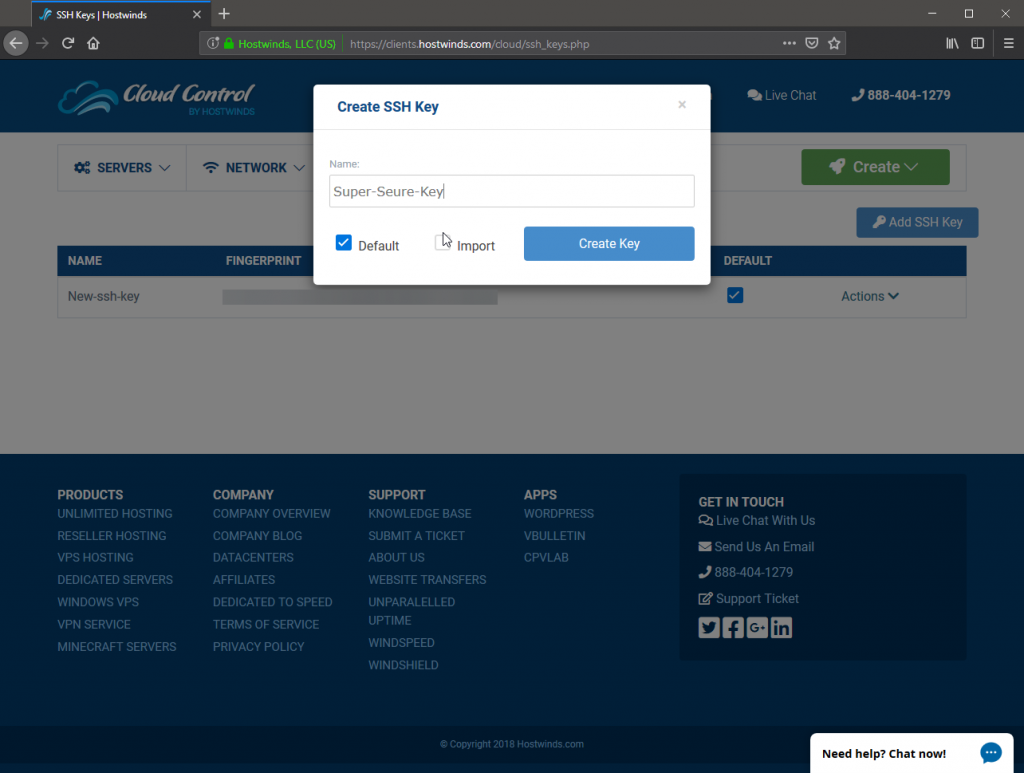
Add your new key's name. The name is a label you can use to identify the key be later. The file you will need to download later will have this key's name. If you have multiple keys, you might name it after the server it's associated with. When you're satisfied with that label, click "create key"
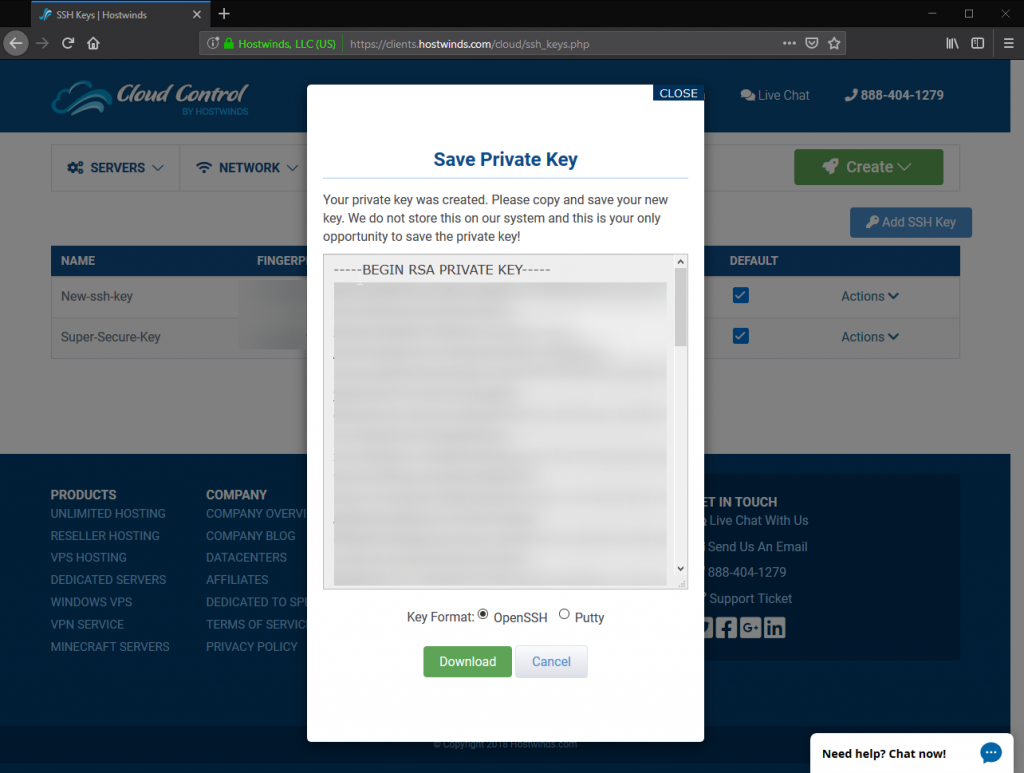
This will make an SSH key for you. Mine is blurred out for privacy reasons. Similar to a password, this information is sensitive and should be kept private.
IMPORTANT: This is your only chance to download this key. Hostwinds never saves the private key for you. Once you click "close", you will only have the files you've downloaded will be available.
You can use the radio buttons to select either OpenSSH or PuTTY as the key's format. If you're using Apple or Linux desktops, you will likely need the OpenSSH version. If you're using PuTTY on a Windows desktop, click the PuTTY download.
Using your new key: Mac and Linux
The OpenSSH key file should be added to your home directory under the .ssh hidden directory. Here is the default file path:
~/.ssh/ssh_id_rsa
Once this file is in the correctly configured location on the client, you can log in to your server without needing a password.
Additionally, you may use this command to use a key stored anywhere on the machine:
ssh -i [/PATH/TO/YOUR/KEY] root@[YOUR.SERVER.IP.ADDRESS]
Using the new key: PuTTY on Windows
To use SSH from a Windows desktop to a Linux server, you'll need a terminal client. PuTTY is the most common.
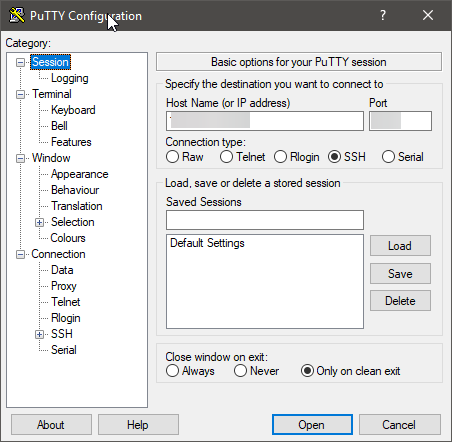
The PuTTY interface
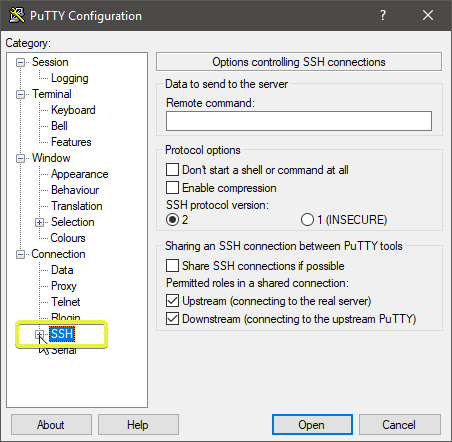
On the left-hand side, under Connection, you'll see SSH with a little '+' symbol next to it. Click the '+' will open the connection menu.
Under the SSH menu, click the word "Auth". You may ignore the plus symbol next to the word.
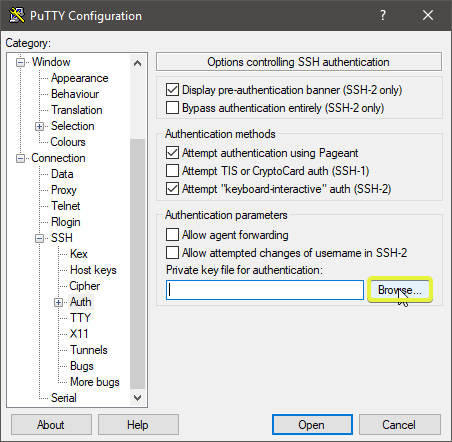
On the Auth page, click the "Browse..." button, and navigate to the file you've downloaded. It should have a .ppk extension.
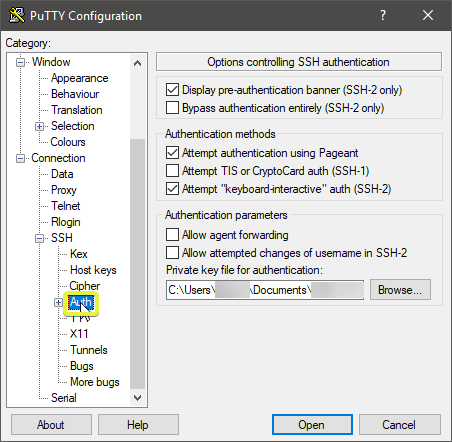
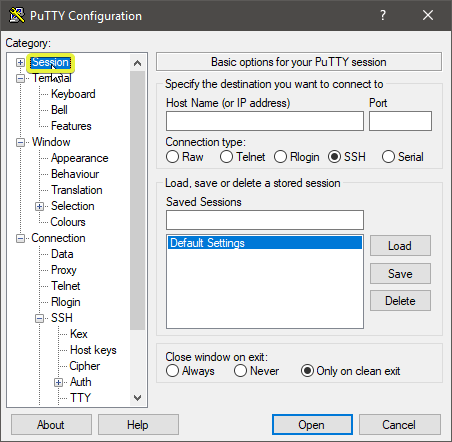
Once you've got PuTTY to read your key, head back to the main page by clicking 'Session" in the left-hand column.
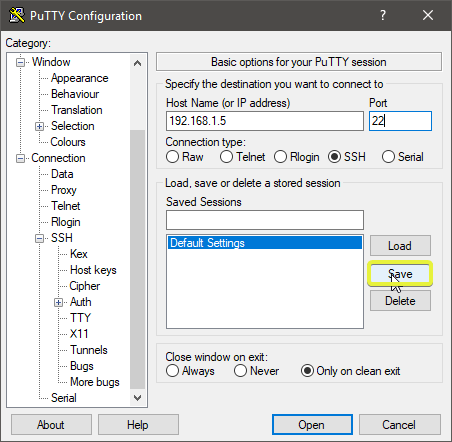
Optionally, after entering your server's IP address and port, save the settings so PuTTY memorizes where the key is stored. If this is the only device you're likely to SSH into, it may be easier to save under the default settings. However, you may type a new name into the text box under "saved sessions" and load that for a quick way to access whichever device you wish.
With the new keys set up, you should be able to log into your machine. For the login prompt, enter root and instead of a password prompt.
And there you go! Logging into your server using a secure key means no longer memorizing a complex password or worrying about dictionary-based attacks.
Written by Hostwinds Team / June 5, 2021