
Hostwinds Tutorials
Search results for:
Table of Contents
Installing WordPress using cPanel's WordPress Toolkit
Introduction
This tutorial shows you, in a step-by-step manner, how to install WordPress (WP) using cPanel's WordPress Toolkit. If you're not using cPanel, please see How to install WordPress for information on installing WordPress manually.
If you'd prefer a video explaining how to install WP using the WordPress Toolkit (WPT), see Introduction to WordPress Toolkit for cPanel.
Installing WordPress using the WordPress Toolkit
1. Log in to cPanel.
2. From your browser, press Ctrl + F to open the Find Bar in order to search the current page. Type WordPress Toolkit to quickly find the WPT link. If you can't find the link, try searching for WordPress Manager. If you're still unable to find the WPT link, contact your host provider.
3. Select the WPT link. From the WPT page, select the Install button (upper left).
4. Fill in the fields appropriately, whilst keeping the following in mind:
- If you're planning on using WP for an e-commerce site, for the Plugin-theme set drop-down, choose E-Commerce pack or E-Commer pack with Jetpack.
- For security reasons, Username should not be admin.
- Under Automatic Update Settings, you may wish to select Enable autoupdates by default for new plugin installed via WordPress Toolkit and Enable autoupdates by default for new themes installed via WordPress Toolkit.
Select the Install button. The WP installation process can take a few minutes to complete.
5. When the Installation Complete window appears, select Install Plugins. Next, select the Compatible with my version of WordPress checkbox. Install all appropriate plugins. For example, if you're interested in an e-commerce site, you may wish to install WooCommerce (if not already installed via the prior step).
6. Select the Themes tab (upper left) and choose a suitable theme. For example, if you're interested in an e-commerce site, the WooCommerce storefront Astra theme may be apropos. Select the Install button for an appropriate theme. Close the Plugins and Themes window (upper right x).
7. In the WPT window, select the Themes tab and activate your chosen theme (such as Astra). Only one WP theme can be active at a time.
8. Enable Smart Update (lower left).
9. Select the Dashboard tab to return to your WPT dashboard. Select the Install plugin updates link and update all out-of-date plugins. If you receive a "Smart Update could not connect to the website to fetch the sitemap because the website's domain name could not be resolved. To run Smart Update, make sure that the domain name can be resolved." message, disable Smart Update, and update your plugins again. Place a "Fix my WordPress domain name issue" on your to-do list. Close the window (upper right x).
10. Select the Critical security measures applied link, select all non-secure items, and then select the Secure button:
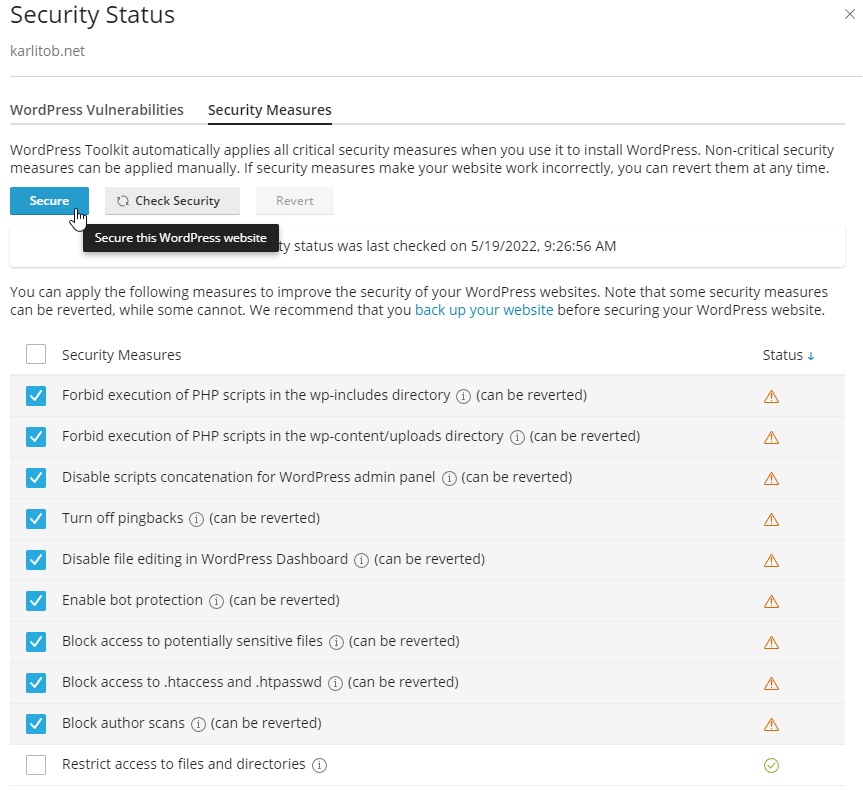
Close the Security Status window (upper right x).
11. If the SSL/TLS field contains a Self-signed certificate link, follow the link to consider obtaining a valid certificate:
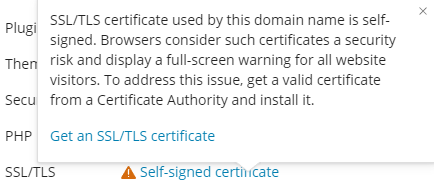
If you choose not to purchase a certificate, you must use the http:// protocol and not the https:// for your WP site.
12. For the PHP field, if you're concerned, you may wish to enable hotlink protection. This prevents other websites from displaying, linking, or embedding your files (usually images). Depending on the popularity of your site, the practice of hotlinking can quickly drain your bandwidth and make your website unavailable.
13. Near the upper right area, resolve any remaining issues as listed:

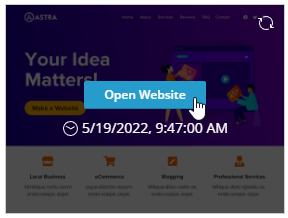
14. WordPress should not be fully configured and ready for design/development. To see your blank WP site, select the site icon:
15. To log in to your WP dashboard, add /wp-login.php to the end of your domain, as in https://<your domain name>/wp-login.php. From your WP dashboard, configure any plugins (such as enabling automatic updates) and resolve any remaining issues.
Enjoy using WordPress!
Written by Karlito Bonnevie / May 19, 2022