
Hosting Tutorials
Search results for:
Table of Contents
Restoring Files From A Duplicati Backup on CentOS
Tags: CentOS Web Panel, Duplicati, Backups
This article will describe how to restore data from your Duplicati based nightly backup product. This is actually a straightforward process and should only take a few steps to complete. It should be basically the same in both Windows and Linux servers since the steps would be identical and only the directory paths vary. In this example, we'll use a simple CentOS 7 installation to demonstrate.
Removing Test Files To Restore
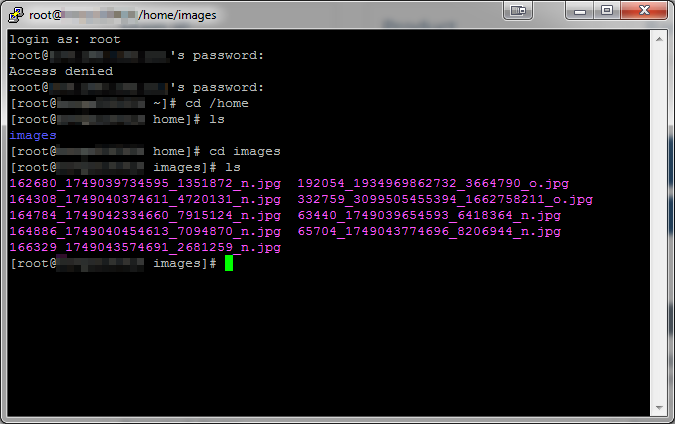
In the image below, we'll show the location of the files we're using for this restoration. For the sake of simplicity, we've created a directory called 'images' in the home directory of a new installation and uploaded some random images to the folder.
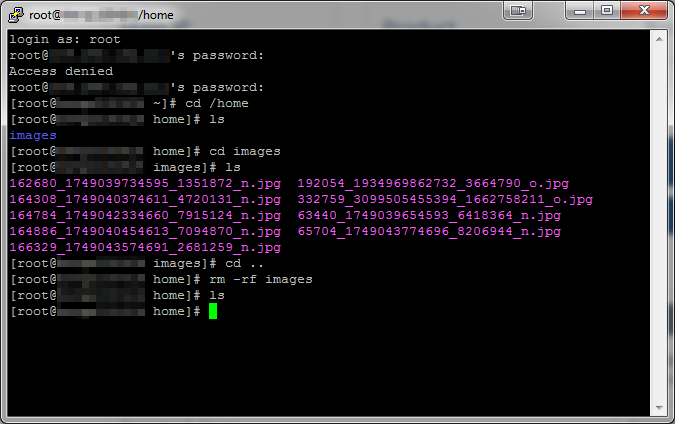
Next, simply for the sake of this demonstration, we'll delete the 'images' directory using the rm -rf command and see that it is no longer there.
Restoring The Files From A Backup
Next, we'll access our Duplicati control panel to begin the restoration. In a Windows server, this is done via the desktop icon created when Duplicati is first installed. This will open a browser to the panel for you.
In any Linux installation, open your browser to your server's IP address plus port 31337. (Example http://104.168.132.111:31337) and enter the Duplicati password that's been provided for you.
You can also always see the password of a running installation from within the server itself using the command ps aux | grep duplicate from the command line. In the image below, we've logged in and selected 'Restore' from the options on the left.
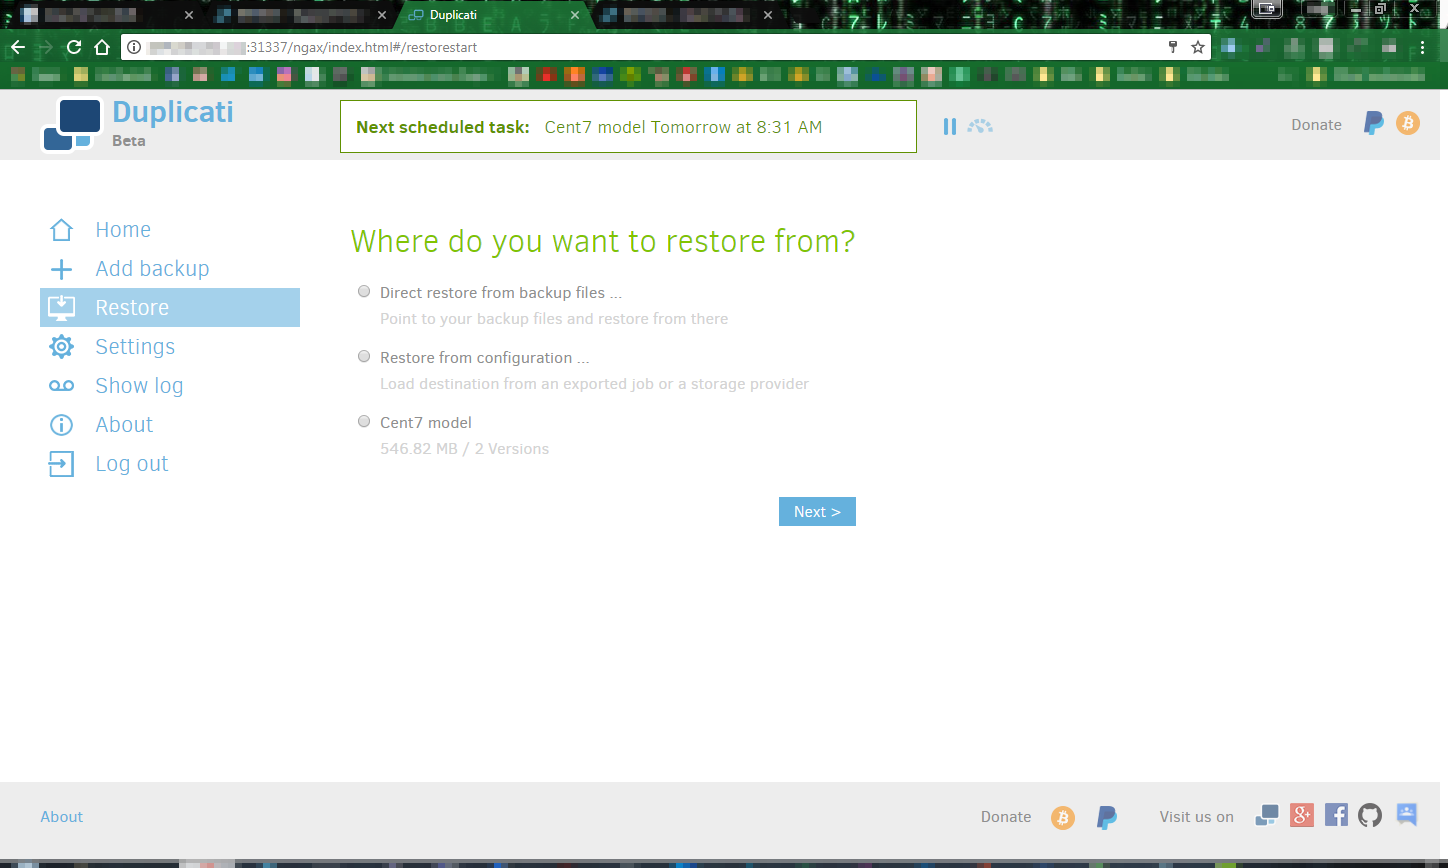
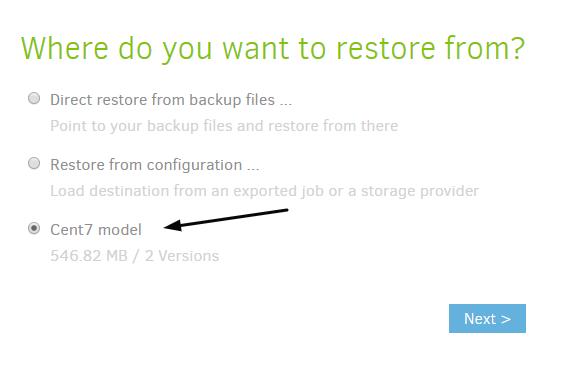
Next, we'll select the source for the restoration. As these backups are stored in our cloud, they'll be given a name when first configured. In this example, we've named the backup Cent7 model. We will select this by clicking the radial button and then clicking Next, as shown below:
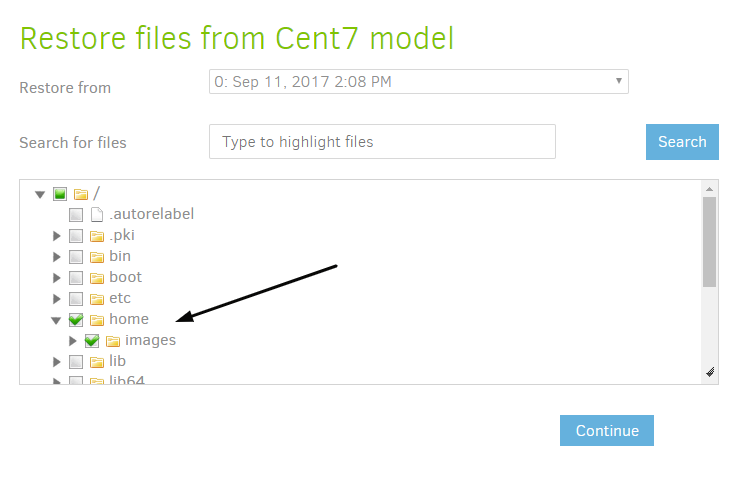
This will bring us to the Select Files page, where we choose what files we want to restore. As mentioned earlier, in this case, we are restoring the /images directory that was found in the /home directory.
You find your desired folder or file in the directory tree and click the box to select it. As shown in the image below, click Continue.
This will bring us to the Restore Options page. Here we'll set where the files are restored to, what to do with existing files on the server, and what permissions you want the restored files to have. Duplicati defaults to Original Location and Overwrite for the first two choices and should, in most cases, be left at those settings.
You also generally want the same permissions as the files originally had. To do this, you would select 'Restore read/write permissions' as well. After making these selections, click Restore, and the process will run.
Verifying the Restoration of the Files
When Duplicati completes the restoration, it will inform you if it was successful. Now, if you check back on the source server, see that the files have been successfully restored, as shown below:

If you require any assistance, you can contact us in Live Chat or even by submitting a ticket.
Written by Hostwinds Team / September 12, 2017