
Hostwinds Tutorials
Search results for:
Apache is a very widely used web server developed and continually maintained by the Apache Software Foundation. It is an open-source web server that allows you to customize its functionality through the editing of configuration files or conf files for short.
Typically this involves accessing these files through a Linux text editor through the Linux shell. However, if you have a control panel like Virtualmin, you can do this all from the comfort of its intuitive GUI! This article will go over how to access and edit these Apache conf files through Virtualmin. This article implies that you have already installed Virtualmin. If you have not done so yet, please look at the following article: How to install Virtualmin (CentOS 7).
Before continuing, you'll need to log in to your Virtualmin control panel and have access to Webmin. If you're not certain how to do this, or you have forgotten, please review the following article, which should assist you with: How to login to Webmin. Once you have logged in and you're ready to proceed, please read on.
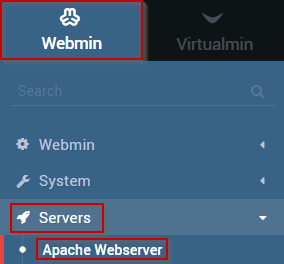
- Under the Webmin section, select the Servers option
- Select the Apache Webserver module
- You should now see the Edit Config Files interface, which looks similar to the following.
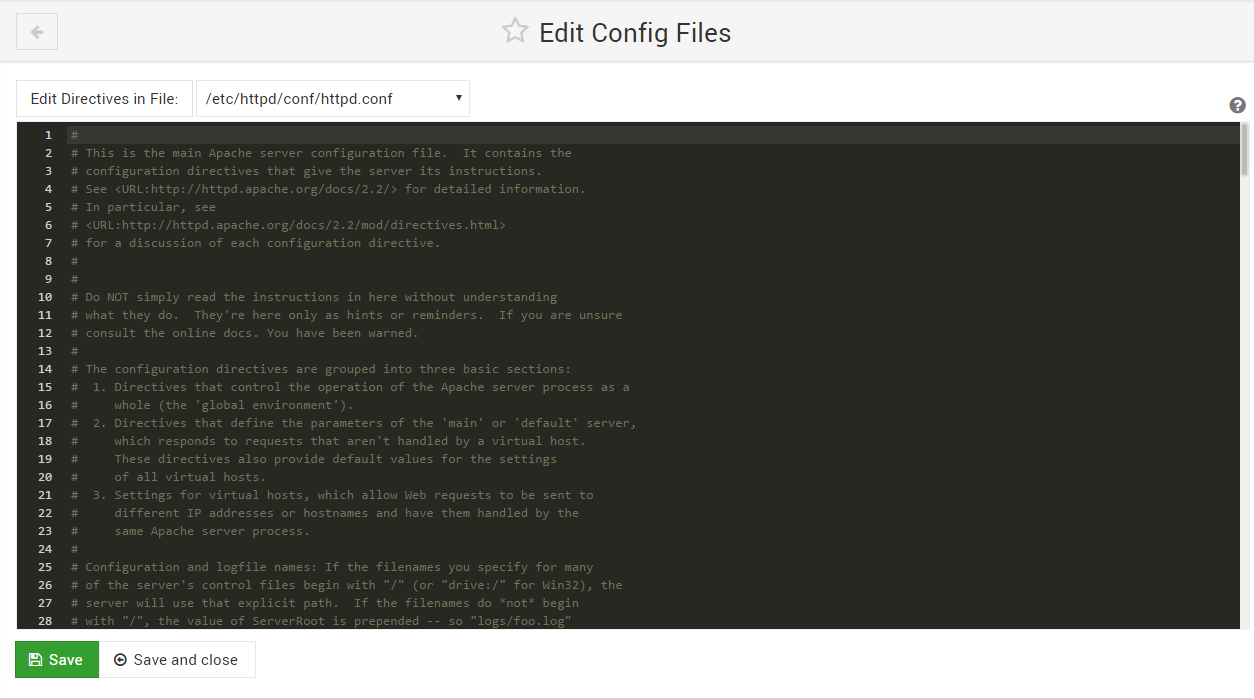
- You can select from a variety of conf files by using the drop-down menu shown below.

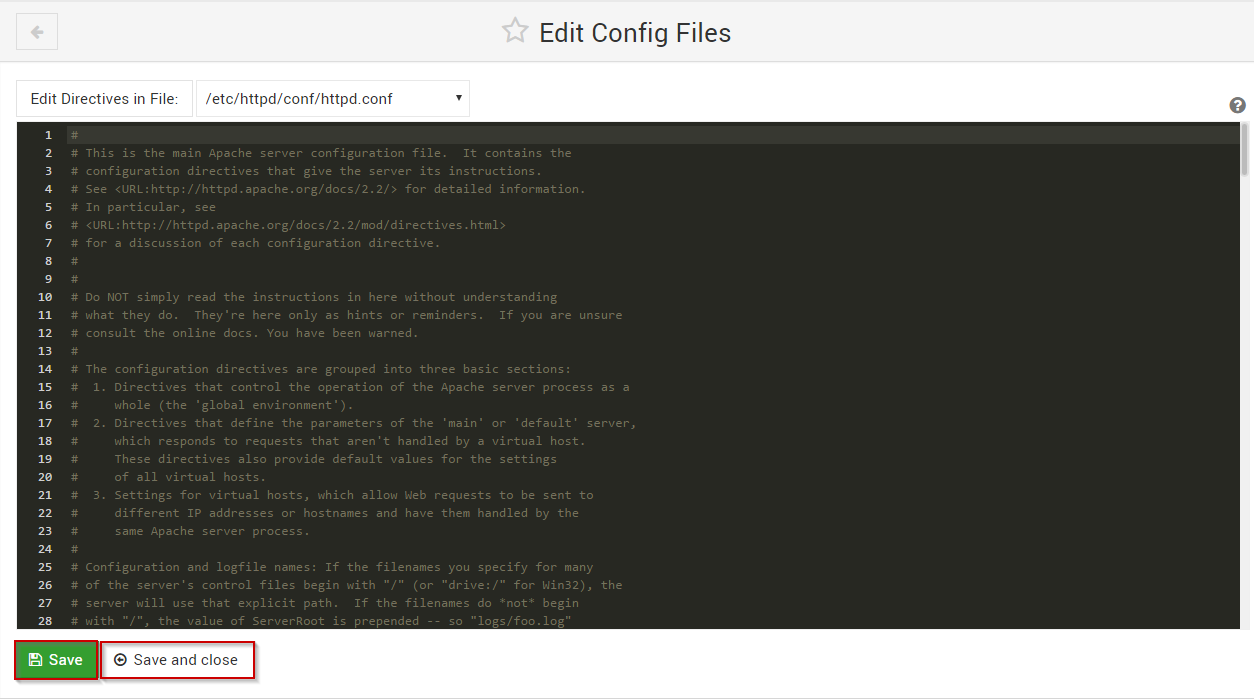
- Once you're satisfied with any edits you have made, you can save them by clicking the Save button or the Save and Close button.
Written by Michael Brower / June 22, 2017