
Hostwinds Tutorials
Search results for:
Table of Contents
How to Login to Webmin
Tags: Virtualmin
Virtualmin is a great open-source Webmin module typically used to manage multiple virtual hosts through a single interface, similar to cPanel. It supports multiple functions such as creating/managing Apache virtual hosts, MySQL database creation/management, generating DNS zones, managing mailboxes, and much more. The best part about Virtualmin/Webmin is that it is a completely free control panel!
To clarify, there is a paid premium version that gives you access to some very nice auto-installer scripts. However, I can assure you that the free version is very comprehensive and easy to use. The focus of this article is to teach you how to log in to Virtualmin. This article implies that you have already installed Virtualmin. If you have not done so yet, please look at the following article: How to install Virtualmin (CentOS 7).
How Do I Login To Virtualmin/Webmin?
A widespread question that we get is how to access Virtualmin once it is installed? Let's take a look at how you can log in to Virtualmin once it is installed.
- In a web browser of your choice, navigate to yourdomain.tld:10000 replacing yourdomain.tld with your actual domain/website name
- You'll be greeted with a login page similar to the following screenshot.
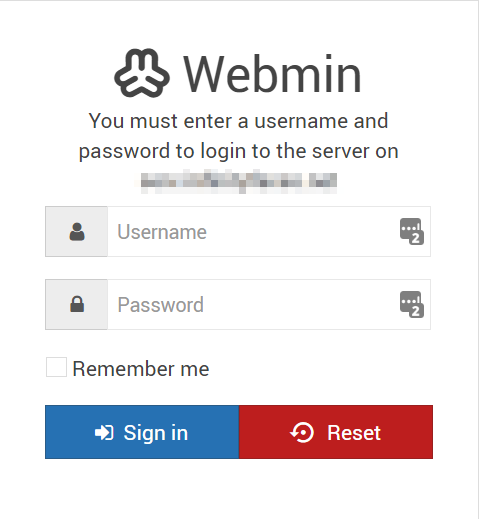
- Enter in your login credentials
- Username – If this is your first time logging in, you can use root as the username.
- Password – If you're using root as the username, you can use the root password for your server. Otherwise, you can use the password that you set for your user.
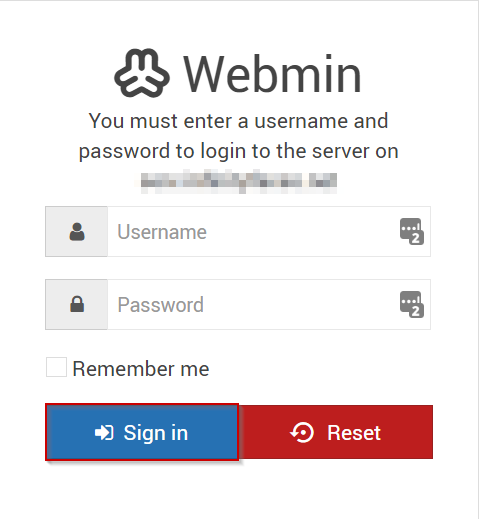
- Click the Sign-in button.
- If the login credentials are correct, you should now be logged in and see a screen similar to the following.
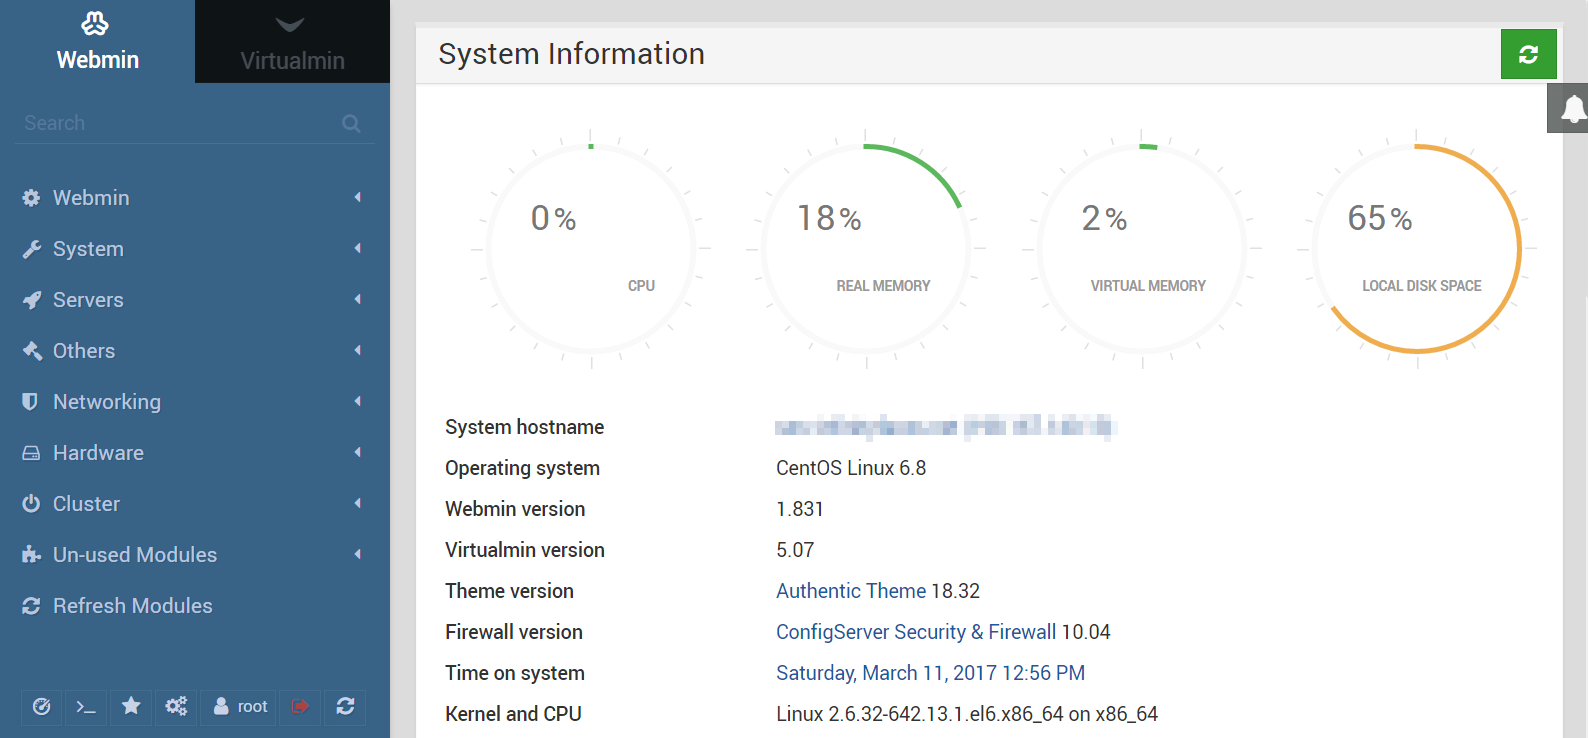
That's it! You should now be logged into Virtualmin and can begin adding new virtual servers or various other tasks related to your new control panel or website.
Written by Michael Brower / June 21, 2017