
Hostwinds Tutorials
Search results for:
Table of Contents
Creating a WordPress site for a small business
Tags: WordPress
Introduction
In this article, we'll walk you through the process of creating a WordPress (WP) website for a small business. To provide concrete examples, we'll assume a hypothetical company called Zelthix Sculpture, whose intent is to promote and sell artwork online. The e-commerce compatible Astra theme for WP will be used.
The first step in this process is choosing how you'd like to host your WP website. Do you want to purchase your own hardware, install and maintain a server OS, web server software, the required WP database, PHP, and so forth? If you're new to website creation, it may be best to use a web hosting company to eliminate much or all of this complexity. For example, a number of web hosting companies (including Hostwinds) allow you to install WordPress, with all of its dependencies, in just a few clicks. Another consideration that can be overlooked is the hosting company's quality of customer service, which if you're new to such things, can be important. Among other things, Hostwinds is known for its customer service, as a few web searches will verify.
Once you've selected a web hosting company or have a system prepared, the next step is installing WP for e-commerce, as discussed next.
Installing WordPress for e-commerce
1. Log in to cPanel.
2. Within cPanel, select the WordPress Toolkit link. If you can't find the link, try searching for WordPress Manager. If you are still unable to open the WordPress Toolkit, contact your host provider.
3. Within the WordPress Toolkit, select the Install button (upper left).
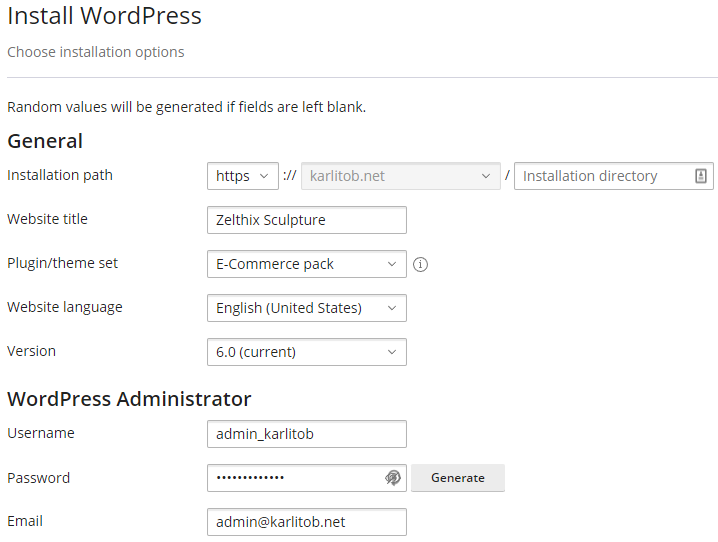
4. For Plugin/theme set, select E-Commerce pack; and for security reasons, use a non-standard administrator username, as indicated:
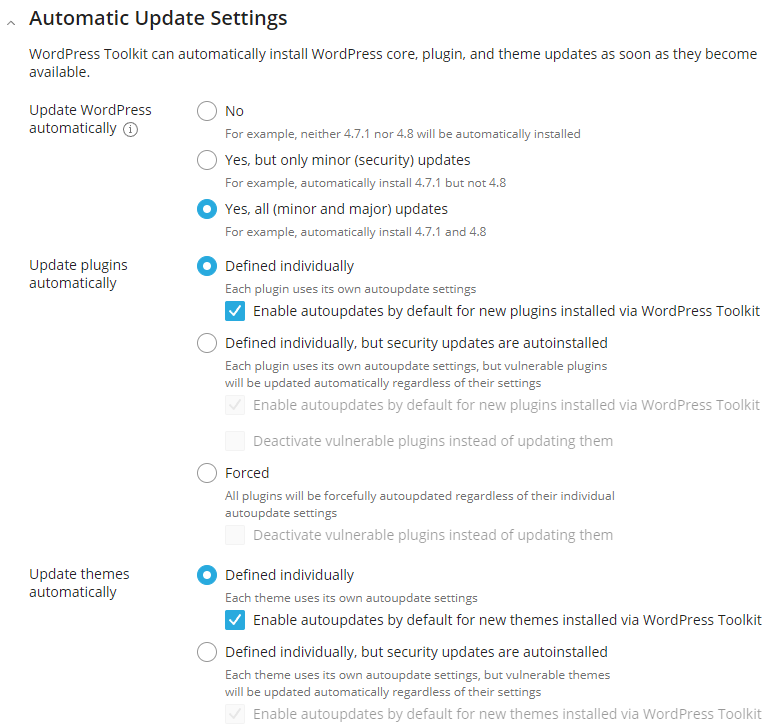
5. Under Automatic Update Settings, you can (optionally) have plugins and themes auto-updated:
6. Select the Install button. When the Installation Complete window appears, choose not to install any plugins - that is, select the No, thanks button.
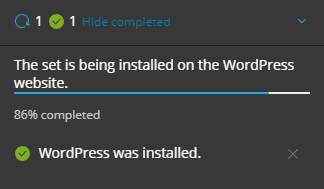
7. As necessary, let the WP set installation complete:
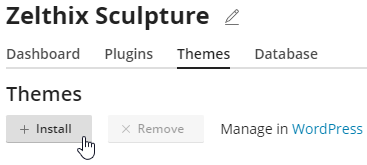
8. Choose the Themes tab and then select the Install button:
9. Search for and install the Astra theme: 
10. After installation, close the Plugins and Themes panel by selecting X (upper right). Next, active the Astra theme (only one theme may be active at a time):
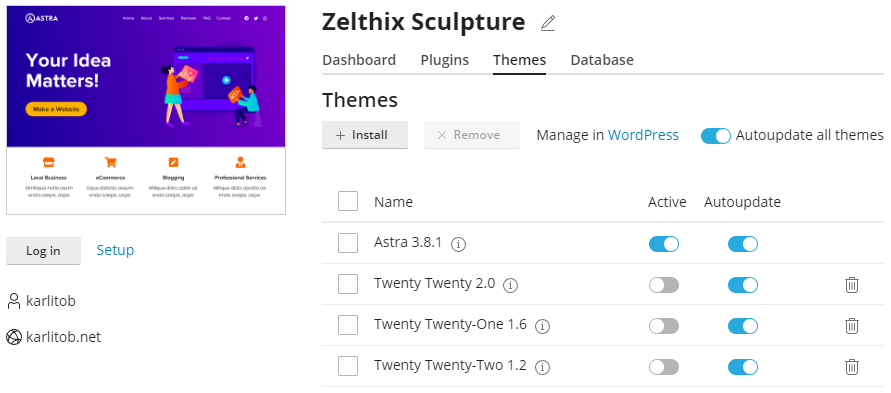
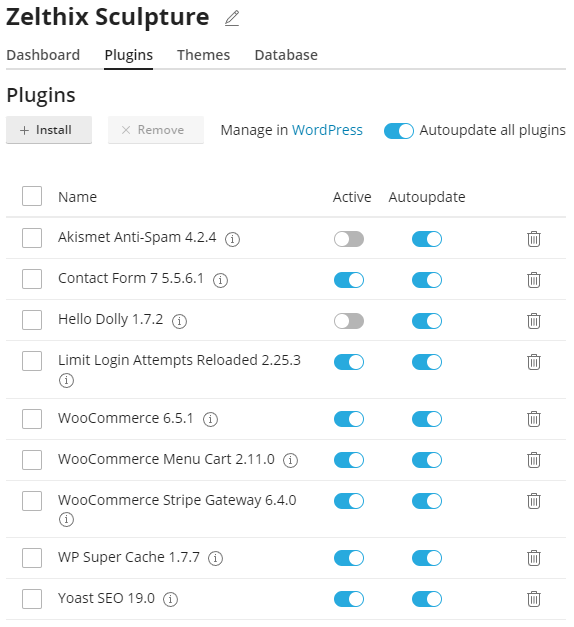
11. Select the Plugins tab and (optionally) enable Autoupdate all plugins:
If you should have any issues with the above procedure, please refer to Installing WordPress using cPanel's WordPress Toolkit.
12. Select the Log in button to log in to your new Astra-themed WP website (your login credentials shouldn't be necessary).
Removing WP blog components
If you'd like to keep the stock WP blog on your new e-commerce site, skip this section.
1. If necessary, log in to your WP dashboard by navigating to one of the following URLs:
- http://<your domain>/wp-login.php
- http://<your domain>/wp/wp-login.php
- http://<your domain>/wordpress/wp-login.php
For example, https://karlitob.net/wp-admin/
2. Select Settings, then Reading. Choose A static page (select below) and configure it exactly as shown:
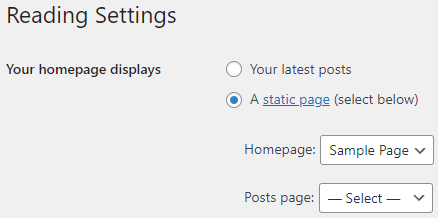
Select the Save Changes button.
3. Select Posts, hover over Hello world!, select Quick Edit, and change Status from Published to Draft:
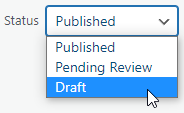
All pages in draft mode are removed from the live website. Next, select the Update button.
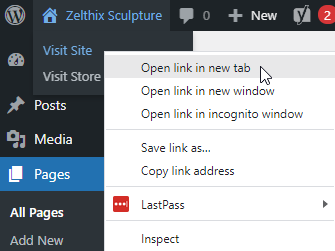
4. Open your site in a new browser tab. For example, select Zelthix Sculpture, Visit Site, and then Open link in new tab:
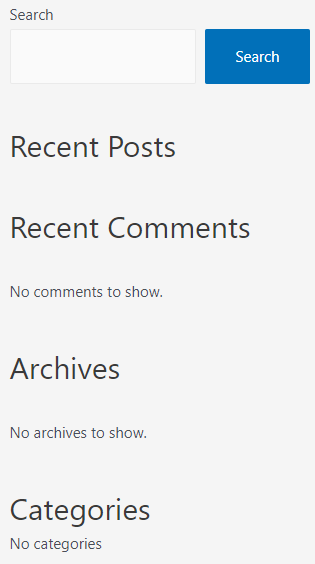
5. Note the blog related items (blocks) in the right sidebar:
To remove all blocks, less Search, select Appearance, then Widgets. Next, select the list view icon  , expand Main Sidebar, and remove the four Group's via the vertical ellipses, as domenstrated:
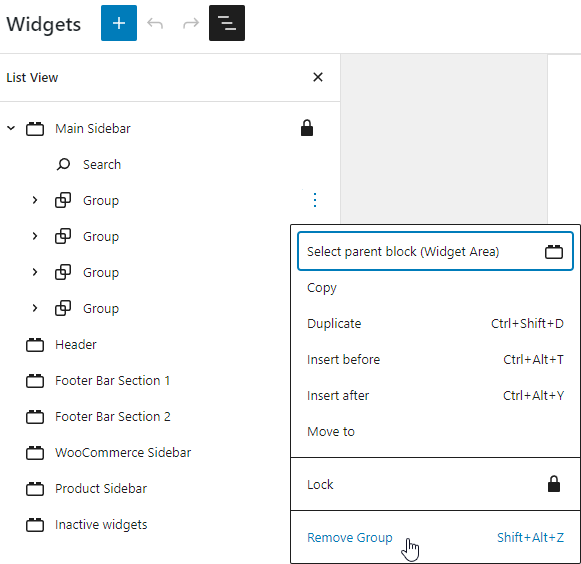
Select the Update button (upper right).
6. Refresh the live page and note that only Search remains in the right sidebar:

You have successfully de-blogified your Astra-themed WP site. The next step is to add a few e-commerce products.
Adding products to the e-commerce site
In the following example, we'll be adding a few pieces of for-sale artwork.
1. From the WP dashboard, select Products, then Add New.
2. Add a product name and description, such as:

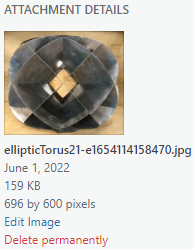
3. Near the bottom right (scroll down), select the Set product image link. Next, select the Upload files tab and upload a product image. With the chosen image, select the blue Set product image button. Note that you can edit the images that are in the WP Media Library using the blue Edit Image link:
4. Scrolling down, provide a product type (Simple product, in this case) and a price.
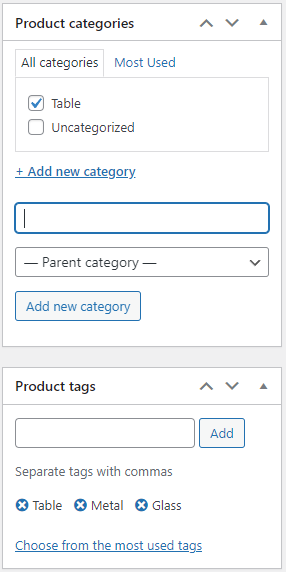
5. Scrolling up, add any additional information, such as product categories or product tags:
When done, select the Publish button (upper right) to push the product live. Refresh the live version of the page and select the Shop link in the main menu - you should see your new product.
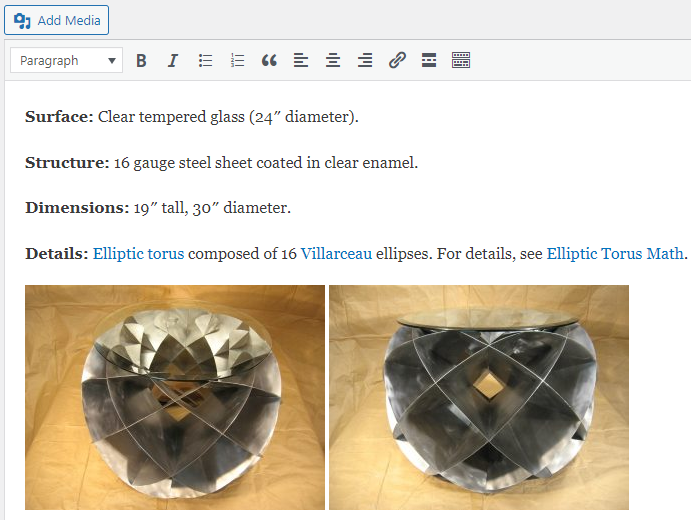
You can add additional product images if you're so inclined. For example, you can use the Add Media button to create "inline" product description images:
6. Repeat the prior five steps to add additional products to your e-commerce site.
Modifying the homepage
Given that the Zelthix Sculpture company is selling artistic items, it makes sense to provide an image gallery akin to what a museum or a similar organization might use. In this process, we will change the stock Astra sample page into our official homepage.
1. From the WP dashboard, select Pages, then hover over Sample Page — Front Page, and choose Edit.
2. Change the title Sample Page to Welcome or something apropos.
3. In the next block, replace the "This is an example page..." content with something skillful/witty (beyond the scope of this article).
4. Delete other unneeded blocks by selecting them and pressing Shift + Alt + Z.
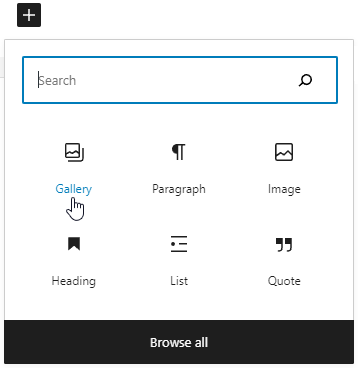
5. To add an image gallery, select the black + icon, and then choose Gallery:
Populate the gallery by uploading images or by using the WP Media Library. When done, select the Update button (upper right).
6. To link the images in the gallery to their associated products on the Shop page, select an image, choose the  icon, and type the title of the page you're trying to link to, such as "Oval Table". Choose one that matches, and then select Apply:

You can also use a relative URL, such as /?product=elliptic-torus-table
7. Repeat the prior step for each image in your gallery.
Modifying the menu
You may have noticed that the order of the items on the main menu may not be to your liking:

You can change the menu as follows:
1. Select Appearance, then Menus.
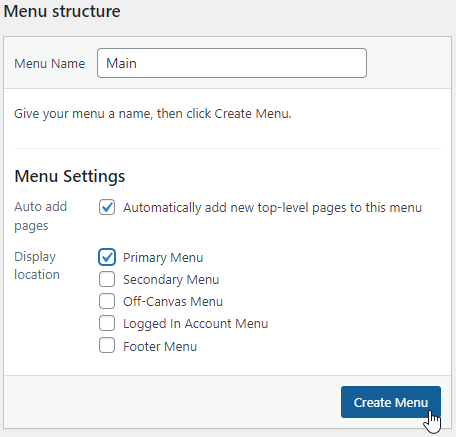
2. Even though you currently have a perfectly usable menu by default, to manipulate it, you must create a new one as if it never existed. To do so, provide a menu name, such as "Main", choose the following settings, and then select the Create Menu button:
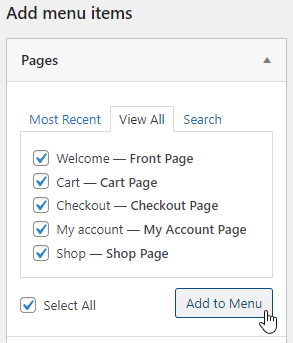
3. Next, select all appropriate menu items, and then choose Add to Menu:
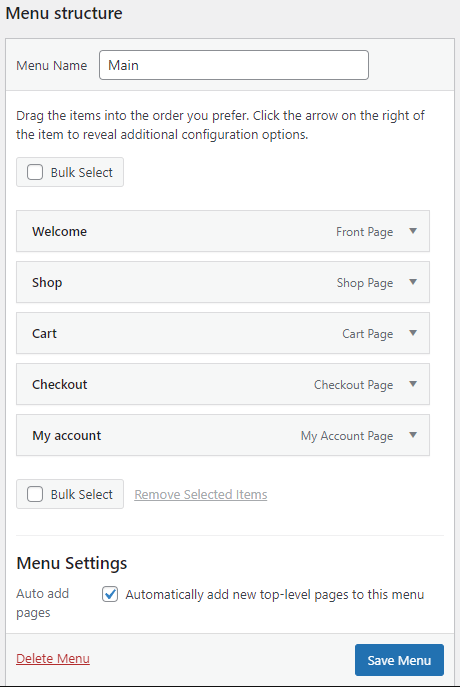
4. You can click and drag the menu times to change their order, then select the Save Menu button:
You should now see the modified menu on any live WP page:

The prior menu image does beg the question, however - how do we enable the Cart, Checkout, and My account menu items? This topic is discussed next.
Setting up WooCommerce
WooCommerce is an open-source e-commerce plugin designed for small to large-sized online merchants using WordPress. Although its core functionality is freeware, a number of its optional extensions are paid and proprietary.
The following demonstrates how to configure WooCommerce:
1. From the WP dashboard, select WooCommerce, and then Settings.
2. For each of the eight tabs, fill in the requested information and choose the appropriate settings for your particular business scenario. Please note the following details:
- For the Shipping tab: To apply the same shipping rate for all zones (all shipping locations), select Locations not covered by your other zones, Add shipping method, Flat rate, and then Add shipping method.
- For the Payments tab: Choose one or more customer payment options such as Stripe and/or PayPal Payments (you must select the Other payment methods link to view the PayPal Payments option). For each payment method, provided the necessary information to complete the signup process.
3. From the WP dashboard, select WooCommerce and then Menu Cart Setup. If necessary, make any changes, then select Save Changes.
With the WooCommerce setup complete, you should now have a basic but functional e-commerce website. You can change your site's color theme, font family, and so forth to make the site unique to your business aesthetic - for details, see Changing WordPress appearance (you may not want to change the e-commerce compatible Astra theme).
Additional Resources
Written by Karlito Bonnevie / May 3, 2022