
Hosting Tutorials
Search results for:
Keeping your server up-to-date can be a crucial part of ensuring that you have access to the most recent software updates and security patches. Typically, you'd use your distro's package manager via the Linux shell (command line) interface to execute updates in a Linux server environment. However, with Virtualmin, you can keep your server up to date by using the built-in update function all through the comfort of the amazing Virtualmin GUI.
The focus of this article is to show you how to utilize the Virtualmin update function to keep your Virtualmin installation up to date. This article implies that you have already installed Virtualmin. If you have not done so yet, please look at the following article: How to install Virtualmin (CentOS 7).
For this guide, we will only be updating Virtualmin-related packages. If you'd like to learn how to keep all of the packages up to date on your server using the Virtualmin update module, please refer to the following guide: How to update all installed packages using Virtualmin. As per usual, you'll first need to log in to your Virtualmin panel before proceeding further. If you're not certain how to do this, or perhaps you have slept since the last time you logged in, please refer to the following article: How to login to Webmin. Once you have logged in and you're ready to proceed, please refer to the following steps.
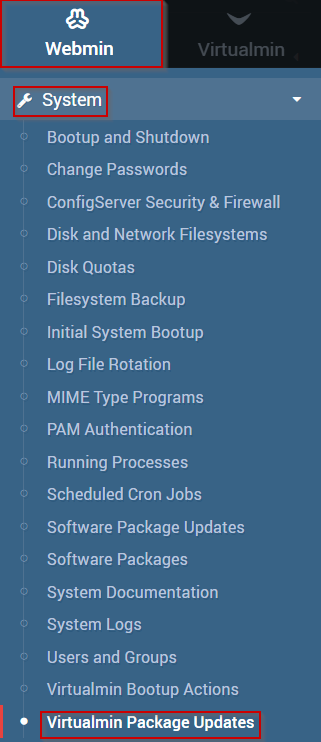
- Click on the Webmin section.
- Select System
- Click on the Virtualmin Package Updates module
- You should now see the Virtualmin Package Updates module interface, which should look similar to the following.
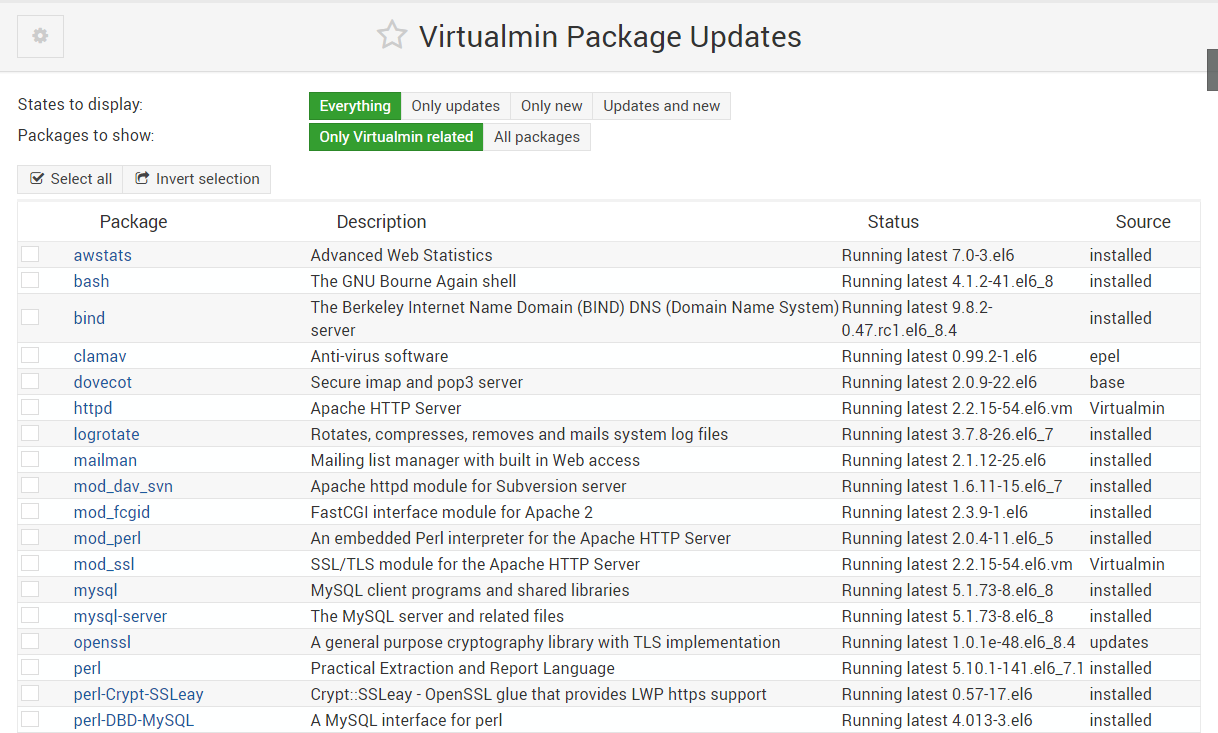
- It is important to point out that there are 4 different States to display
- Everything – Shows all Virtualmin packages on your system
- Only updates – Displays only Virtualmin packages that need to be updated
- Only new – Displays new Virtualmin packages
- Updates and new – Displays both new Virtualmin packages and packages that need to be updated.
- Please select Updates and new to ensure that you see both new and packages that need to be updated.
- Under Packages to show, please select Only Virtualmin related
- Select the packages that you'd like to update. You can also use the select all button
- When you're satisfied with your selections, click the Update Selected Packages button
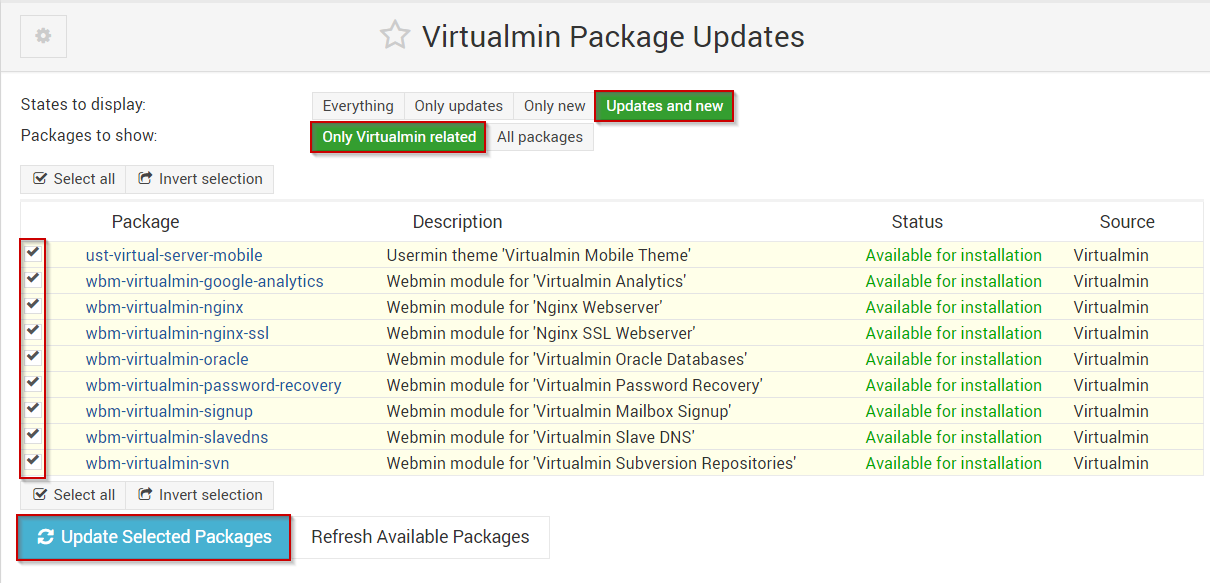
Once the update process is complete, all of the packages that you marked for update should now be up to date.
Written by Michael Brower / June 22, 2017