This guide explains how to request a migration at Hostwinds, what information you need to provide, and the steps to finalize your move. If you haven't already, we recommend reviewing our Migration Policy and Pre-Migration Checklist to ensure you're fully prepared. We're confident that with these resources, your migration journey will be a breeze!
Note: Migration services are not available for Unmanaged VPS plans (Unmanaged Linux or Unmanaged Windows). As outlined in our Support Channels and Service Coverage documentation, these are outside the scope of Hostwinds' technical support.
Migration Ticket Requirements
Before opening a migration ticket, confirm that you have:
An active Hostwinds account is created by purchasing any managed service.
A Hostwinds-managed service that will be the destination for your websites, applications, or files.
An active service with your current provider that will remain online until the migration has been verified as successful.
Once these are in place, you are ready to submit a migration request.
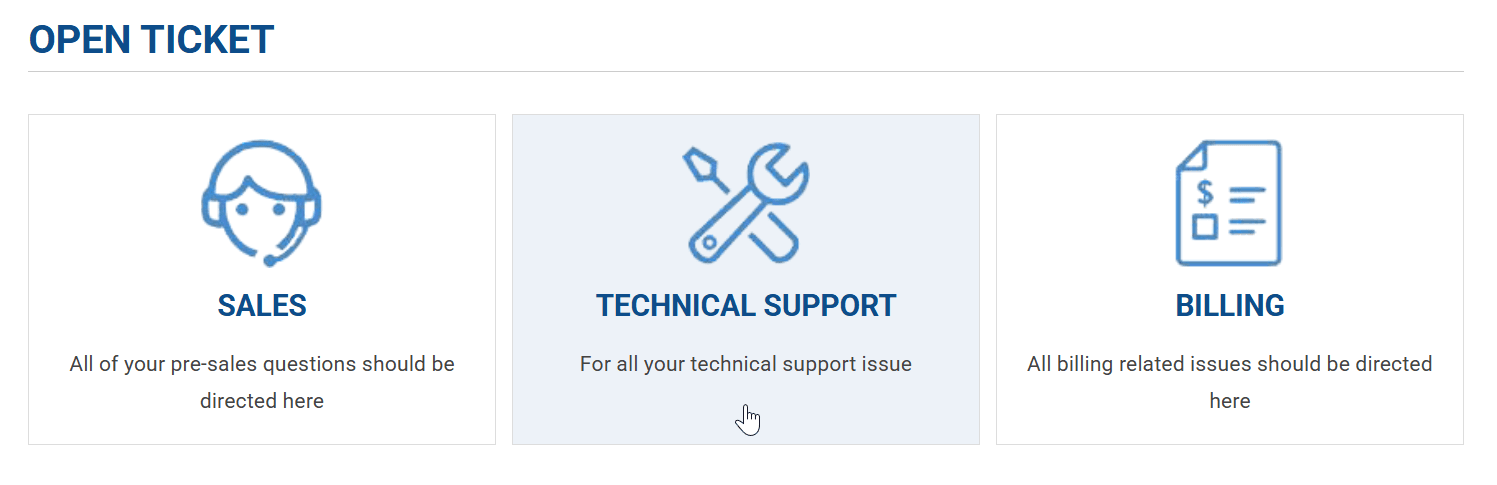
Submit a Migration Ticket
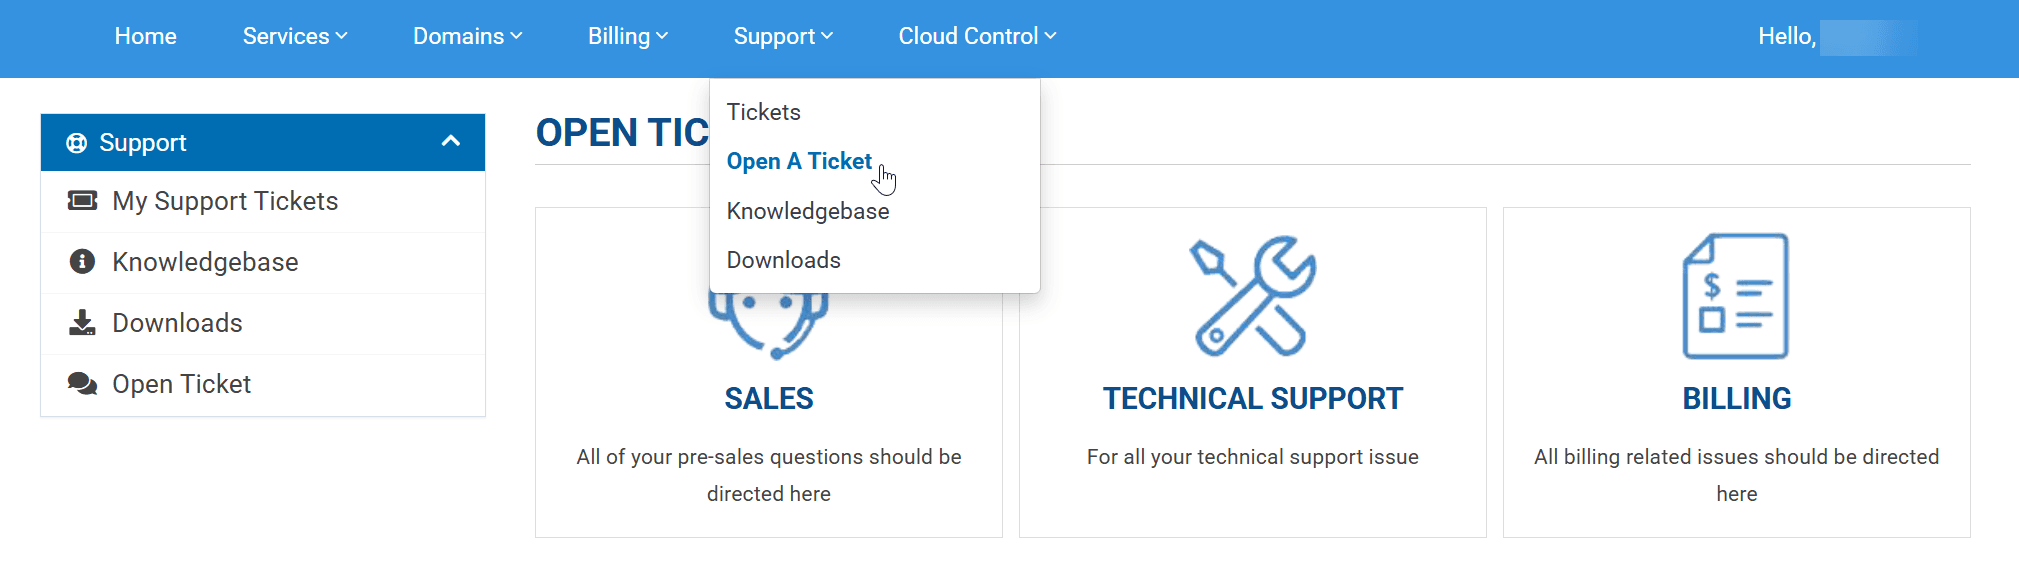
All migrations are requested through the Hostwinds Client Area:
Select the Hostwinds service you want to migrate to.
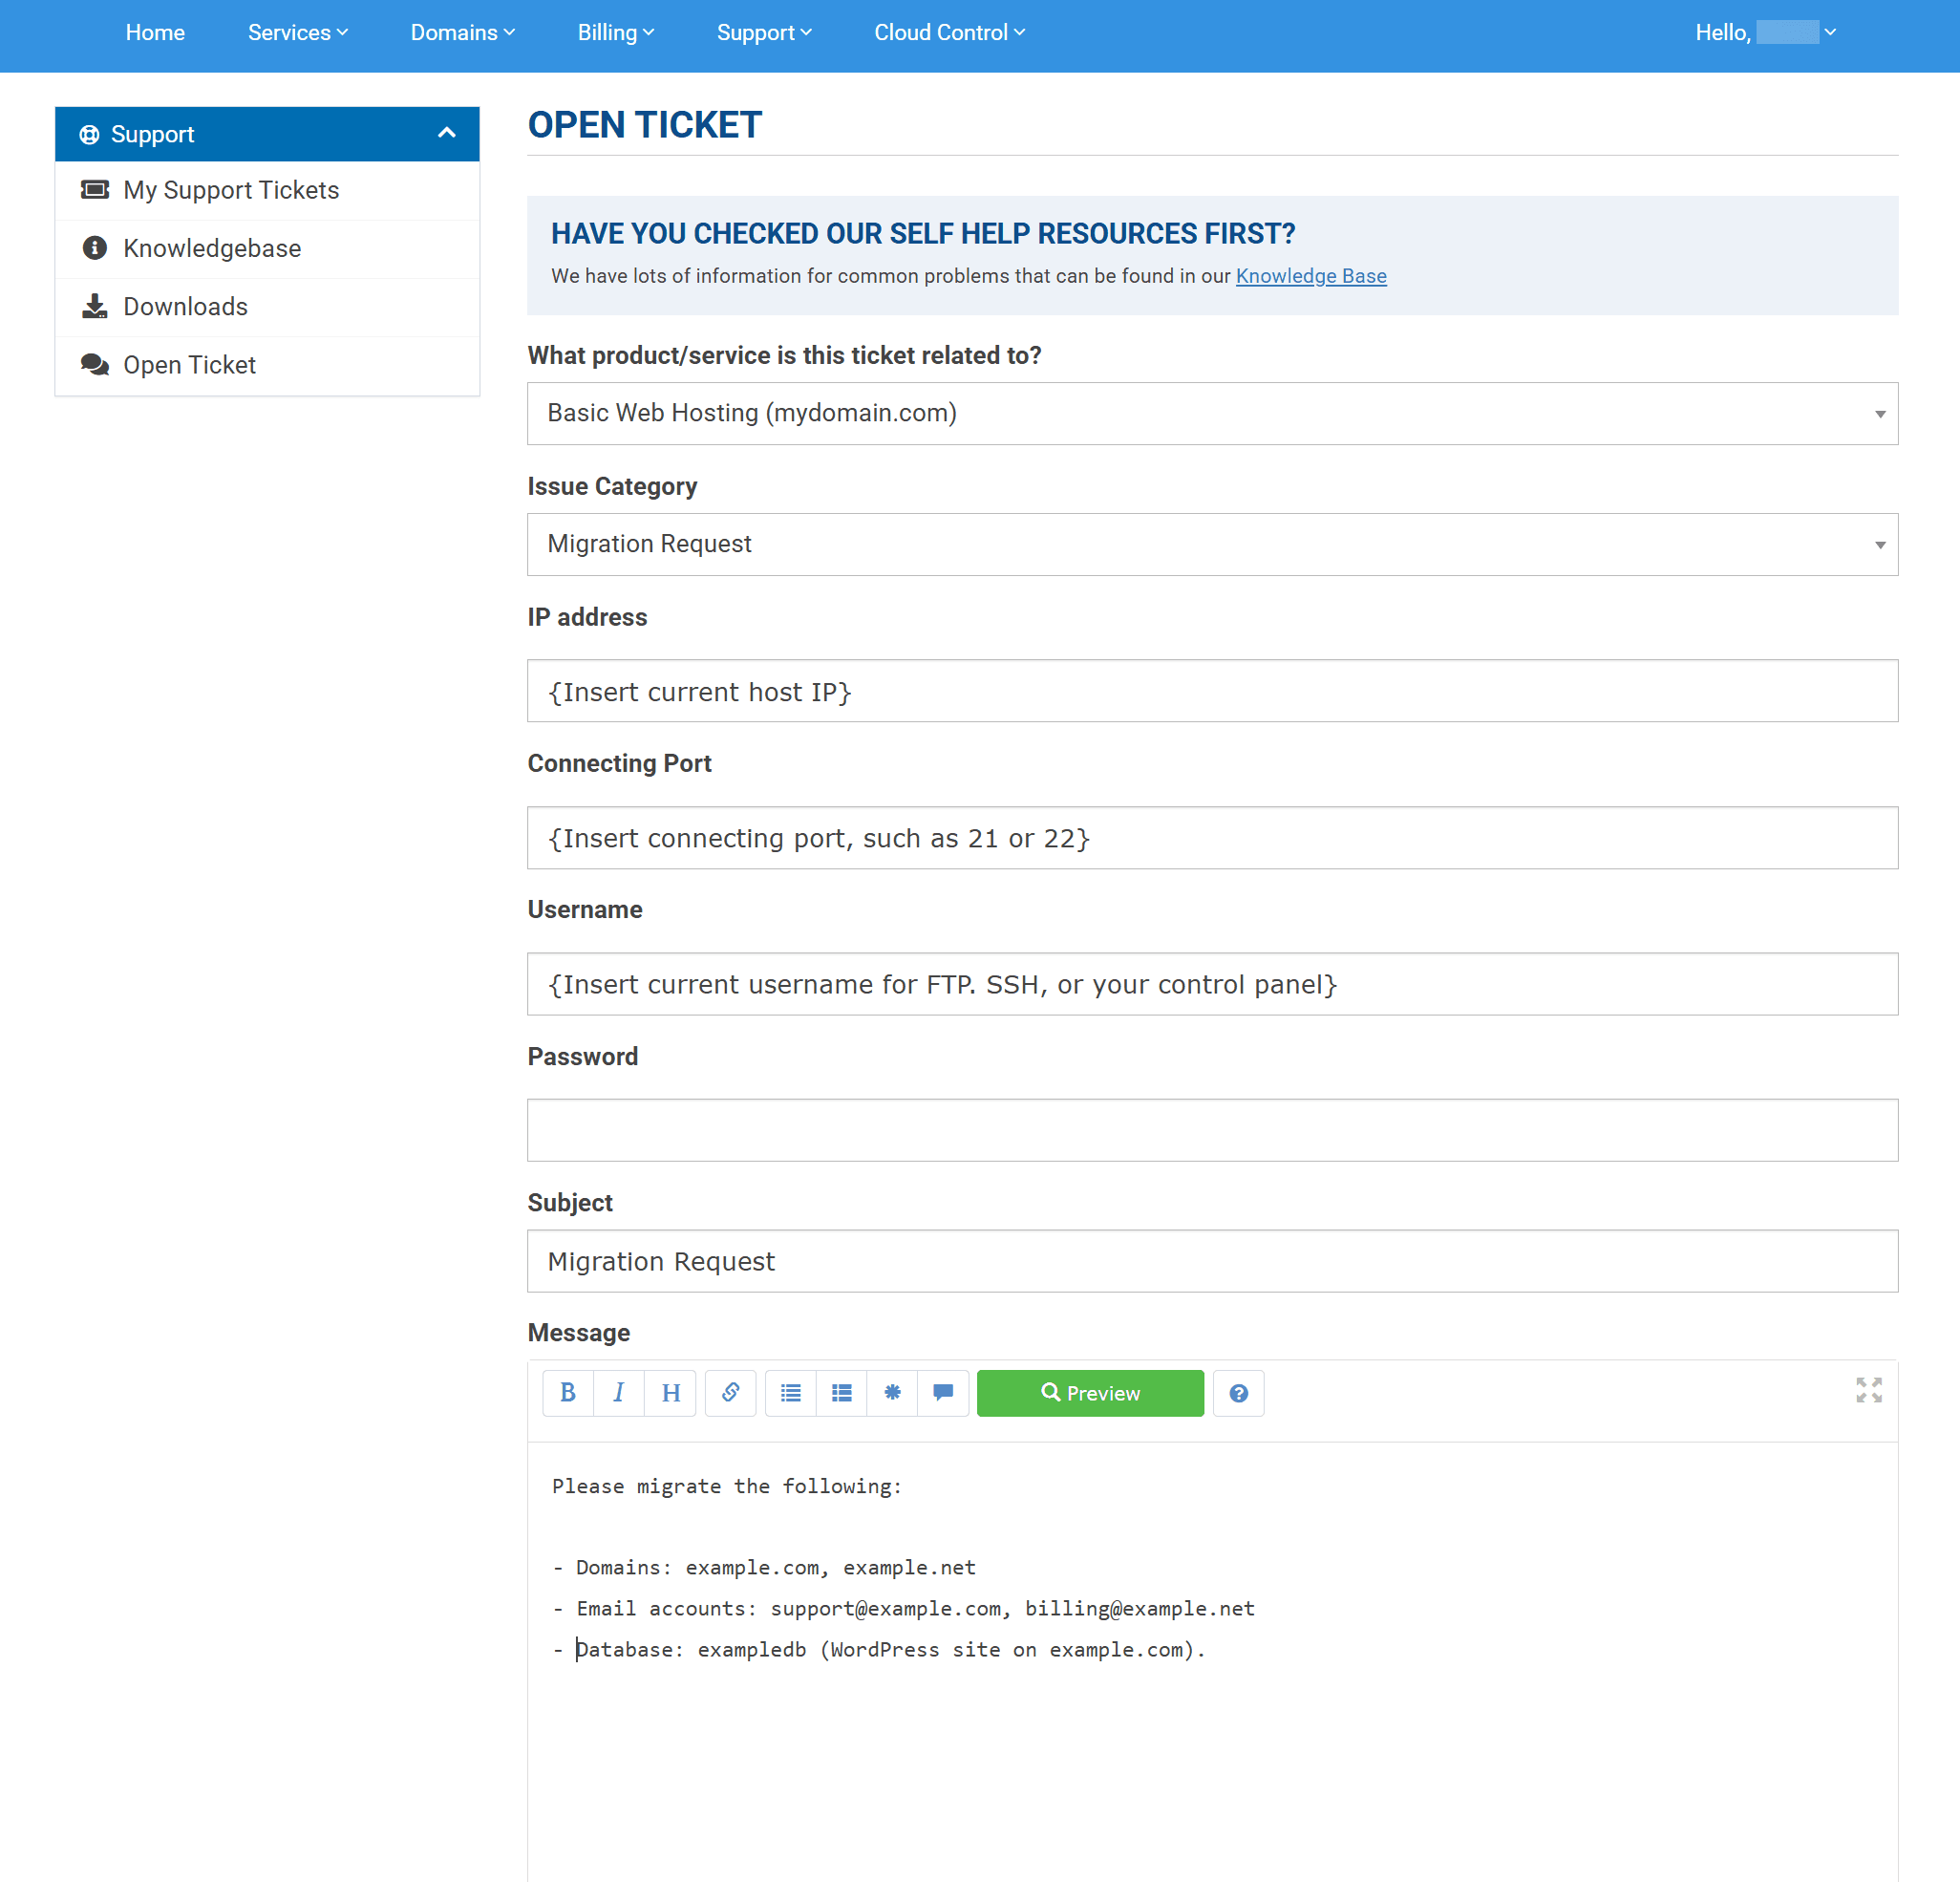
Under Issue Category, choose Migration Request.
Provide the migration details and credentials from your current hosting provider or server.
Information to Include
To ensure our Migration Team can begin right away, provide the following details:
Server IP address or Control Panel URL for FTP, SSH, or control panel access (such as cPanel or Plesk).
Port number for FTP (default 21) or SSH (default 22).
Username for FTP, SSH, or your control panel.
Password for the associated account.
Subject line marked clearly as "Migration Request."
Message body with any additional instructions, such as which domains, databases, or applications to migrate or any special requests.
Communication During Migration
All updates will be provided in your migration ticket.
Notifications are also sent to the email address on your Hostwinds account.
If additional information is required, such as corrected login credentials, migration progress will pause until the requested details are provided.
Our Migration Team will follow the details exactly as provided in your ticket. For this reason, it is essential that you supply complete and accurate information and review all communications carefully.
Tip: The more specific you are, the smoother your migration will be.
Vague request: "Please migrate everything from my old server."
Reminder:Do not cancel your old service until DNS propagation is complete, which may take up to 24 hours.
Post Migration Steps
After DNS propagation, your websites and applications will run fully from Hostwinds. At this point, you may cancel your old service with your previous provider.
Congratulations on completing your migration to Hostwinds.